How To Dry Curly Hair

written by nail expert Jess Rowley
Topics we've covered
How To Dry Curly Hair: Best Way To Dry Curls:
Have you ever got fresh out of the shower and styled your curls? Think to yourself that you’d much rather keep your curls wet than dry them?
You’re certainly not alone.
The majority of curly girls prefer their hair while wet; this is because curls are most defined, frizz-free, and luscious.
We go through a long and extensive process, applying countless products and playing with the curls until they’re in the shape you like, then they dry and look completely different.
What if I told you there is a right and wrong way to dry your curls?
Choosing the right technique and right products will transform your wet curls to dry, defined, and frizz-free ringlets, and I’m here to show you how.
It’s fairly simple but very much trial and error to see what works for your curl type.
Let’s jump in!
Different Ways Of Drying Curly Hair
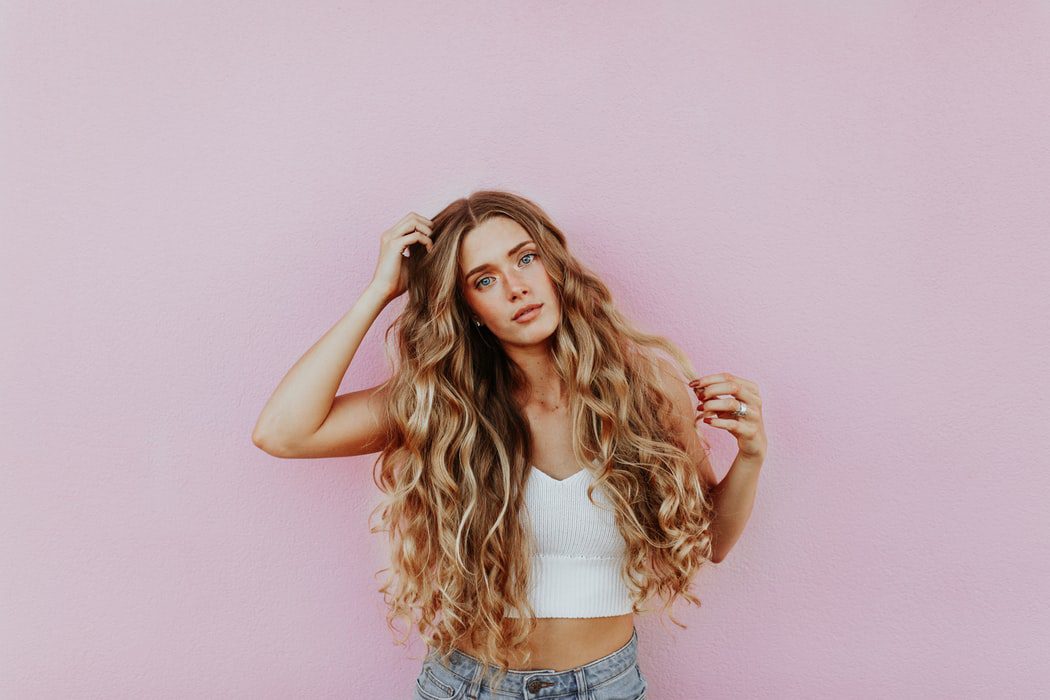
There are many different methods and techniques to drying curly hair to leave it looking defined, voluminous, and, most importantly, frizz-free.
Step One: Wash your hair:
First things first, you’re going to want to wash those curly locks– but of course, we already know this. Curly hair is the most fragile of hair types, so be sure to be washing with either a gentle sulfate-free shampoo or hydrating conditioner.
Curly hair has a harder time transporting the natural oils produced at the scalp through the twists of curly hair, so natural oils are not evenly distributed to the ends of the hair.
This can lead to curly hair becoming frizzy, dry, and brittle. If you have particularly dry hair, I recommend you wash your hair with sulfate-free shampoo once a week and do a co-wash between each wash to maintain nourished ends and clean scalp.
I explain why you you shouldn’t use sulfate shampoo and what to avoid on curly hair in my full rundown of the Curly Girl Method here.
You should also alternate between moisturizing and protein; your hair needs a balance of protein and moisture to provide your hair with elasticity– this is especially important for curly hair to give curls bounce and definition.
Protein conditioners also help reduce frizz as they form a film on the hair cuticles and lay flat. Conditioners that contain keratin, wheat, silk, milk, collagen are especially effective.
When looking for moisturizing conditioners, you should look for ingredients such as jojoba oil, glycerin, aloe vera, shea butter, or vitamin E.
Use a protein conditioner more often if your hair feels particularly dry or frizzy and a moisturizing conditioner if your hair is brittle.
Step Two: Apply your styling products:
Before we can even think about styling our curls, we need to use our collection of styling products to define and hold in our curls. Before I even get out of the shower, I coat the ends of my hair with leave-in conditioner and comb it through with a wide-tooth comb.
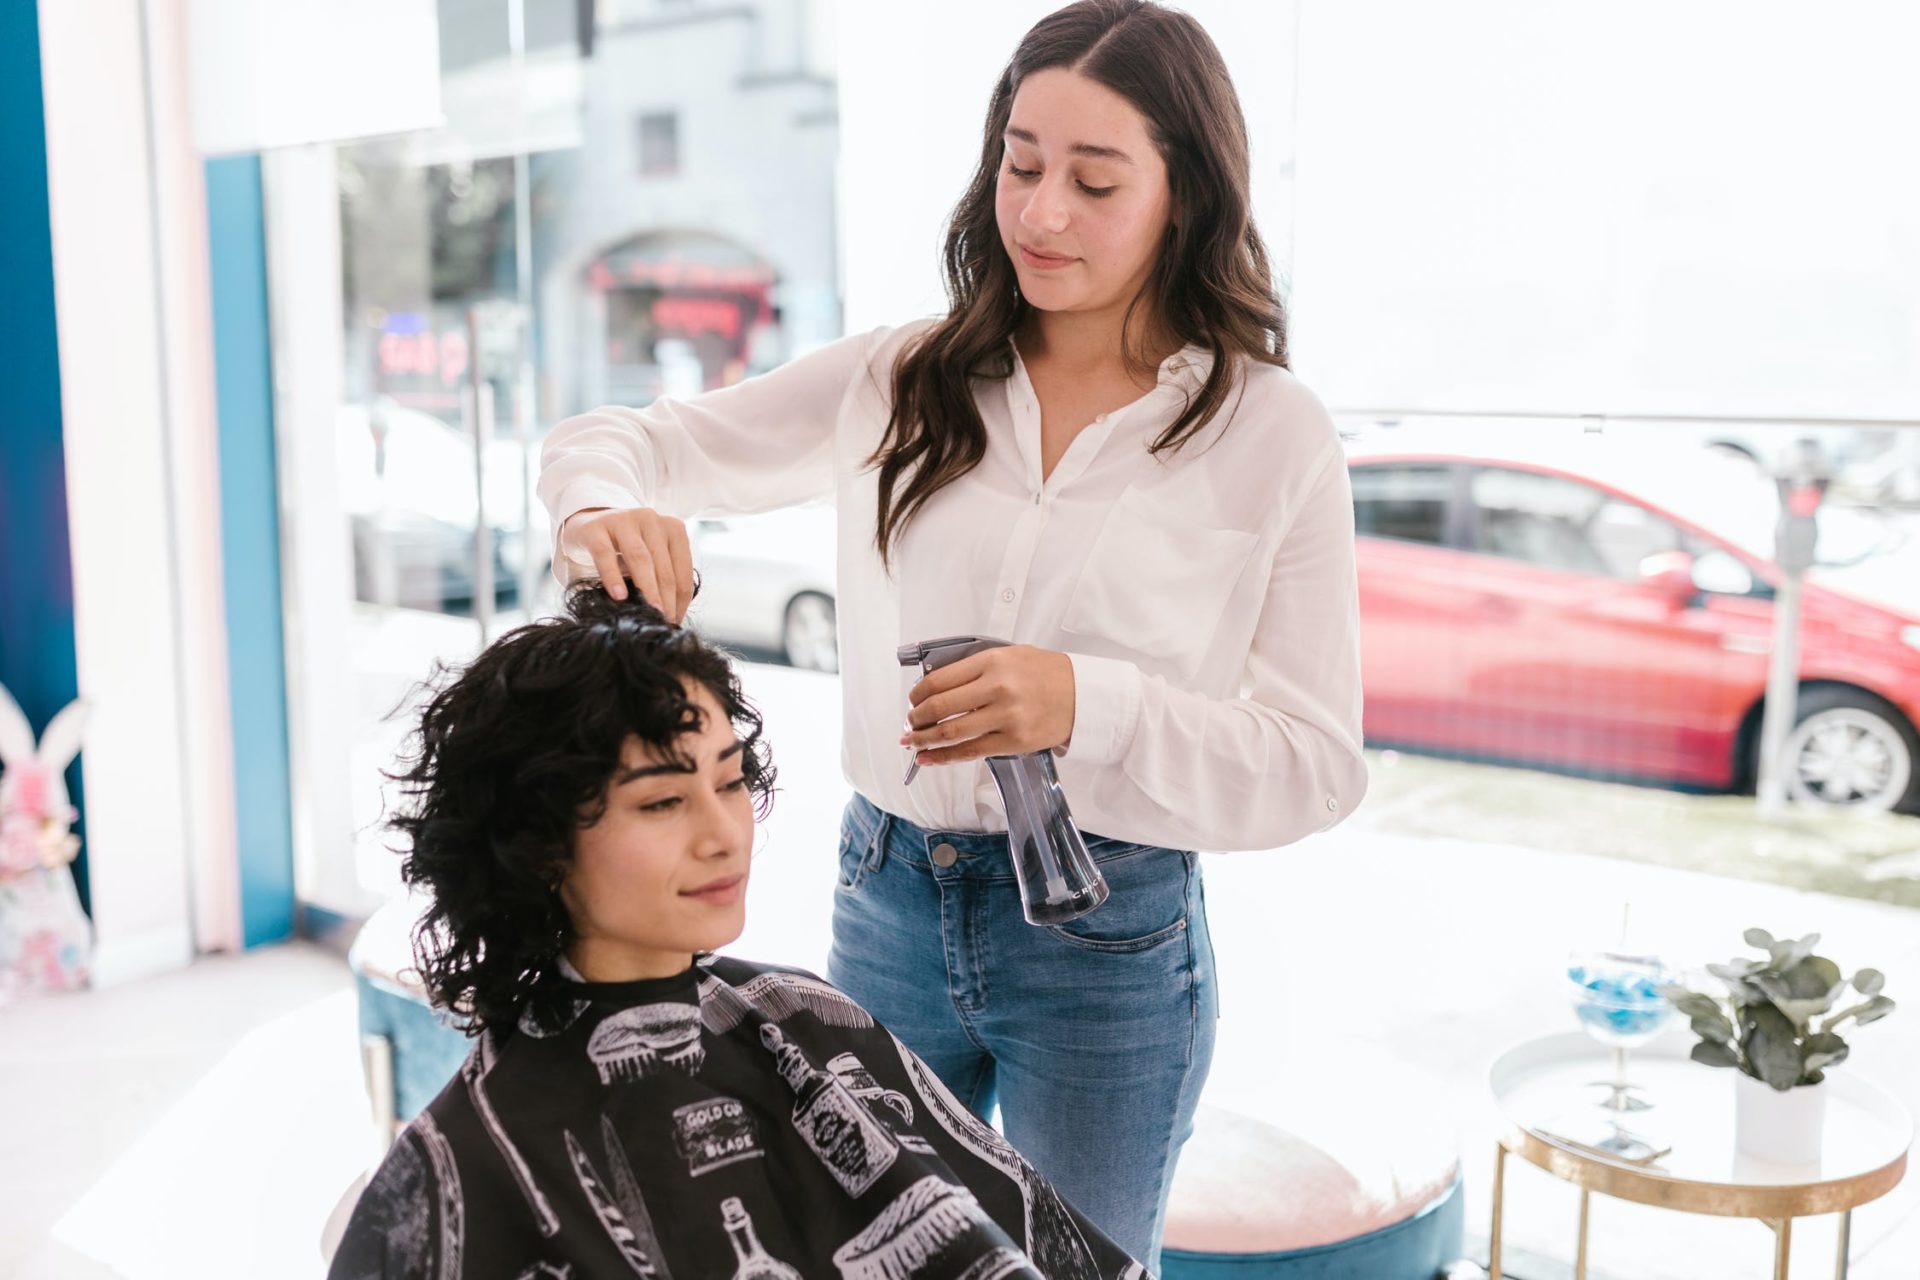
I then sit by the nearest mirror with a towel underneath me and work in sections, spraying each section with the water spray and applying my cream/gel to that section.
I then run my Denman Brush from the tip to the ends of my curls, twirling as I work my way down and then scrunching each section of curls.
Bear in mind I do all this with sopping wet hair before I even think of drying my curls, once I’ve finished I will scrunch my curls with my microfiber towel or cotton t-shirt to soak up any excess water, before drying.
Here are some top techniques of drying my hair that work for me:
Air dry curly hair
After styling my curls, as I said, I will scrunch the ends of my hair from the tip to the root with a cotton t-shirt or microfiber hair towel to soak up all the sopping wet drips.
I will then blot dry my scalp to remove excess moisture, give it a couple more scrunches, twisting snd twirling certain curls until I’m happy with the finished look.
Then LEAVE IT ALONE; try to keep your hands out of your hair while it is air drying; this will cause frizz; I know it can be hard but try to resist the urge.
If your hair feels like there’s too much product still in it, don’t panic; once it is dry, you can scrunch out the crunch and break the hard cast of your styling products.
Diffusing curly hair:
If you have long, thick, curly hair, I know the struggle of wash day; drying your curls can take hours and a lot of patience; luckily, the diffuser seriously speeds up the process.
You may need to purchase a diffuser separately, but it is an attachment that is definitely worth the investment.
The first thing you’ll want to do is apply your leave-in conditioner and all your favorite hair styling products and work in sections to style each curl with a brush.
Once you’re happy with your curls, grab the diffuser and scrunch your curls towards the roots.
You can either hold the blow dryer at a 90º angle and place the diffuser at the roots of one section, starting at the nape of the neck and gently holding the eyes away from the diffuser, moving a circular motion and lifting the roots.
Another brilliant way to add volume is to flip your head upside down and place the diffuser at the roots of your hair, using the diffuser’s fingers to lift the root in a circular motion.
Then once the root has a bit of volume, you can scrunch up the mid-shaft to hold and dry; you want the roots and mid-shaft to be completely dry to lock in volume.
Remember to use a low-medium air speed and low-medium heat, this may take longer but it will prevent heat damage and frizz. You should also only dry your hair to 80-90% then airdry the rest, do the ends last or not at all to keep curls defined.
Diffusing your curls is brilliant for a night out or if you’re quite strapped for time. Check out my full guide here for my top recommendations of the best diffusers for curly hair.
Plopping your curly hair:
Plopping your curls is a brilliant way to dry and define curly hair. It is a heat-free styling technique that helps cut down drying time without damaging your hair; it keeps you from touching your curls and letting them dry.
Instead of letting your curls hang and lose definition because of the product’s weight and moisture in your hair, it collects on top of your hair, keeping curls defined in a spiral shape.
Using a regular towel is a no-no for this method as regular towels absorb too much moisture, which is essential for curls, leaving them very dry.
This is why a soft fabric like a cotton t-shirt, microfiber towel, or hydrophilic cloth is recommended.
What you’ll need:
- – Either a microfiber towel or cotton t-shirt (preferably with long sleeves).
- – Your chosen styling products: styling cream, gel, and/or leave-in conditioner.
Step 1: Grab a big T-shirt:
Once you’ve washed and styled your curls with a styling brush and your styling products, you’ll want to grab yourself an XXL t-shirt– long-sleeved is preferred as it’s easier to wrap.
Lay your t-shirt upside down with the sleeves and the neck hole closest to you on a chair or bathroom counter, ideally a flat surface.
Step 2: Wrap the hair:
Once you’ve applied your stylers, such as a lead-in conditioner or gel, to your sopping wet hair, flip your head over the center of the t-shirt pressing your head down on the curls.
Reach up and grab the bottom of your shirt (with your head still upside down) and lay it over your head so it is touching the nape of your neck and completely covering your hair.
Think of it as creating a protective bag over your curls– turn your head and flip it upside down and wrap the t-shirt, microfibre towel, or terry cloth over your head.
Step 3: Grab the sleeves and tighten:
While still holding the edges of the shirt, grab the sleeves and twist them to tighten the t-shirt around your head. (See why I recommended using a long-sleeved tee?)
Then wrap the twisted sleeves around your head and tie them in place to keep the shirt from sliding or falling off; if it looks like a wet helmet, then you’ve done it right.
I would reccomend wearing this for like 10-20 minutes, and then you’ll open the shirt to voluminous, frizz-free curls as the hair begins to dry– it’s pretty cool!
You can even plop your hair overnight if you feel comfortable sleeping with your hair tied up in a long-sleeved cotton t-shirt or microfibre towel.
It all depends on what works for you and your hair type.
Summary
Drying curly hair and learning how to dry curly hair properly makes a world of difference to the appearance of your curls and the overall health of your hair.
Something as simple as blow-drying with the heat too high, using the wrong towel to dry your curls can cause a whirl of frizz, heat damage and really dry out your curls.
It’s all about working out the method that works for you and your hair type; it’s all a bit of trial and error until you work out what suits you best.
Give some of these techniques a go!

Best L’Oreal Products For Men
[Review] in 2022 written by nail expert Jess RowleyCheck out the results fast - here are our review winners[dica_divi_carousel item_width_tablet="400px" item_width_phone="345px"...

Best Neutrogena Skincare Products
[Review] in 2022 written by nail expert Jess RowleyCheck out the results fast - here are our review winners[dica_divi_carousel item_width_tablet="400px" item_width_phone="345px"...
Best Nivea Products For Men
[Review] in 2022 written by nail expert Jess RowleyCheck out the results fast - here are our review winners[dica_divi_carousel item_width_tablet="400px" item_width_phone="345px"...
Best Rodan+ Fields Products
[Review] in 2022 written by nail expert Jess RowleyCheck out the results fast - here are our review winners[dica_divi_carousel item_width_tablet="400px" item_width_phone="345px"...
Related Post: Best Diffusers For Curly Hair

