Step By Step Guide To A Round Nail Shape

written by nail expert Jess Rowley
Topics we've covered
Easy Steps To Get A Classic Round Nail Shape:
Looking to go for a timeless classic, or just bored of your usual stiletto, square, or coffin nails? Keen to keep your pretty tips short and practical while still looking good?
Well, nowadays it has never been so easy.
I love switching up my manicure from time to time, and round nails are always a go-to for a natural fix after a daring stiletto phase.
But if you don’t know how to file your nails, there’s no need to panic!
I’m here to break down all the confusing features with a step-by-step guide as to how to achieve this classic shape– you’ll be filing like a pro in no time.
Round nails complement every outfit and match pretty much every design, they suit most people too and it’s something you have to try out in your next manicure.
I love rocking a classic look and here’s how!

Here’s the full step by step guide to filing your nails to the perfect round shape:
There is no better way to top off a new manicure, than with a new nail shape, what better way to do that than with a good ol’ filing session.
Whether you’re bored at home and want to try some new trendy designs or just want to switch up your nail shape with a timeless classic.
Round nails are perfect for any occasion, whether you want a classic opaque finish, new acrylic nail set, or new nail shapes to add your nail art, then round nails are up for the job.
Learning to file takes a lot of practice but it is worth it in the long run, it will allow you to pull off any nail look flawlessly.
Here’s a step-by-step tutorial as to how:
Here’s what you’ll need:
- – A trusty pair of nail clippers
- – A good nail file
- – Nail duster
Step One: Clean, prep, and trim your nails:
First things first if you have long nails then you want to trim those bad boys down. It is best to trim them to a square shape.
Once you’ve got the square shape, clip the edges to get the right nail shape, so it looks like a short coffin, this will help keep all the nails in the same rough shape while filing.
It is also important to remove any dirt out from under your nails with a nail file. Be gentle as you don’t want to crack the tips of your nails.
Make sure you wash your hands after to clean off any excess dirt from your nails.
This step helps keep your nails nice and even, especially if some are longer than others originally. If you are doing this with acrylics then shape them the same way, but based on the length you want.
Step Two: File away:
Now not all nail files are created the same, some vary in shape, sizes, and grits. If you’re working with acrylic nails then you need a coarse grit on your file. If you’re shaping your natural nails into this round shape a medium grit will be best.
Once you’ve got the right shape and right file then start to file your nails, starting at the side of the nail and working your way towards the center.
Once one side is rounded, move onto the other side, blending it until you are happy with the shape.
Always remember to file in one direction only, if you file back and forth you may risk breaking your nail. With acrylic nails you want to file straight up on down on each side, working your way to the middle
Step Three: Sculpt and shape into round nails:
Take your time to sculpt the round nail shape, you should aim for an almond shape, and then smooth out the top. It should be more blunt and rounded than oval nails.
Once you’re happy with the nail shapes then move onto the next step.
Step Four: Sweep off the dust:
After you’ve achieved your desired shape you should dust off your nails with a makeup brush or proper nail shape brush to get off all the excess from filing your nail.
I would also go and wash your hands to make sure all of the dust is off.
Step Five: Finishing touches:
Now you’ve got the nail shape down like a boss it’s time to paint your nails (unless you want to leave them natural).
Apply a layer of your favorite base coat, two layers of your desired polish, and seal the deal with a topcoat. Remember to leave a few minutes in between each layer for the nail polish to dry.
You can also add nail art to your acrylic nails or natural round nails to spice up your manicure that little bit more. Once you’ve added all the finishing touches then make sure to add cuticle oil to nourish and strengthen the nails.
There you have it, beautiful round nails to compliment every outfit and mood!

Best L’Oreal Products For Men
[Review] in 2022 written by nail expert Jess RowleyCheck out the results fast - here are our review winners[dica_divi_carousel item_width_tablet="400px" item_width_phone="345px"...

Best Neutrogena Skincare Products
[Review] in 2022 written by nail expert Jess RowleyCheck out the results fast - here are our review winners[dica_divi_carousel item_width_tablet="400px" item_width_phone="345px"...
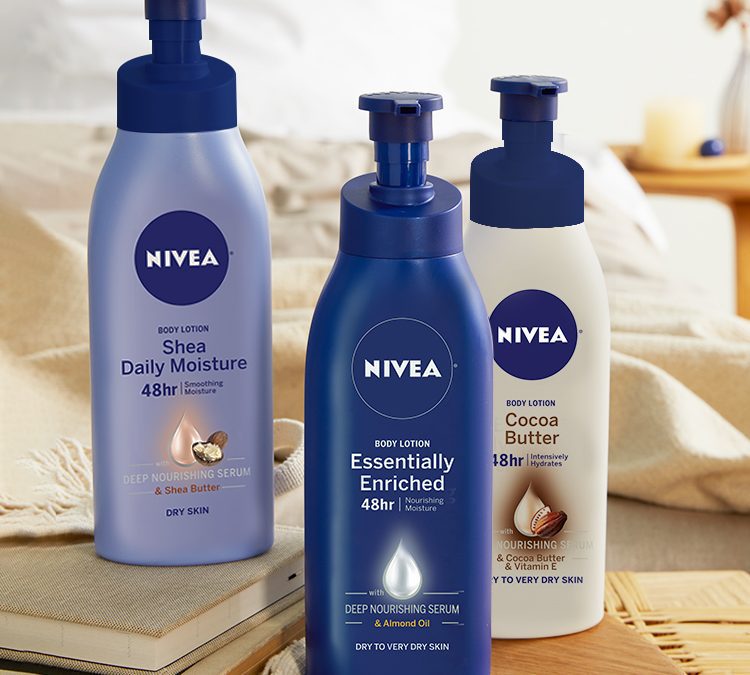
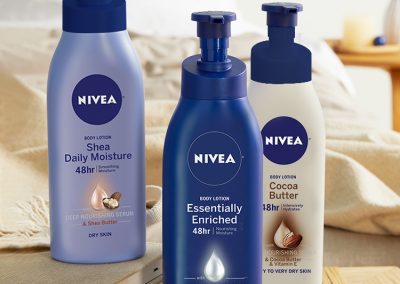
Best Nivea Products For Men
[Review] in 2022 written by nail expert Jess RowleyCheck out the results fast - here are our review winners[dica_divi_carousel item_width_tablet="400px" item_width_phone="345px"...
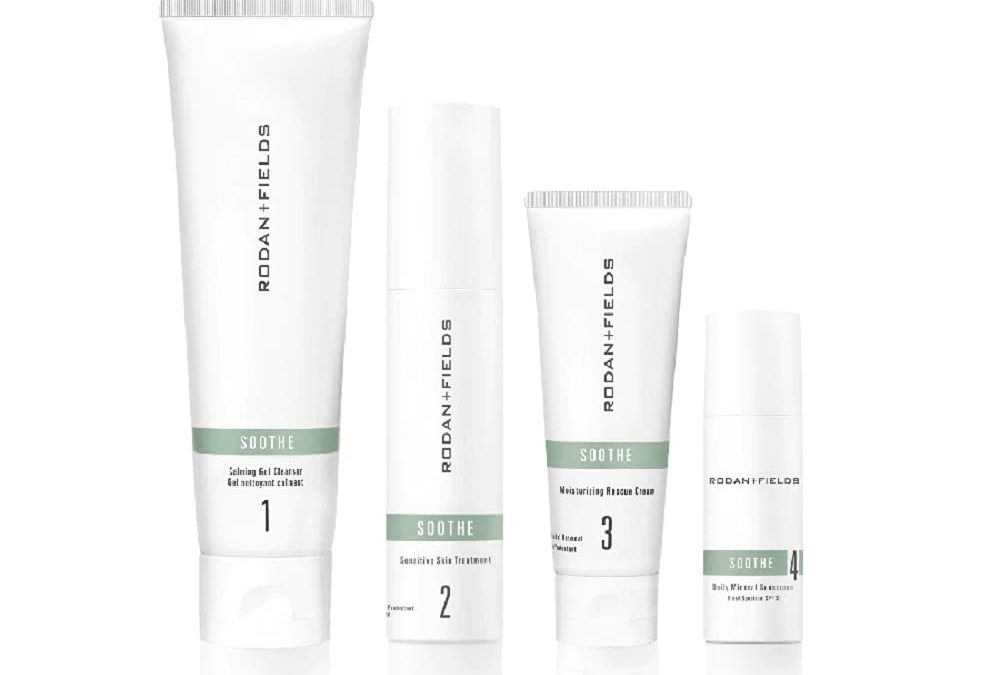
Best Rodan+ Fields Products
[Review] in 2022 written by nail expert Jess RowleyCheck out the results fast - here are our review winners[dica_divi_carousel item_width_tablet="400px" item_width_phone="345px"...
Related Post: Best Nail Polish