How To Use A Diffuser On Curly Hair

written by nail expert Jess Rowley
How To Use A Diffuser On Curly Hair:
Anyone with straight hair will never know the struggle of a wash day or just caring for curly hair in general. There are countless troubles we curly girls go through with our hair.
I’m talking about humidity, frizz, scrunching, moisturizing, defining our curls. It’s a list that never seems to end, not to mention only being able to brush our curls while wet.
But enough of that, let’s talk diffusing.
If you’re new to the Curly Girl Method, then I’m here to give you a warm welcome; this is curly girl 101. I’m here to show you all the tips and tricks to styling your curls, and this guide we’re talking about diffusing!
Now, wait, let me tell you something:
You may have already diffused your hair and found yourself tackling a whirl of frizz, and don’t worry, this isn’t the diffuser, but it may be your technique.
If you diffuse your hair in the right way, your hair won’t be frizzy, and your curls will be defined. Lucky for you, I’m here to show you all the basics and more.
Stay tuned; diffusing your hair the right way will TRANSFORM your curls!

What Is A Hair Diffuser?
A diffuser is an attachment for your blow dryer that disperses air evenly to reduce frizz and keep it from disrupting the natural curl pattern.
It helps dry your curls more evenly and gently without causing frizz. It is a brilliant way to keep in curl styles for longer and leave your curls looking defined for days to come.
Using a diffuser will help define curls and add major volume; instead of your hair blowing around wildly and causing damage from the heat of a regular blow dryer, a diffuser cups and nestles hair in one place.
It comes in a bowl-like shape with prongs that are designed to cradle hair. These prongs can also help lift the root to add any volume and lift the hair from the scalp. You can even use this while your head is upside down for any extra volume.
Your hairdryer may not come with a diffuser, so you may need to buy the diffuser attachment separately, but they’re universal and easy to get hold of.
Just be sure to buy the right size for your hairdryer.
Why Use A Diffuser On Curly Hair?
As any curly girl knows, using a hairdryer is a no-no, the force of the hair can cause your hair to clump together and leaves your curls looking undefined and frizzy.
Instead of directing heat to one hair to dry strands, they evenly distribute heat in a 360 direction to wrap around curls and gently dry curls. This helps dry your curls without disturbing the curl pattern.
Hair diffusers are ideal for those in a hurry or strapped for time and need to dry their curls– such as if you wash hair before bed, you shouldn’t go to bed with wet hair.
They can also maximize the volume of your waves, giving the illusion of thicker, fuller hair. Using the right technique and products can help boost curls and reduce frizz.
Here are some of the top benefits of using a hair diffuser:
- – When using the right technique and products can reduce frizz
- – Drys curls without disturbing the natural curl pattern
- – Speeds up drying time
- – Less damaging for curls than using a blow dryer on direct heat

How To Use A Diffuser On Curly Hair:
So now we’ve covered the basics as to why you should use a diffuser; now it comes down to the question as to how to use a diffuser on curly hair.
We all know that drying curly hair naturally can be a tedious task.
If you’re new to diffusing, don’t be disheartened if you don’t quite get it right the first time. Here are some tips to perfect your technique for next time.
These will leave your curls looking voluminous, defined, and luscious. The first thing you’ll need is a diffuser attachment for the hairdryer; make sure it fits before you begin to blow dry too. Check out the full guide of my top diffuser recommendations here.
Step One: Wash your hair:
So the obvious first step is to wash your curls, whether it is your weekly wash day or whether you’re reviving your curls with a good ol’ co-wash and conditioning treatment.
Be sure to give your scalp a good massage; this is the step that really washes your hair. I always massage the shampoo or massage my scalp under running water for a good minute or two.
Remember the sulfate-free shampoo, ladies, if you’re shampooing.
We all know how to wash our curls, right? Well, if you’re still new to it, don’t worry; I’ve broken down the best way to wash your curls in a full guide here.
When conditioning my hair, I love to comb through the conditioner using a wide-tooth comb; it helps masses with the detangling as the comb slips through, it also ensures that the cuticle is hydrated.
If you need that little extra hydration when applying conditioner, after combing through, scrunch the ends of your hair before rinsing, so the conditioner is absorbed into the cuticle.
You can either detangle before or after you’ve rinsed out your conditioner, but be sure to use a leave-in conditioner if you do it afterward.
Remember, patience is key; start from the bottom and work your way up. No tugging or snagging on your precious curls as this can damage the curl shape and cause breakage.
Step Two: Apply styling products:
Got a comb through what feels like a bird’s nest of curls? Brilliant, now it’s time to apply your curl-defining styling products. Don’t forget your heat protectant too, while you may only be using low heat, any direct heat can damage curls without a heat protectant.
Whether you’re using gels, creams, or mousses, here’s a pro tip: I like to work in sections to ensure every curl is defined. Grab yourself a water spray and work through each layer and each section.
Spray down each section with the water spray until it is soaking wet, apply your styling products to that section and then use your styling brush and twirl it through that curl until it looks defined. Then scrunch until you’re happy with the shape.
You want to be sure each section is soaking wet before applying products. This really helps curls defined and adds even more volume when diffusing.
Once I’ve applied my styling products I give my hair a quick towel dry with either a microfibre towel or cotton t-shirt. I will give a scrunch to remove excess water but still damp.
Step Three: Set your hair diffuser to a medium/low heat:
Whether you’re using a diffuser attachment or a hair dryer, you want to be sure that that bad boy is on a low heat and low speed.
This is the key to frizz-free curly hair; if you can use it on the coolest and lowest setting possible, you’ll have the best results.
I know this may take longer than using higher heat, but trust me, it’s worth your patience; it will prevent heat damage and leave your curls frizz-free.
Step Four: Flip your head upside down:
Before using a diffuser, you should flip your head upside down or to the side; this is a brilliant way to create lift at the roots and create volume.
You should gently lower sections of your curls into the diffuser bowl and gently move the diffuser towards your roots.
You want to use the similar motion you would use when scrunching your curls but instead of using your hand, scrunch with the diffuser.
Once you’ve reached the root, hold for around 30 seconds, then lower and move onto the next section. This is why the settings must be cool.
Step Five: Repeat:
Repeat the previous step until your hair is 80-90% dry; you want the ends to be still slightly wet once you’ve finished, this will help retain the moisture.
Just make sure you don’t leave the house before your hair is 100% dry. Otherwise, this will just cause frizz.
Once your hair is completely dry, you may notice a hard cast surrounding your curls; this is caused by the gels or creams you’ve applied.
The tip is the “scrunch out the crunch” using a small amount of curl-defining cream, and this will leave your curls looking smooth, getting rid of the crunch without losing the definition.
You can have a little play around, shaking and fluffing the roots for a little volume.

Tips For When You Use A Diffuser:
Here are some tips for diffusing curly hair before starting; they really made a difference for my curls.
Layer your products:
Using products can either make or break your curls; choosing the right products for your curls can make a massive difference in taming frizz and adding definition.
It all depends on your hair porosity and curl type. Some curly girls stick with some leave-in conditioner, and they’re good to go, while others need gels and creams.
All the magical stuff, really.
So first step is using the right products and applying them in layers is the second. I like to section my hair and use a water spray to drench each section, so I have soaking wet hair before applying my product.
I have low porosity hair, so I like to use a lightweight gel or cream. I will start underneath, spray down a curl section, apply my gel, and use my Denman Brush to style.
This helps absorb products into my hair without weighing it down. Don’t forget your heat protectant, too, ladies; you may not be using high heat, but without a heat protectant, it can still cause damage to your hair.
Target the roots:
We curly girls know by now that the ends are the driest part of our hair, they seriously lack moisture, and the last thing we want is to suck up all the moisture on the ends using the diffuser.
Also, what takes the longest to dry? The roots, so that is where we should start. If you target both the roots and ends simultaneously, the ends will be fried by the end of it.
So you want the diffuser to linger at the roots but leave the ends hanging for a little while; this should help dry the roots and prevent drying out the ends of your hair.
Also, remember only to use a medium/cool heat setting to prevent heat damage, and again, remember your heat protectant!!!
Dry to 80-90%:
It is super important to only dry your curly hair with a diffuser until it isis 80-90% dry. This will help retain the moisture in the ends of your hair and will leave curls looking defined.
You want to ensure that the roots are 100% dry and the ends are still slightly damp. The last thing we want is halo frizz around our roots.

Diffusing vs. Air Drying Curly Hair: What’s better?
This all really depends on the situation you’re in and the type of curls you have. For some people diffusing unleashes a whirl of frizz, while others find it defines their curls.
Those with thicker, fuller curls tend to prefer diffusing because otherwise, it takes all day for their curls to dry, and we don’t have time for that.
Additionally, it is recommended that you don’t go to bed with wet hair as this can cause breakage, and it is the recipe for frizz.
Our hair is most fragile while wet, so in the situation where you’ve had an ‘oh crap’ its 9 o’clock moment, and you haven’t washed your hair, then diffusing is a better option.
As long as you use a heat protectant and use it on low heat, using a diffuser as revolutionized curls.
Summary
Who knew that diffusing your curls the wrong way can cause frizz? Well, as they say, being a curly girl and caring for curls is all a bit of trial and error.
It may take a couple of tries with a few different products, but once you’ve got the technique down to a T, then the luscious curls will follow.
Give the diffuser a go!
Best L’Oreal Products For Men
[Review] in 2022 written by nail expert Jess RowleyCheck out the results fast - here are our review winners[dica_divi_carousel item_width_tablet="400px" item_width_phone="345px"...

Best Neutrogena Skincare Products
[Review] in 2022 written by nail expert Jess RowleyCheck out the results fast - here are our review winners[dica_divi_carousel item_width_tablet="400px" item_width_phone="345px"...
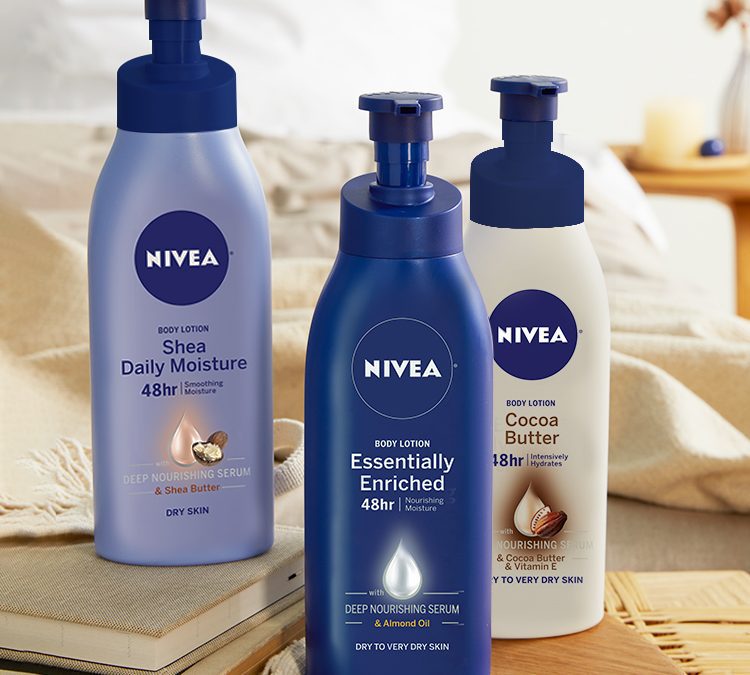
Best Nivea Products For Men
[Review] in 2022 written by nail expert Jess RowleyCheck out the results fast - here are our review winners[dica_divi_carousel item_width_tablet="400px" item_width_phone="345px"...
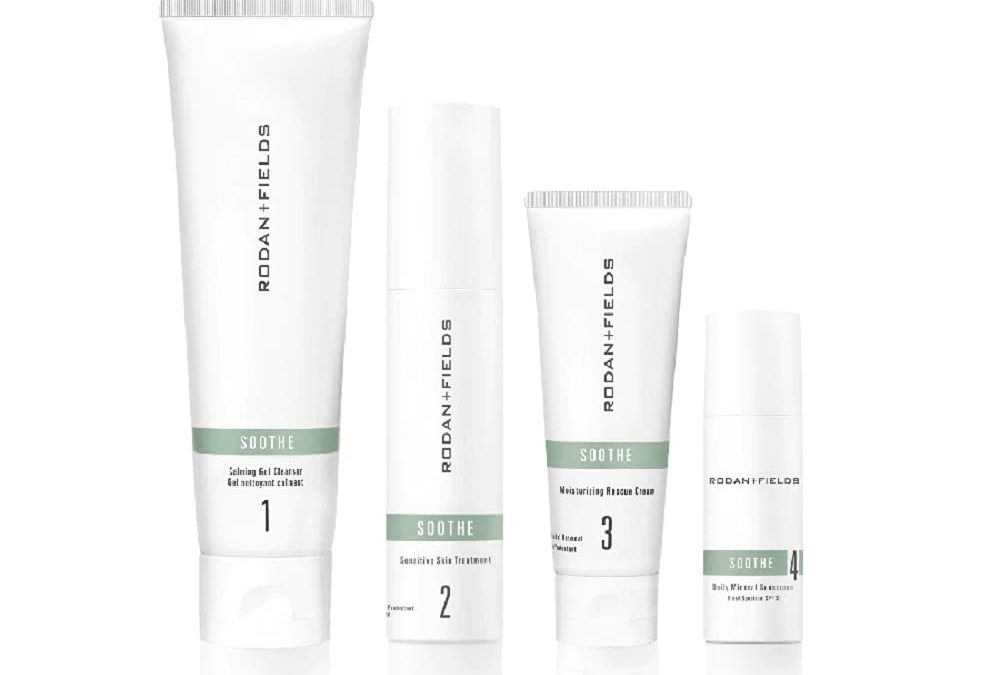
Best Rodan+ Fields Products
[Review] in 2022 written by nail expert Jess RowleyCheck out the results fast - here are our review winners[dica_divi_carousel item_width_tablet="400px" item_width_phone="345px"...
Related Post: Best Diffuser For Curly Hair