How To Make Facial Cleanser

written by nail expert Jess Rowley
How To Make Facial Cleanser
Have you been looking for a natural face cleanser to remove dead skin cells and prevent breakouts but just can’t seem to find one that works for you?
We’ve all been there. Skincare is so difficult to get right because there’s just so many different types of product and half a dozen different skin types that these products may or may not benefit from.
Well, whether you have dry skin, sensitive skin, or oily skin, you can always try a homemade face wash made with ingredients that YOU have chosen so you can ensure that it’s tailored to you and your unique skin.
In this article, we’ve covered a whole host of DIY face wash methods that you can try so you’re sure to find at least one that makes a difference to your skin.
Every method here is made with natural ingredients and we’ve given you a quick step-by-step guide on how to put them together so you can have your very own custom-made natural facial cleanser.
This will, in the long run, save you time and money as you’ll know exactly what ingredients collaborate best with your skin so you never have to worry about bothering with store-bought products again.
Now, if you want some advice on how to properly apply your facial cleanser then check out our article on how to use a facial cleanser.
The All-Round Excellent Cleanser
This face cleanser is great for all skin types, follow the steps below and you’ll have your skin soft and clean in no time.
- Warm Water – Get some warm water ready as this will be the base of your cleanser. Make sure the water isn’t hot, however, as this will only irritate your skin.
- Castile Soap – Next, add in some liquid Castile soap, this is a gentle cleanser that will remove dirt without stripping away your skin.
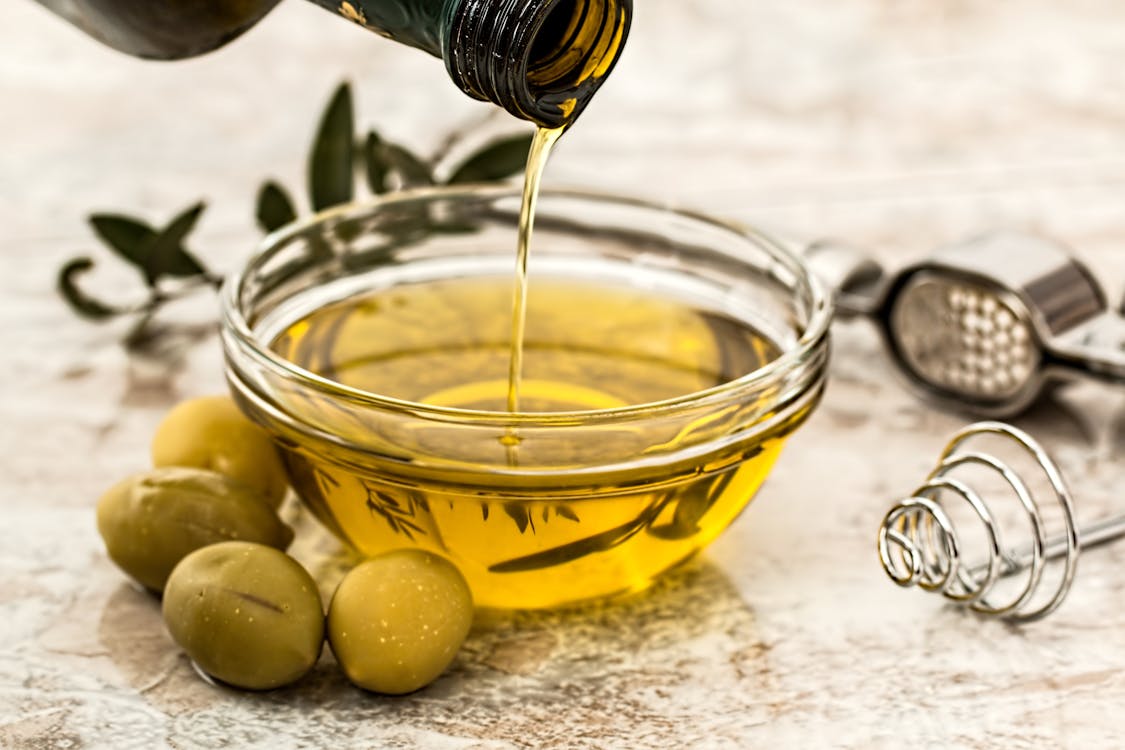
- Carrier Oil – Now add some carrier oil, this could be rosehip seed oil, olive oil, jojoba, almond oil, or even apricot kernel oil.
- Essential Oils – This next step doesn’t require any particular essential oil so this one is up to you. DIY facial cleansers are good because you can customize them so the oil or oils you add here will depend on your needs. Some recommendations though are tea tree for blemishes, frankincense for scars, cucumber seed if you have dry skin, or lemongrass if you have acne-prone skin.
- Gently Massage – Once you’ve mixed in everything, it’s time to apply your new cleanser with all-natural ingredients. you’ll certainly be giving many commercial skincare products a run for their money.
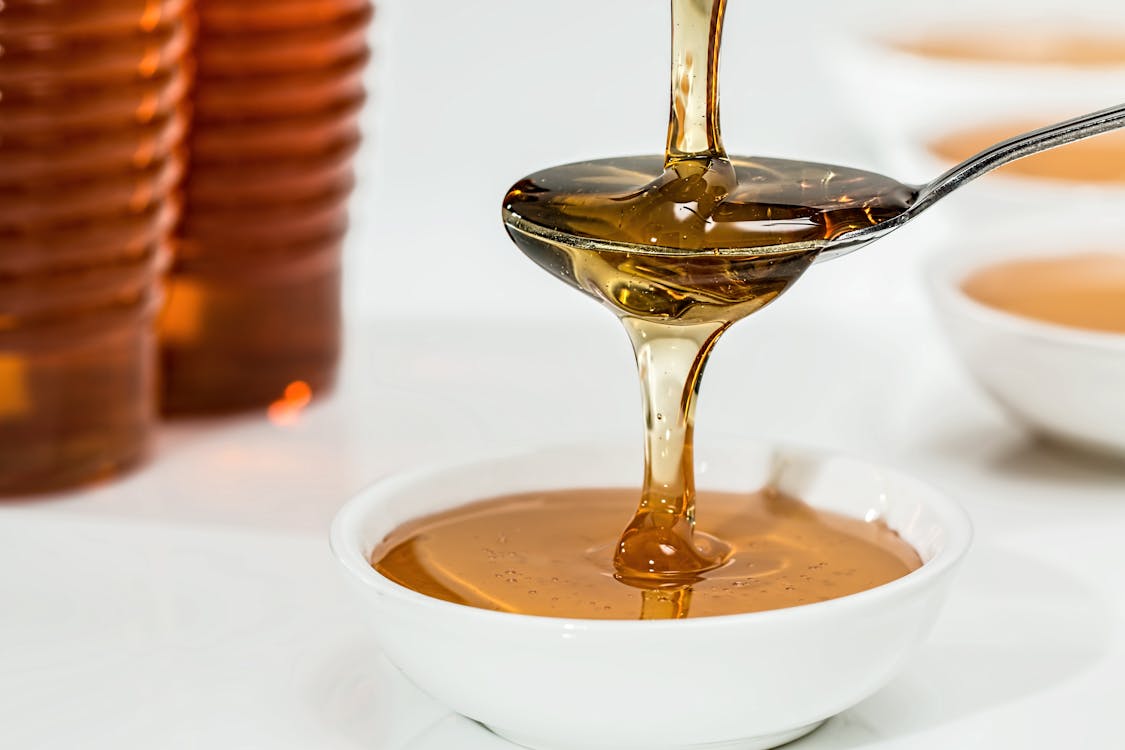
Honey And Lemon Face Cleanser
Honey and a little lemon juice combine to make a perfectly soothing and cleaning combination for a natural face cleanser.
Honey is famed for its natural antibacterial and anti-inflammatory qualities, plus, it’s full of antioxidants. This helps fight acne and free up clogged pores making the honey/lemon combo easily one of the best natural remedies no matter your skin type.
- Mix it – Firstly, mix 1 tbsp of organic honey with the juice from half a lemon.
- Mask up – Apply the mask, covering your face and neck but ensuring you avoid your eyes.
- Let it sink in – Wait 20 minutes for the nutrients and goodness from the honey and lemon to absorb into your skin.
- Rinse – Wash off the mask with warm water and then wash your face with cold water once the honey is all gone.
- Pat dry – Dry your face with a soft towel. Pat don’t rub!
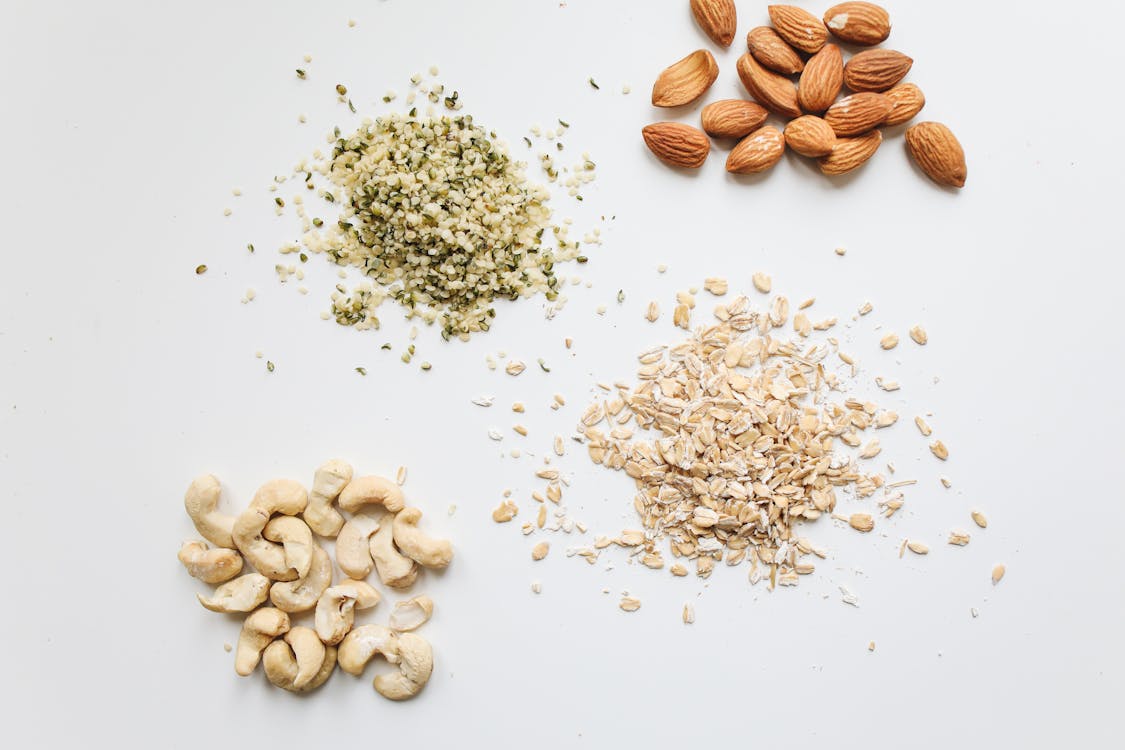
Cleansing Grains
Cleansing grains are normally made from herbs, oats, nuts, or rice in a powdered form and provide an exfoliating scrub for the face.
They need to be super finely ground to avoid irritating the skin though otherwise leftover hard bits and shells will have sharp edges that can cause microtears in your precious skin barrier which leads to breakouts or potential scarring.
- Grind – To begin, you need to grind some oats or almonds into a fine powder ensuring it’s all broken up properly. take extra care with nuts as the shells are harder to break down.
- Mix – Now you’re going to mix this powder with a liquid of your choice. Some popular and effective options are milk for a milk cleanser, plain yogurt, lemon juice, water, or even raw honey.
- Lather it on – Gently apply the paste to your skin avoiding your eyes.
- Rinse – Wash the paste off with warm water
- Dry – Pat dry with a soft, clean towel
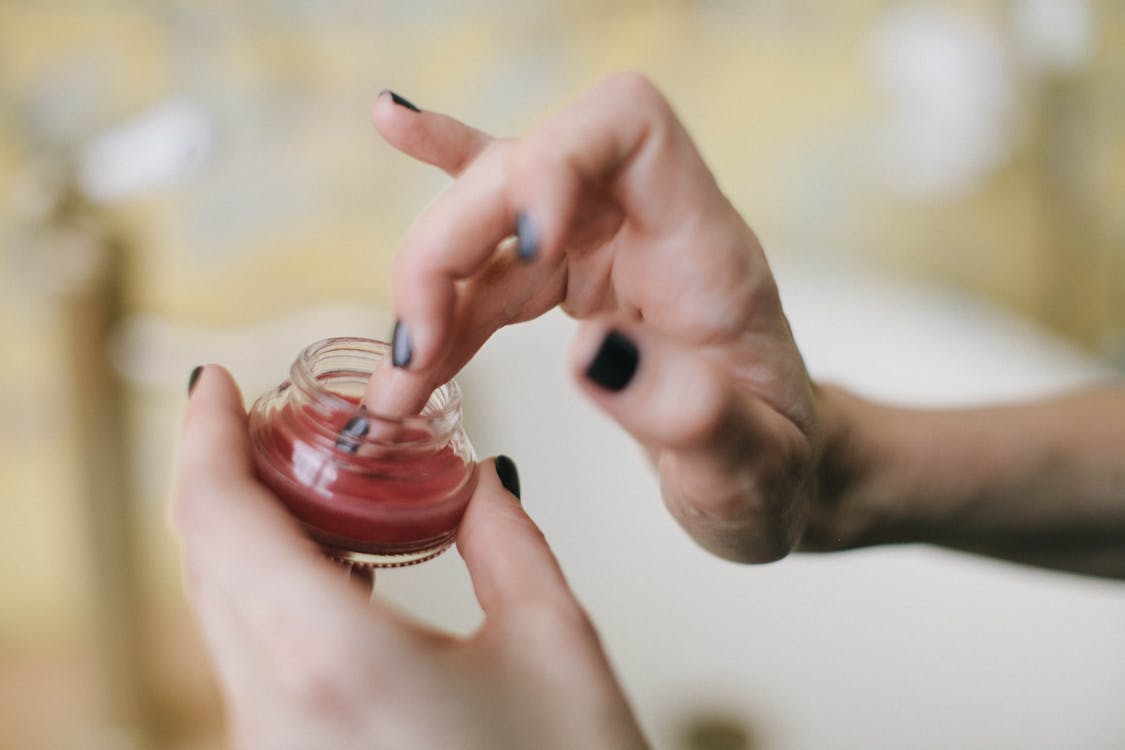
Oil Cleansing Method
It may sound counter-productive but an oil cleanser can work wonders for any skin type even oily skin. Certain combinations of oil will strip away not just makeup, but also the sebum and dirt clogging your pores.
- Oil – Start by applying the oil to your face with soft circular motions. Castor oil is a favorite among many but you can use any oil that you think will work.
- Sit – Let the oil sit for a few minutes, while you do this you can also hold a warm washcloth close to your face to open up your pores and help the oil absorb better.
- Rinse off – Now rinse the oil off with warm water. Be sure not to leave any on your face.
- Splash cold water – Splash some cold water on your face to close up your pores again otherwise you’re more susceptible to getting dirt and other debris clogged up in your pores.
- Dry – Pat dry with a towel.
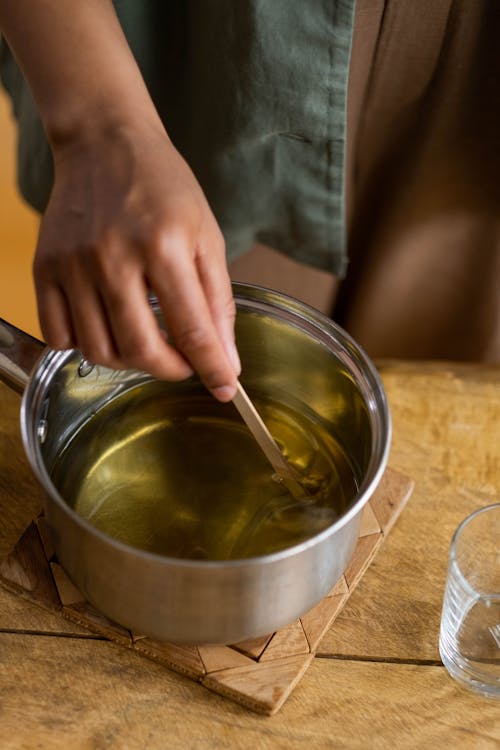
Cleansing Balms
Oil cleansing is effective because the oil breaks down makeup and pulls out dirt from inside the pores. If you’re aiming to prevent a certain issue then you can add a few drops of your chosen essential oil to the cleansing balm as you make it.
- Boil water – Boil a small amount of water in a pot and then reduce the heat to low.
- Beeswax – Measure 1/2 a teaspoon of beeswax and put it in a heat-proof measuring container. Then place the container into the boiled water so the beeswax melts.
- Coconut oil – Add 1 teaspoon of coconut oil and melt it.
- Jojoba – Remove the pot from heat and add two tablespoons of jojoba then stir the mixture.
- Clay – Add 2 teaspoons of bentonite clay.
- Baking soda (optional) – Now add 1 teaspoon of baking soda.
- Essential oil – Obviously you can add your own essential oil but if you want a recommendation, we’d suggest adding around half a dozen drops of frankincense essential oil.
- Storage – Store your new balm in a container.
- Dry massage – Rub your balm onto dry skin.
- Wet massage – Now wet your hands and rub the balm in some more.
- Remove – Remove the balm with a cleansing cloth or your hands if you prefer.
- Rinse – Now wash your face with some warm water.
- Dry – Pat dry with a towel.
Effective Ingredients You Can Use
Here is a list of popular ingredients that are used in store-bought face cleansers and homemade cleansers. You will have heard of many of these but it’s always worth knowing exactly what everything does.
Tea Tree Oil – When diluted properly tea tree can be used as a topical treatment, and you can apply it directly to the skin on a daily basis.
Green Tea – Green tea is well-known for its anti-inflammatory properties and it can help reduce skin irritation, skin redness, and swelling. It’s recommended to combat many dermatological conditions too.
Honey – Honey is arguably the best natural skin remedy thanks to its antibacterial and antiseptic abilities it’s known to work wonders for oily and acne-prone skin.
Jojoba oil – Jojoba is known for its healing properties that make it effective at treating skin conditions like acne, eczema, and psoriasis.
Grapeseed oil – Grapeseed oil contains high levels of vitamin E, which has high antioxidant properties and has been shown to contribute to the reduction of damaged cells.
Lactic Acid – This increases cell turnover and helps eliminate accumulated skin cells on the epidermis. It can be found in products such as yogurt.
Aloe Vera – Another one you’ve likely heard of, Aloe Vera contains enzymes, antioxidants, vitamins A and C which can treat burns, acne, dry skin, and many other skin issues.
If you want to know more about other ingredients for skincare, and what they do, as well as some suggestions for amazing commercial skincare products, then take a look at our guide on the best Korean skin care products.
Frequently Asked Questions
How long should I let facial cleanser sit?
For maximum effect, a cleanser should be left on your face for 30 to 60 seconds but some cleansers will work more effectively if you leave them to sit for 2-3 minutes.
Is it bad to use facial cleansers every day?
No, it isn’t but there’s also no need to wash the face more than twice a day. In fact, doing so may dry out your skin which comes with its own host of problems.
What to do after applying facial cleanser?
When you are finished cleansing your skin, rinse your face off with lukewarm water. You can use your hands for this or a washcloth but make sure both are clean as you’ll only undo the hard work you’ve done applying the cleanser. Avoid using hot water when rinsing your face too.
What is a facial cleanser?
A facial cleanser is a vital product of anyone’s skincare routine. Face washes work to remove dead skin cells, dirt, oil, sweat, sebum, make-up, and any other pollutants from your skin to clean out clogged pores. You can find out more about facial cleansers by reading our article ‘what is a facial cleanser?’
What are the best men’s skincare products?
If you want some suggestions for great skincare products aimed at men then check out our guide to the best skincare products for men.
What’s the best facial cleanser on the market?
If you want to find the best cleanser out there then check out our buyer’s guide on the best facial cleanser for men.
Best L’Oreal Products For Men
[Review] in 2022 written by nail expert Jess RowleyCheck out the results fast - here are our review winners[dica_divi_carousel item_width_tablet="400px" item_width_phone="345px"...

Best Neutrogena Skincare Products
[Review] in 2022 written by nail expert Jess RowleyCheck out the results fast - here are our review winners[dica_divi_carousel item_width_tablet="400px" item_width_phone="345px"...
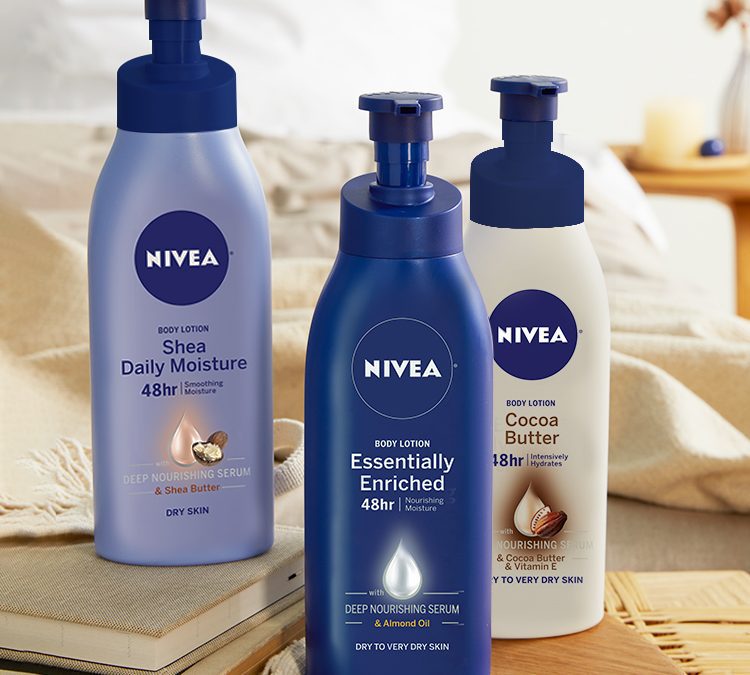
Best Nivea Products For Men
[Review] in 2022 written by nail expert Jess RowleyCheck out the results fast - here are our review winners[dica_divi_carousel item_width_tablet="400px" item_width_phone="345px"...
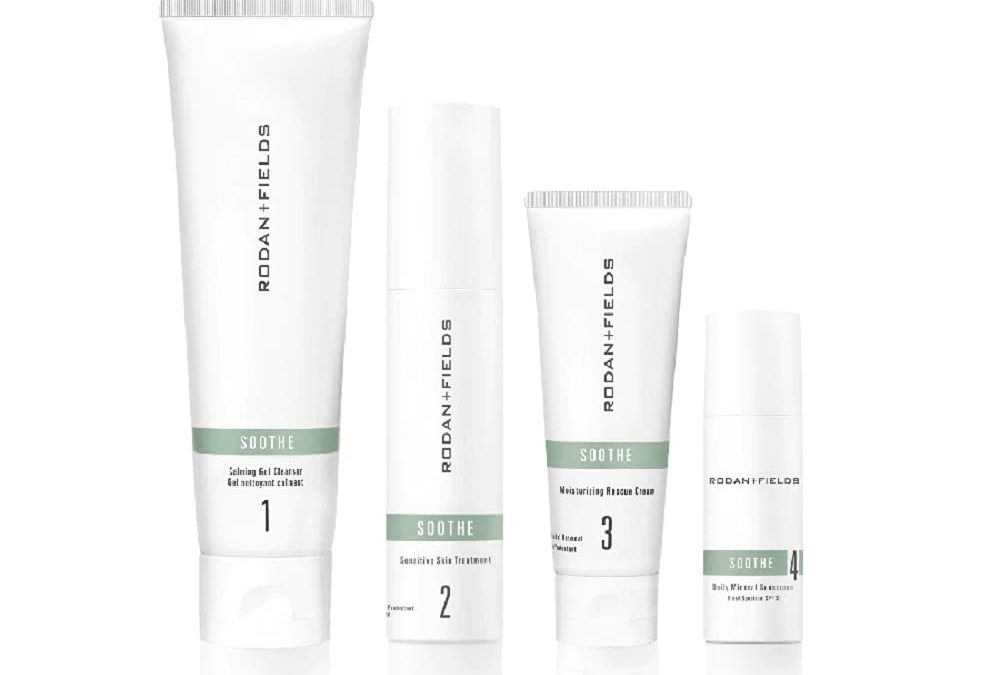
Best Rodan+ Fields Products
[Review] in 2022 written by nail expert Jess RowleyCheck out the results fast - here are our review winners[dica_divi_carousel item_width_tablet="400px" item_width_phone="345px"...