How To Easily DIY Thicken Nail Polish For Nail Stamping

written by nail expert Jess Rowley
Topics we've covered
How to Easily DIY Thicken Nail Polish: Perfect for Nail Stamping
Looking to thicken up an old runny nail polish that you don’t use anymore to use for your pretty nail stamps?
Well, it has never been so easy!
Over time our nail polishes either go runny and separated or thick and clumpy. You may think that these polishes are beyond repair but let me tell you, they are brilliant for nail stamping.
Whether you’ve just bought a new polish and it’s too runny for nail stamping or want to repurpose an old polish, I’ve got you covered.
Now let me tell you something.
I have devised a step-by-step guide to thicken up whatever nail polish you choose. I have even selected a wide range of different methods that may work with even the most stubborn nail polish.
Without further ado, let’s jump in!

What Is Nail Stamping?
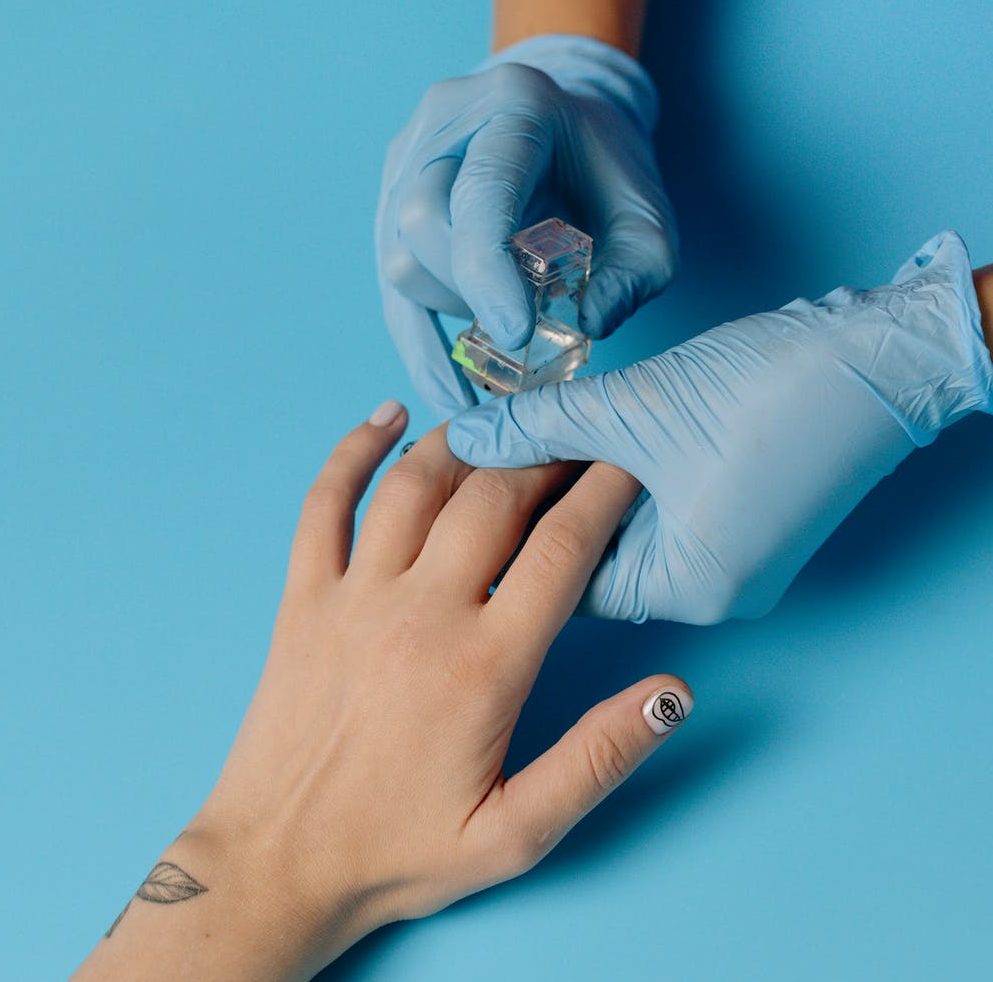
Nail stamping has been a growing trend for some time now; it will spice up any mani-pedi! It is a super-easy way to add nail art to your manicure.
You can use a vast amount of stencils to create the coolest nail art designs.
After applying all the necessary prep, base coat, and two layers of your base color, wait for it to dry and apply your design with your stamp; wait to dry and seal with a top coat– it’s that easy!
I love switching up my casual mani-pedi with some nail stamps on top; check out the full step-by-step breakdown here!
Why should you make your nail polish thicker:
There are many reasons to want to thicken up your nail polish. For example, if your nail polish is too watery and runny and difficult to apply.
Or even if you want your nail polish to be a bit thicker for nail stamping, it makes application much more effortless. It also makes nail art designs appear more detailed and intricate as the nail polish is less likely to run.
A step-by-step guide to thickening nail polish:
Here is an easy step by step guide to thickening nail polish quickly:
-First up is to open the nail polish bottle and place it in an area with constant warm airflow, like close to an open window. Or even a fan to speed up the process
– While you are leaving your nail polish bottle by the window, make sure you put the applicator in some nail polish remover to prevent it from hardening.
Ensure you check on the nail polish bottle every 10 mins to check the consistency; you can use a toothpick to check it.
– Once it is at the consistency you’d like it to be, you can put the lid back on and use it when needed!
How this Method Works:
This method works through the process of evaporating the liquid solvents; this naturally thickens the polish.
Additionally, placing it in a warm, well-ventilated place will speed up the evaporation process so that the polish will thicken quicker than usual.
Also by putting the applicator in a bowl of nail polish remover prevents the tip from hardening and turning solid while you wait.
Here’s a cool tip: you can even revert it to its original consistency by adding a nail thinner to the thickened nail polish. Or you can read my guide for alternative methods to thinning nail polish.
Problems with thickening your nail polish:
The key issue with thickening nail polish is that it may dry it out and waste good nail polish. Once your nail polish has gone thick, it cannot be easy to get back to its normal consistency.
Instead, you should spend a little extra and get a better quality nail lacquer that is thick enough consistency in the first place.
Why is thicker nail polish better nail stamping?
Thicker nail polishes usually work better when it comes to stamping. This is because the consistency allows you to create more detailed designs without the polish running risk.
Instead of using regular nail polish, I would invest in stamping polishes as they are made naturally thicker and more pigmented.
You can thicken an old nail polish or nail polish you don’t use anymore and use them for designs. It allows for more detailed, intricate designs that we all love about nail stamping.
How to thicken nail polish using a thickening agent:
If you don’t want to use the method above, you can also use a thickening agent to thicken your nail polish.
A thickening agent such as Xanthan Gum is a thickener used in jams, sauces, and even cosmetics like shampoos. A little goes a long way with this formula, so it is brilliant for thickening many nail polishes.
Here’s what you need to do:
– Add small amounts at a time to your polish, mixing thoroughly.
– After each mix, you should look at the consistency and even try the polish to see how it comes out.
– If it is still too thin, then you can repeat these steps; be sure not to add too much at once.
– I would also recommend trying it out on a color you don’t particularly like before going onto others.
My Verdict:
Nail art has been a growing trend for years now, but it can be quite expensive to get done in the salon, not to mention the maintenance.
Nail stamping is the answer to your prayers; you can experience salon-quality nail art in the comfort of your own home.
Not to mention it is fairly easy to master, and it is cost-effective. Once you’ve thickened your nail polish, you’re ready to take on your next stamping manicure.
Let’s add a bit of fun to our at-home manicures!

Best L’Oreal Products For Men
[Review] in 2022 written by nail expert Jess RowleyCheck out the results fast - here are our review winners[dica_divi_carousel item_width_tablet="400px" item_width_phone="345px"...

Best Neutrogena Skincare Products
[Review] in 2022 written by nail expert Jess RowleyCheck out the results fast - here are our review winners[dica_divi_carousel item_width_tablet="400px" item_width_phone="345px"...

Best Nivea Products For Men
[Review] in 2022 written by nail expert Jess RowleyCheck out the results fast - here are our review winners[dica_divi_carousel item_width_tablet="400px" item_width_phone="345px"...

Best Rodan+ Fields Products
[Review] in 2022 written by nail expert Jess RowleyCheck out the results fast - here are our review winners[dica_divi_carousel item_width_tablet="400px" item_width_phone="345px"...
Related Post: Everything you need to know about nail stamping


