How To Do Acrylic Nails

written by nail expert Jess Rowley
Topics we've covered
How To Do Acrylic Nails
Hate waiting in lines just to get your nails one? We all have been there and we all want to cut on that time.
Thankfully learning how to do your own acrylic nails is not a hard skill to acquire and we will help you get there in no time, not to mention the satisfaction you get from perfectly applying the acrylic over your nails.
Doing acrylic nails at home can be made fun and super easy if you follow the right steps correctly and in a sequential way. But before we proceed any further, it is important to let you know about the pros and cons that the acrylic world possesses.
Thanks to their chemical make-up, acrylic nails are stronger and more sturdy than gel nails. They last longer and if applied correctly they can provide protection to the real fingernail underneath.
While the acrylic nail will protect your natural nail, the acrylic nail is not always the natural option. they also take longer to set in after applied and are super sturdy which means no flexibility. You also get only one type of texture so not much variety is available when it comes to choosing them in that domain.
Acrylic nails are made from methacrylate, a monomer liquid mixed with a polymer powder called PMMA. This allows for strong nail tips that you will absolutely love once applied. Now that you know all about acrylic nails, let’s learn how to apply them from the comfort of your own home.

How To Do Your Own Acrylic Nails
Step 1:
You need to get yourself an acrylic kit. One that comes with all the required tools for you to get started. Mia Secret Professional Acrylic Nail Kit is a great option that will get you everything needed including written instructions should you need to check them.
Sourcing the instruments you will need individually is also a good option and it will also save you time when you need to get a touch-up on your acrylic nails 2 weeks after applying them. You will not have to run to the store to get the stuff required.
Everything you will need:
- Nail clippers
- Coarse nail file
- Nail tip glue
- Acrylic nail tips
- Acrylic nail primer
- Acrylic nail dehydrator
- Acrylic liquid monomer
- Acrylic nail powder
- Acrylic brush and bowl
Step 2:
Preparing your nails is important and crucial that you do it thoroughly. First and foremost, you need to remove any nail polish you have put on prior as it will only interfere with the process causing disasters. If you have gel on, take your time to completely remove it and then soak it off so your nails are protected and ready for acrylic.
Now push your cuticles until they recede evenly to the outline of your skin. Garb yourself a cuticle pusher as it will make this process much easier. This will give the acrylic nails all the area to be applied smoothly. It is advised that you don’t soak your nails before doing this as that will cause them to curl up once they dry which will make the process harder. Once this is done, clip your nails off to the end of it (just beyond the smile line). Keeping short nails will make the process easier and having long nails can cause them to break with acrylic which is not a good scenario.
Now buff your nails and file them using a nail file. It is a very simple and basic process that will take no time at all. Doing this will make sure your nails are even and don’t have any snags for the acrylic to get caught up in. Besides, everyone loves a smooth acrylic nail!
Step 3:
You will find a variety of different acrylic tip sizes to pick from depending on the kit you get. This gives you options to try all of them on until you find the right size. And rightfully so because you don’t want the wrong size on as that causes a slew of new problems. If you don’t find the perfect size for your nails, then find the one closest to perfect and file it until it fits.
The tips used for acrylic nails have an indent, approximately 2 – 3mm, on the inside of the tip. The free edge of your nail should fit snugly right underneath that. Once you have gone through all sizes and selected the ones that fit you perfectly, take your time to apply the nails on your nails with a little nail glue. It is important to be patient as you don’t want to mess up on the most crucial part of the procedure. Make sure the bottom edge of the tip is centered one-third of the way down your nail. This will ensure they are sturdy when your nail grows out.
Now apply pressure on the nail for 10 seconds so it sits perfectly before moving on to the next one. Repeat the process for all nails. You can also have a video tutorial cued up in front of you so you don’t miss anything.
Step 4:
After you are confident you have secured all the acrylic nails, it’s time to move on to shaping them. You will use a nail clipper and a filer to make sure they are according to the size you want them to be. If you find anything too long, you can always buff it down to your desired length. Be careful when using the filer as a slight mistake can injure you or ruin the nail.
Step 5:
Once you have shaped your tips after applying them, it’s time to apply the dehydrating nail primer. Before we proceed any further, make sure you have your bowl in front of you as you will have to pout out your acrylic liquids.
Acrylic has a pungent smell so you may need your exhausts running in the background when you do this.
First, you need to dehydrate your natural nails to prevent any moisture from keeping the acrylic from sticking. Then you need to prime your nails with the primer, painting your nails from the edge of the cuticle all the way up to the tip.
Step 6:
Start coating your nails with the acrylic mixture. Dip your brush into the bowl containing monomer acrylic liquid and then dab on the edge of the bowl so as to not oversaturate your brush. Now dip it into your clear powder. This will help you have the perfect amount of saturation without having a drippy brush.
Start just above the cuticle and slide it all the way down to the tip of the nail. Make sure you keep it as clean as possible. If some bleeds into the finger, clean it quickly. In the end, make sure to smooth off the edges of your nails with your brush. Repeat this for every nail and make sure to wipe your brush off on a dry paper towel in between every nail.
Step 7:
Now it’s the time to wait and be patient! Knowing beforehand that acrylic is temperature-sensitive is always a win as now you know the warmer the room, the quicker it will set. With this information, you would want to prefer a cooler room since you will need as much time you will need to perfect the look before it completely dries out. It should take more or less 10 minutes to dry off.
The best way to tell if your acrylic nails are dry is to gently tap them. If they are dry, they will make a clicking sound and you are good to go.
Step 8:
Now that the nails are perfectly done and dried, start filing them to your heart’s content. Give them your desired look but be careful not to overdo it. It’s always better to stay under than to go over.
Once this is done, you have successfully given yourself a full acrylic nail manicure! Have fun and enjoy your evening!

How to remove acrylic nails?
Now that you have successfully acquired a new skill, it’s time you learn how to get rid of acrylic nails as well! It’s important to keep natural nails healthy as well.
There are 2 options when it comes to removing acrylic nails. One is to remove it using acetone and the other one does it without acetone.
Acetone Method:
- – Use a nail clipper to cut your acrylic nails as short as possible
- – File and buff the top of your nail to remove any nail polish applied over the acrylic nail
- – Apply some petroleum jelly on your cuticles and fingers to protect them from acetone
- – Saturate a cotton ball with acetone nail polish remover and place it on top of your nail
- – Use aluminum foil to wrap around the cotton ball to keep it in place
- – Do this for each nail and let it soak for 20 minutes
- – If the acrylic does not start to come off after 20 minutes, let it go for 10 more
Without Acetone Method:
- – Begin by clipping all the extra acrylic nails off
- – Use tweezers or cuticle sticks to gently pry and lift the edges of the acrylic
- – Gently pour some acrylic-free nail polish into a bowl and submerge your nails in it
- – Wait for 30 to 40 minutes
- – Once the acrylic is loose, use the tweezers again to pry it off
- – This process will take longer so you will have to be patient

Summary:
With this step-by-step guide, you are ready to start giving yourself acrylic manicures at home! We believe everyone deserves a nice manicure, and who better to do it than yourself?
Give some of these a go today!
Best L’Oreal Products For Men
[Review] in 2022 written by nail expert Jess RowleyCheck out the results fast - here are our review winners[dica_divi_carousel item_width_tablet="400px" item_width_phone="345px"...

Best Neutrogena Skincare Products
[Review] in 2022 written by nail expert Jess RowleyCheck out the results fast - here are our review winners[dica_divi_carousel item_width_tablet="400px" item_width_phone="345px"...
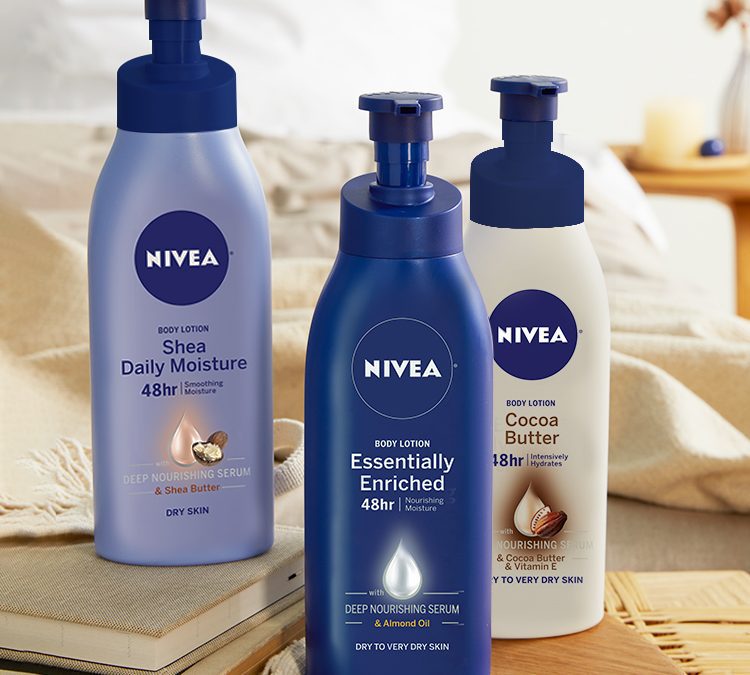
Best Nivea Products For Men
[Review] in 2022 written by nail expert Jess RowleyCheck out the results fast - here are our review winners[dica_divi_carousel item_width_tablet="400px" item_width_phone="345px"...
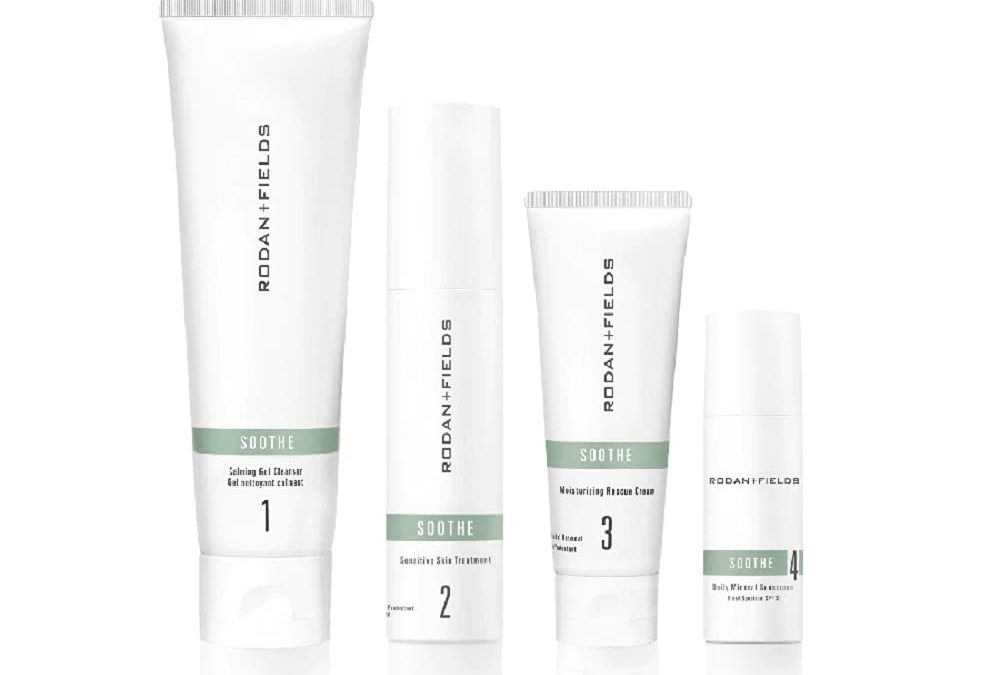
Best Rodan+ Fields Products
[Review] in 2022 written by nail expert Jess RowleyCheck out the results fast - here are our review winners[dica_divi_carousel item_width_tablet="400px" item_width_phone="345px"...
Related Post: Best Acrylic Nail Kit