How To Blow Dry Hair: How To Achieve The Perfect Blowout

written by nail expert Jess Rowley
How To Blow Dry Hair: How To Achieve The Perfect Blowout:
Every girl knows that nothing beats a good salon blowout; no matter how hard you try, it seems almost impossible to achieve the same results at home.
But what if I told you that you could achieve this look at the home if you got the right technique, products, and tools?
You probably just read that and said ‘yeah right’ in your head, but it is actually quite possible.
I’m here to show you everything you need to know to achieve the perfect salon blowout in the comfort of your own home. Using these easy techniques, you’ll be looking like you just walked out of the salon in no time.
Stay tuned; your blow-drying dreams await.
What Is A Blowout?
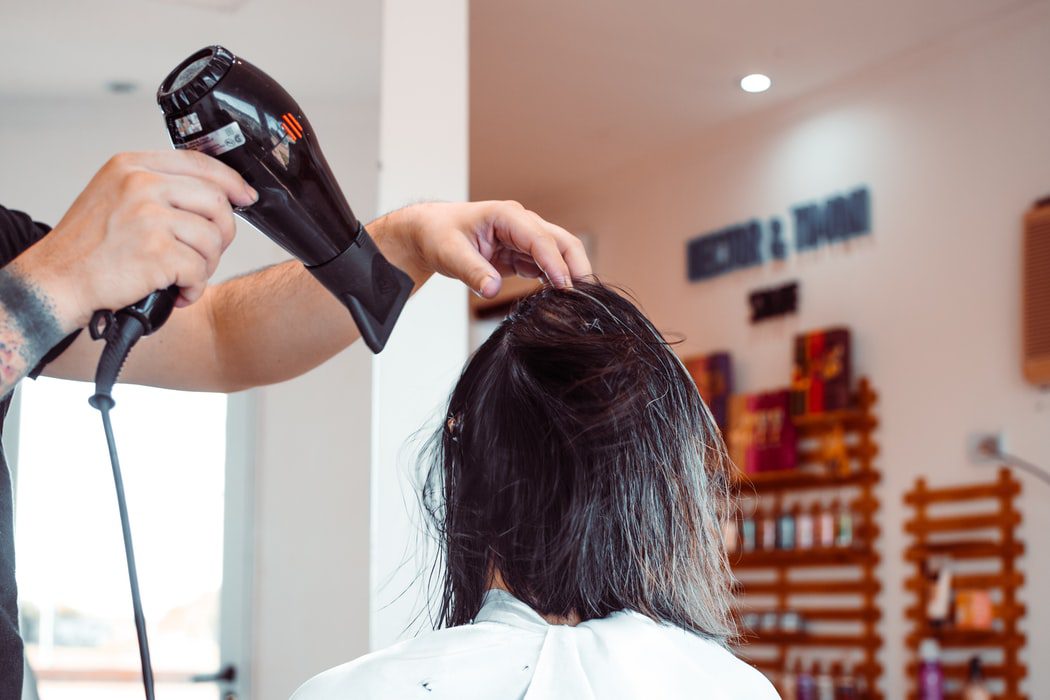
So you’ve heard the word blowout being thrown around the salon when you go to get your hair done; you know it’s something to do with using a blow dryer on your hair, but what exactly is a salon blowout?
A salon blowout is the process of drying your hair with the help of a hairbrush to achieve a smooth and sleek style.
Your locks should look shiny and manageable without having to use heat-styling tools. After having treatment, if you’re having your hair cut, then your stylist will most likely dry your hair in the salon.
Can You Give Yourself A Salon Blowout At Home?
Absolutely, with my expert tips and a little practice, you’ll be able to master a bouncy, smooth, voluminous blow-dry in a blink of an eye.
But don’t be dishearted if you don’t get it right the first time; achieving a salon-quality blowout at home is no easy feat; it requires a lot of time and patience.
I’m here to help you achieve bouncy, voluminous hair at home with some easy top tips.
What You’ll Need To Achieve The Perfect Blowdry At Home:
For starters, I would always recommend using the nozzle when you blow-dry your hair; it quickens drying time and helps you achieve a smooth, sleek, bouncy finish that you crave.
Let’s start by talking about what you’ll need:
Hairdryer:
When it comes to finding a hairdryer, you should look for at least 1,8000 watts with multiple heats and air settings. The best setting for rough drying your hair is medium heat; it saves you a lot of time, and then when you want to shape, switch to high heat.
You need heat to shape your hair, so if a bouncy blowout is what you’re after, then you’ll need to whack up the heat to achieve this– don’t forget the heat protectant; a heat protectant is your best friend.
I would also recommend doing a cool shot afterward, as this will help hold your styles in place and prevent heat damage.
Round Brush:
If your blowdryer doesn’t have a built-in brush like some of the options I have selected for you today, then grab yourself a round brush, ideally one with a ventilated design. A round brush can create waves or smooth strands without needing to use your flat iron.
The bigger the surface area of the brush and the more ventilated the design, the faster the drying time. Here’s a tip, ceramic material tends to heat up while causing minimal damage making it ideal for styling.
Products:
Now onto the products, you use all depend on your hair type, hair porosity, and what works for your hair. The products play a huge role in achieving the perfect blowout, so you must choose the right ones.
If you have straight hair, the products you use may be quite basic; it might just be a leave-in conditioner and your heat protectant. Still, if you have curly hair and you’re looking to diffuse your hair (I’ll show the technique shortly), you may have gels, creams, leave-in conditioners, as well as your heat protectant.
Whatever you use on your hair and works for your hair type and porosity, ensure that you don’t skip your heat protectant; a hair protectant is liquid gold for protecting your strands against heat damage.
It also helps eliminate frizz, reduce blowdrying time and help your hairstyles last longer.
How To Blowdry Your Hair With A Round Brush:
Enough about me rambling of what you’ll need, onto the technique!
Step 1: Wash Your Hair:
This may seem like the obvious first step as to how else will you blow-dry your hair at home? This step is crucial as removing excess buildup will help your hairstyle stay in for longer.
Shampoo and condition hair like usual, doing two washes with your chosen shampoo. The first wash helps break down the dirt and the second one removes it.
So hop in the shower and begin to wash your hair like usual.
This step is super important as the best way to achieve the perfect blowout is through having the right foundation. It will help if you choose your shampoo and conditioner based on your hair porosity and hair type.
There’s no such thing as “one size fits all” when it comes to different hair types; you need to find a formula that addresses your hair type and concerns such as frizz, color-treated, or adding volume to fine hair.
Step 2: Prep Hair:
The next step is to prep your wet hair for heat styling; for starters, you’ll want to seal in moisture into your strands using a leave-in conditioner, and if that leave-in conditioner doesn’t have heat protectant, then your heat protectant too.
Sealing in this moisture will help add shine to each section of hair and help protect your hair from heat damage caused by a blow dryer or flat iron.
You’ll want to remove all excess moisture; you want your hair to be damp before you pick up your blow dryer as 1: your hair is most fragile while soaking wet and 2: it will mean you can spend less time blow drying each section of hair which means less heat exposure and damage,
Too much exposure to heat will cause frizz, too, along with everlasting heat damage and split ends.
The less time you take to blow dry hair at home, the less fatigue your body feels, and the more time you have on your hands for other parts of your daily routine– such as not skipping breakfast!
Plus, as a top tip from me, never blow dry soaking wet hair; it will cause damage and frizz.
Instead of leaving your hair dripping all over the place, opt for a super-absorbant towel such as a microfiber towel. It is much better than a cotton towel, especially for hair.
They absorb more moisture than traditional cotton towels, and they don’t cause friction on your strands which can cause damage and dents in each hair strand, causing weaker hair.
All in all, you won’t regret switching to a microfibre towel; your hair will love you for it too.
Step 3: Apply Heat Protectant
Never forget your heat protectant when styling your hair. The top product can create a barrier over your hair strands to protect them from heat styling.
Prevention is always better than a cure, so don’t skip this step.
I like to apply a heat protectant with detangling features; then, I gently comb through my hair with a wide-tooth comb without snagging or pulling on my strands.
Heat protectants work by sealing off the hair’s cuticle to protect it against damage. They also work to create smoothness, shine, and a protective barrier against breakage.
No matter your hair type, no one should ever skip through this step, especially if you have color-treated hair. A heat protectant is crucial to maintain the health and hue of color-treated hair.
Make sure you choose a heat protectant that works for your hair type and hair porosity. Such as if you have fine hair, you won’t want to use a product that weighs down your hair and leaves a greasy residue.
Instead, you should go for a thickening spray or mousse that will add volume to your roots without leaving a greasy residue.
Step 4: Rough Dry:
For this step, you can either leave your hair to air dry slightly or just rough dry your hair before styling. My best tip is too rough dry your hair until it is around 70% dry.
Run your fingers through your hair as your blow-dry on a medium/low heat setting and until your hair is roughly dry before starting to work in sections.
Make sure the roots are quite dry too.
Step 5: Grab The Right Tools
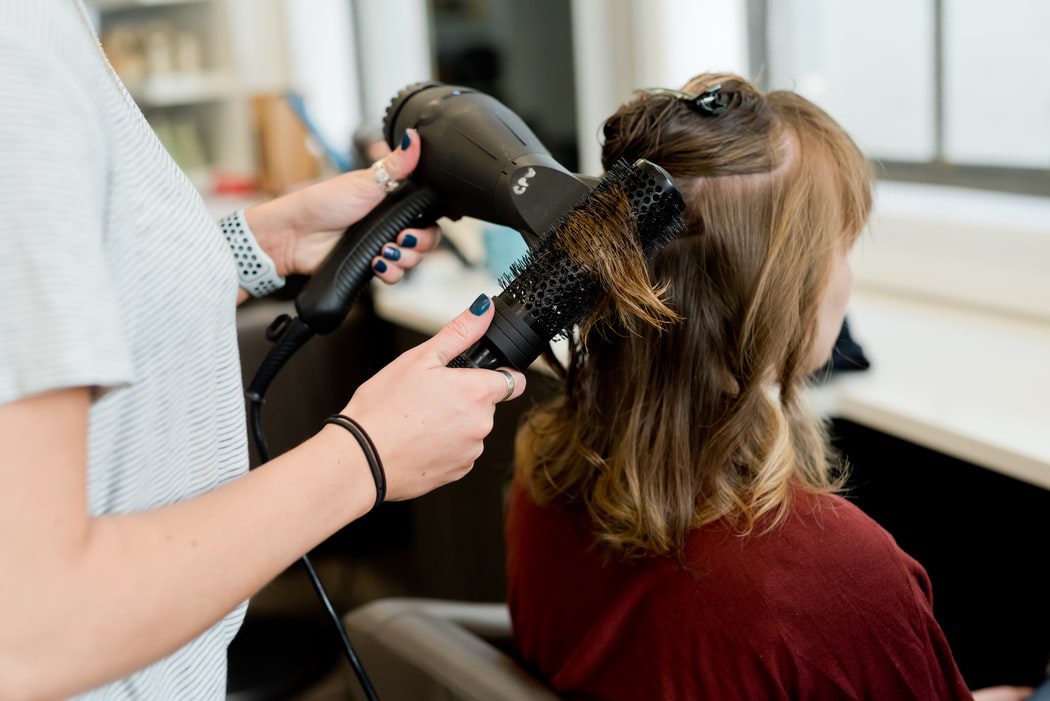
Once your hair is at least 70% dry, it’s time to grab your barrel brush and concentrator nozzle for your blow dryer and start to work in sections.
I love the concentration nozzle on the blow dryer as it concentrates the hair by directing the airflow exactly where you’d like it to go; it is the key to achieving salon-worthy results.
It also prevents frizz and helps add shine to the hair. I recommend you use a round brush with boar bristles as they help smooth down the cuticle and create tension on the hair.
The larger the brush, the larger the waves, so choose your brushes accordingly.
Step 6: Section & Style:
Now it’s time to work that brush through your hair when you blowdry; this will help create the shape and style you’re looking for.
Start by blow drying at the front of your head, parting your hair into one-inch sections. Dry each section with the concentrator nozzle pointed downward; this helps keep the cuticle smooth during the blow-dry.
Roll each section around the brush and apply heat; keep the round brush in the section of hair until it has completely cooled down before moving onto the next section.
Try not to use the highest heat setting as this will overstretch the hair and take the bounce out of it; opt for a medium/cool setting as it will help keep the cuticle sealed and add volume to the strands.
Use the brush to create a bit of lift at the roots; this will help add volume to the style you’re going for. Using this technique and the right hairdryer and some practice, you’ll look like you’ve had a professional blowout!
Step 7: Finish Off With Some Serum:
Or not you’re styling your hair with a flat iron afterward, make sure once you have dry hair that you apply an oil/serum to the ends, this will help close off the cuticle and leave your hair looking shiny and fresh for longer.
What you use all depends on what your hair prefers. If you have straight hair, then a lightweight oil may do the trick; if you have curly hair, you may benefit from using a styling cream after using a hair dryer.
Adding a dime-size amount of serum or styling cream will help seal in moisture and ward off frizz.

Summary:
So there you have it, the best way to blow dry hair in some quick and easy steps. No more needing to go to the salon to achieve that perfect blowout.
Learning how to blow dry your hair properly will not only save you a lot of money but will be sure to draw in all the compliments.
Let’s up to our blow-drying game ladies, using this technique will create the style you’ve been dreaming of. Blow drying your hair can help add volume to the roots too.
Best L’Oreal Products For Men
[Review] in 2022 written by nail expert Jess RowleyCheck out the results fast - here are our review winners[dica_divi_carousel item_width_tablet="400px" item_width_phone="345px"...

Best Neutrogena Skincare Products
[Review] in 2022 written by nail expert Jess RowleyCheck out the results fast - here are our review winners[dica_divi_carousel item_width_tablet="400px" item_width_phone="345px"...
Best Nivea Products For Men
[Review] in 2022 written by nail expert Jess RowleyCheck out the results fast - here are our review winners[dica_divi_carousel item_width_tablet="400px" item_width_phone="345px"...
Best Rodan+ Fields Products
[Review] in 2022 written by nail expert Jess RowleyCheck out the results fast - here are our review winners[dica_divi_carousel item_width_tablet="400px" item_width_phone="345px"...
Related Post: Best Hair Dryer For All Hair Types
