How To Blow Dry Hair With A Round Brush

written by nail expert Jess Rowley
Topics we've covered
How To Blow Dry Hair With A Round Brush
Everyone is dreaming of the bouncy salon quality; there’s nothing better than walking out of the salon with freshly blow-dried hair– bouncy and voluminous!
But what if I told you, you could achieve this look easily at home?
It’s all about the technique and some practice! I learned using my round brush and hairdryer, and after a few tries, I worked out what worked for my hair and what looked good.
I’m here to share with you my top techniques and some tips and tricks to creating a bouncy blow dry using your round brush.
Anyone can do it!
How To Use A Round Brush
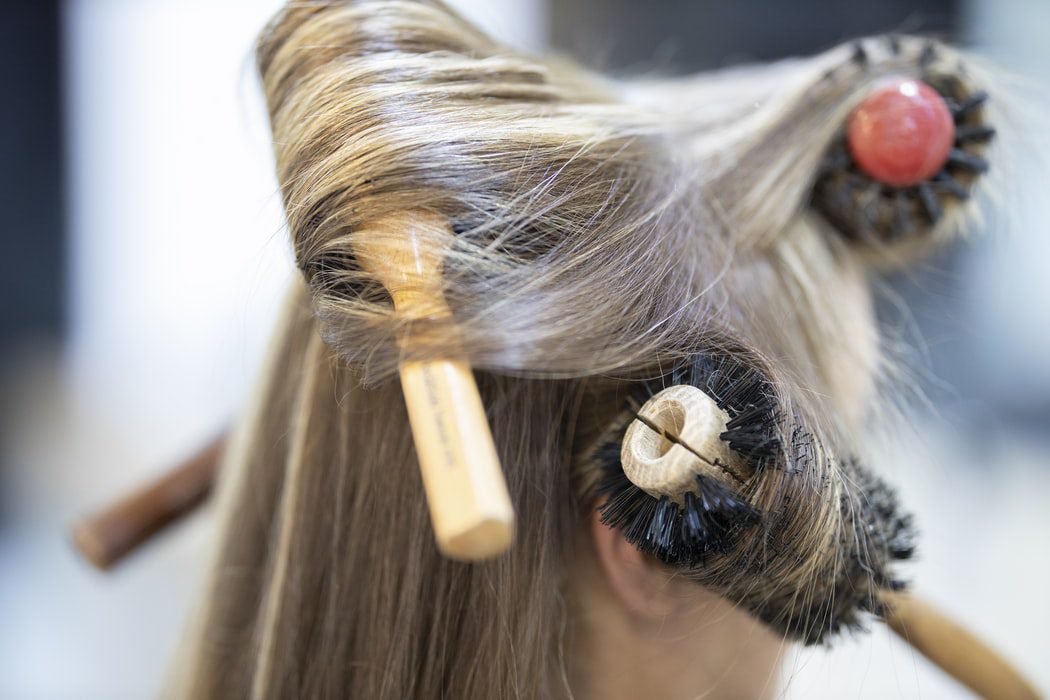
The first thing you need to master is how to use the round brush. There’s no point going in with your blow dryer and trying to juggle how to use the brush, so learn the movement first.
While your hair is completely dry, start working out how to curl your hair using the brush, as you would if you were drying your hair.
Start at the root and start to twirl the round brush to create tension; if you want bouncy curls, hold for a few seconds at the root and twirl as you go down the hair.
Then twirl the hair around your fingers and pin it on top of your head– this will help you get used to the motion before combing with your blow dryer.
Make sure you work in small sections; this will help give you that voluminous and bouncy finish and prevent any frizzy, messy bits once you’ve finished.
Make sure you try to lift the root using a round brush; this will help create volume. So top tip every time you lift the brush, pull the hair upward, so wrap, lift and pull the hair as you go.
Once you’ve got an idea of the motion you need to use, you can use the blow dryer on cool air to try and combine the two before following the steps below.
How To Achieve The Perfect Blowout Using A Round Brush:
Right now, we’ve practiced the motion; here are the juicy details about blow-drying your hair to achieve that salon-worthy blowout.
Step One: Wash Your Hair:
This may seem like the obvious first step as to how else will you blow-dry your hair at home? This step is crucial as removing excess buildup will help your hairstyle stay in for longer.
Shampoo and condition hair like usual, doing two washes with your chosen shampoo. The first wash helps break down the dirt and the second one removes it.
So hop in the shower and begin to wash your hair like usual.
This step is super important as the best way to achieve the perfect blowout is through having the right foundation. It will help if you choose your shampoo and conditioner based on your hair porosity and hair type.
There’s no such thing as “one size fits all” when it comes to different hair types; you need to find a formula that addresses your hair type and concerns such as frizz, color-treated, or adding volume to fine hair.
Step Two: Apply Styling Products:
The next step is to prep your wet hair for heat styling; for starters, you’ll want to seal in moisture into your strands using a leave-in conditioner, and if that leave-in conditioner doesn’t have heat protectant, then your heat protectant too.
Sealing in this moisture will help add shine to each section of hair and help protect your hair from heat damage caused by a blow dryer or flat iron.
You’ll want to remove all excess moisture; you want your hair to be damp before you pick up your blow dryer as 1: your hair is most fragile while soaking wet and 2: it will mean you can spend less time blow drying each section of hair which means less heat exposure and damage,
Too much exposure to heat will cause frizz, too, along with everlasting heat damage and split ends.
The less time you take to blow dry hair at home, the less fatigue your body feels, and the more time you have on your hands for other parts of your daily routine– such as not skipping breakfast!
Plus, as a top tip from me, never blow dry soaking wet hair; it will cause damage and frizz.
Instead of leaving your hair dripping all over the place, opt for a super-absorbant towel such as a microfiber towel. It is much better than a cotton towel, especially for hair.
They absorb excess moisture, more than traditional cotton towels, and they don’t cause friction on your strands which can cause damage and dents in each hair strand, causing weaker hair.
Towel drying using a regular bath towel can actually cause more hair damage. All in all, you won’t regret switching to a microfibre towel; your hair will love you for it too.
Step Three: Apply Heat Protectant:
When styling your hair using any hot tools, you should always apply a heat protectant no matter what hair type you have. Straight hair, curly hair, wavy hair, we need to protect our luscious locks.
Apply some heat protectant to your damp hair and brush it through your strands to help evenly distribute the product before you blow-dry and help ease any tangles.
Never forget your heat protection, guys.
It creates a seal over the ends of your hair and acts as a shield for your hair. The majority of heat protectants will protect your hair up to 450°F/230°C. They’ll also last up to 4 hours.
Use a wide-tooth comb to evenly distribute the product and help detangle the hair texture.
Step Four Leave Your Hair To Partially Dry:
The top tip is not to use blow-dry wet hair; it is best to let your hair air dry for a little while (not 100%) for the best results.
You can wrap your hair up in a towel for half an hour or so before using a hot air brush; this will help absorb any excess moisture out of the hair strands.
I would recommend that you use a microfiber towel over your regular cotton bath towel. This is much gentler on hair and will prevent your hair from going frizzy.
Working with damp, not soaking wet hair is best when using a blow dryer brush; for some blow dryer brushes, you can even use it on dry hair to revive your style days after!
Step Five: Work In Sections:
You’ll next want to work in sections. The best way to use a dryer brush is to section your hair using claw clips and work underneath to the top of your hair.
Part your hair from ear to ear, creating a top and bottom section. Clip the top section out the way and part the bottom of the hair, bringing each side to the front of your shoulders.
You’ll firstly want to rough dry your hair until it is roughly 70-80% dry; your hair is most fragile when soaking wet, plus it will cut down drying time.
Step Six: Use A Concentrator Nozzle:
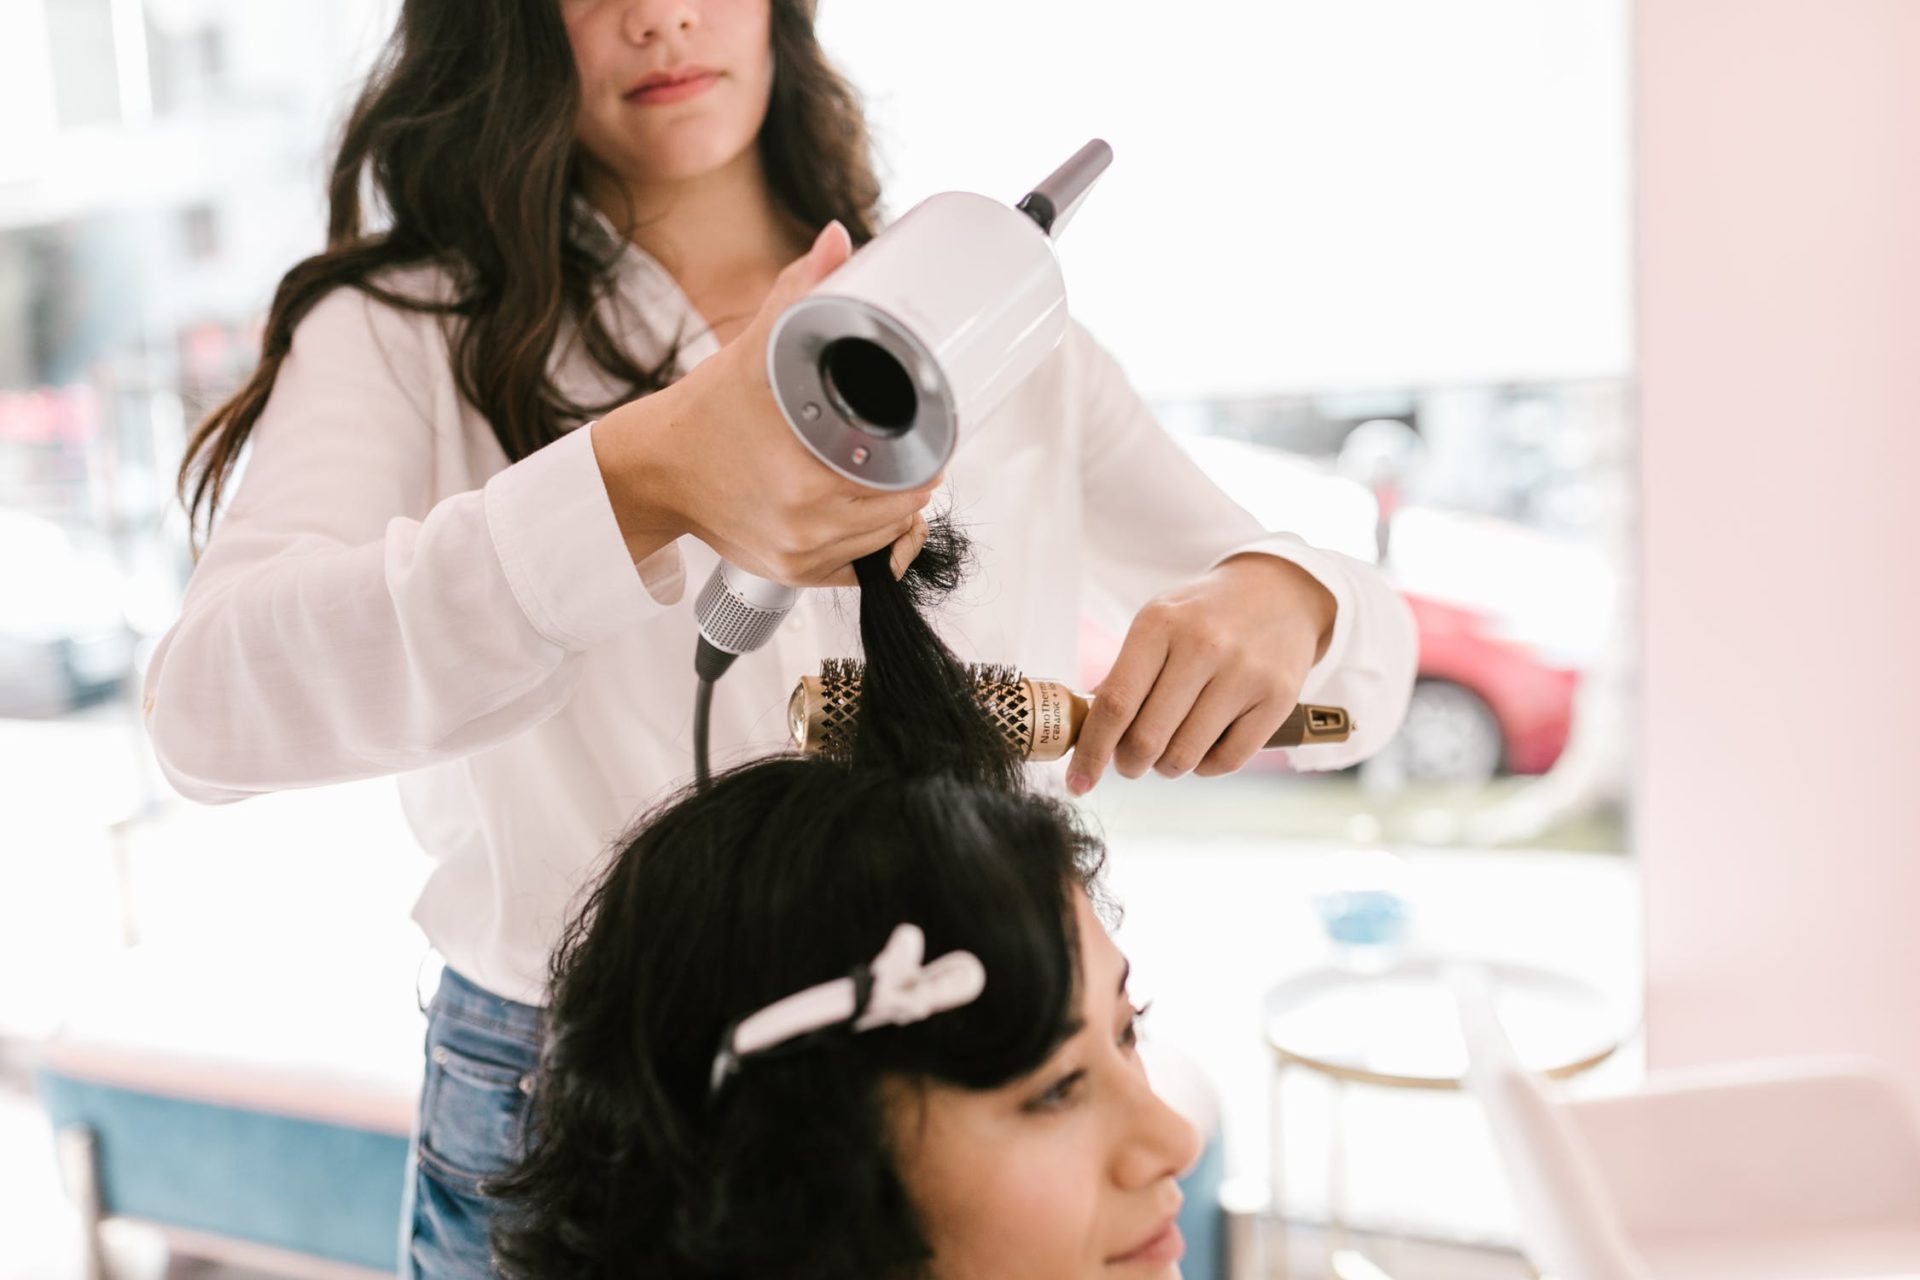
Now it’s time for the magic; grab your round brush and attach the concentrator nozzle to your blow dryer– if you don’t have one, I would recommend getting one; it saves getting out the flat iron.
I love the concentration nozzle on the blow dryer as it concentrates the hair by directing the airflow exactly where you’d like it to go; it is the key to achieving salon-worthy results.
It also prevents frizz and helps add shine to the hair. I recommend you use a round brush with boar bristles as they help smooth down the cuticle and create tension on the hair.
The larger the brush, the larger the waves, so choose your brushes accordingly.
Step Seven: Section & Style:
Roll each section around the brush and apply heat; keep the round brush in the section of hair until it has completely cooled down before moving onto the next section.
Try not to use the highest heat setting as this will overstretch the hair and take the bounce out of it; opt for a medium/cool setting as it will help keep the cuticle sealed and add volume to the strands.
Use the brush to create a bit of lift at the roots; this will help add volume to the style you’re going for. Using this technique and the right hairdryer and some practice, you’ll look like you’ve had a professional blowout!
Hold the brush vertically and twirl away from your face; this will create big, voluminous curls when blow-drying– this is a personal favorite of mine.
You can also give your hair a quick cool shot with cool air; this will help keep your style in for longer and help prevent frizz.
Step Eight: Finishing Touches:
You can either do a smooth blowout with a round brush or go for bouncy curls with more volume. If you have gone for the curly option, you might want to brush out your curls once they’ve cooled.
I would recommend that you use boar bristle brushes, it will gently loosen the curl without causing frizz. Boar bristle round brushes are also brilliant!
Make sure you apply your chosen serum or oil afterward, as this will help lock in shine and moisture.
Summary:
This may take a few tries to perfect the technique for blow-drying your hair with a round brush but have a play around with the hot air and cool air, hand movement until it works for you.
Try not to use high heat when rough drying; only use a high temperature if you’re looking to achieve a tight style when you blow-dry your hair.
We all deserve a salon-quality blowout every day!

Best L’Oreal Products For Men
[Review] in 2022 written by nail expert Jess RowleyCheck out the results fast - here are our review winners[dica_divi_carousel item_width_tablet="400px" item_width_phone="345px"...

Best Neutrogena Skincare Products
[Review] in 2022 written by nail expert Jess RowleyCheck out the results fast - here are our review winners[dica_divi_carousel item_width_tablet="400px" item_width_phone="345px"...
Best Nivea Products For Men
[Review] in 2022 written by nail expert Jess RowleyCheck out the results fast - here are our review winners[dica_divi_carousel item_width_tablet="400px" item_width_phone="345px"...
Best Rodan+ Fields Products
[Review] in 2022 written by nail expert Jess RowleyCheck out the results fast - here are our review winners[dica_divi_carousel item_width_tablet="400px" item_width_phone="345px"...
Related Post: Best Round Brush For Blow Drying
