How to apply tinted moisturizer

written by nail expert Jess Rowley
Want glowing skin, every day?
Then let me tell you about tinted moisturizer. Whether you’re a skincare girl or a makeup pro, it’s an easy way to achieve a radiant complexion every time you go out.
Sometimes, though, even with the right products, we just can’t get that perfect base. It might be that it looks cakey and doesn’t spread well, or we just can’t make it last past midday and we end up looking worse than before.
This is where it gets good.
I’ll guide you through how to apply tinted moisturizer flawlessly, including the best application techniques and all the little tips and tricks to get that gorgeous natural makeup look every time.
So, if you wondering how you can make the most of tinted moisturizer and brighten dull skin to get to that youthful glow, follow these steps, it will make the difference.
Here’s a tip- When choosing a tinted moisturizer go for one with SPF to protect your skin from sun damage and to brighten your complexion.
Scroll on to improve your makeup game!
What is tinted moisturizer?
The purpose of a tinted moisturizer is to hydrate your skin, whilst providing some light coverage for a smooth complexion. It will be more lightweight than foundation, but will still provide some coverage to brighten up dull skin and blemishes, without the heaviness of foundation.
There are all sorts of tinted moisturizers, a mix of moisturizers, foundations, or concealers. These include BB cream, CC cream, and other tinted moisturizers. They all vary in coverage and skincare benefits.
It has all the benefits of a moisturizer, with some of the coverage of a foundation, such as a colored cream. There can sometimes be one shade fits all or a range of shades. It is great for mature skin, or young, acne-prone or sensitive skin that needs a lighter makeup product
How to apply tinted moisturizer
With an easy technique you’ll love, you’ll get guaranteed flawless skin every time. Here’s how:
Prep
As always, before applying makeup, you need to prep your skin so you get a perfect base. Cleanse your skin and apply your regular moisturizer for your skin type, this is going to make sure your skin is plump and ready to take on anything! If you have dry skin, this is very important to retain moisture and have a hydrating base.
How to apply tinted moisturizer with beauty blender
This is my favorite technique to apply tinted moisturizer. Grab a damp beauty blender or sponge, and apply a small amount of tinted moisturizer in dots around your face. Then you can dab with the sponge to spread the product until everything is well blended.
Don’t forget the eye area may need to be done with fingertips or the pointed end of the sponge, and don’t forget to also do your neck! Then you can add a little concealer if you need extra coverage in certain areas such as blemishes and under eye bags, or more tinted moisturizers.
How to apply tinted moisturizer with a brush
If you don’t have a beauty blender or want thicker coverage, take a flat, oval foundation brush, or a kabuki brush whichever you prefer. Ensure it is clean, and then apply a couple of dots of tinted moisturizer, and using the brush spread the product and blend it into the skin.
This is a good way of getting extra coverage without using foundation, but remember to start with a little tinted moisturizer without putting too much on, and add as you need. Put on some extra concealer if needed and spread onto the neck to make everything seamless.
How to apply tinted moisturizer with fingers
The best technique for beginners is to apply tinted moisturizers using your fingers as it is so lightweight. The first step is to wash your hands, then once you’ve dried them, take a little product onto your fingertips. Then you can spread the product onto your face in circular motions, using a light hand.
Keep blending using your fingers especially around the nose and eyes, and then dab lightly to ensure it is absorbing into the skin. You can then spread some onto your neck too. Add a little concealer if you feel it is necessary.
Final Prep
Now that you have your smooth base, take a blush or a bronzer (or both!), and with a brush, sweep a little blush across the apples of your cheeks and up towards your temples to give it a glow. If you prefer bronzer, place it where the sun would normally hit your face, the forehead, cheekbones, and nose.
All you need now is to finish up with your favorite gloss or lipstick to complete your natural makeup look!
Some extra tips for tinted mositurizer
Don’t use a powder
Some makeup artists like to set their makeup with pressed powder or translucent powder to ensure everything stays in place all day. This works well for foundation or heavier makeup looks, but for a day to day basis, this does not work so well. It will mattify the skin, removing the radiant glow and make it look heavier.
Choose the right product for your skin type
This is very important to ensure it goes on smoothly. If you have oily skin, make sure you choose a tinted moisturizer that has an oil free formula. This is true also if you have acne prone skin too. You need to go for a water based one. If you have dry skin, a dewy, illuminating moisturizer is fine.
Also ensure you match the tone of your skin to the tinted moisturizer shade. Some have one shade fits all, but if you can choose a specific shade then this will most likely be a better match for your skin tone. so it won’t be too dark.
Use SPF
Ideally go for a tinted moisturizer that has SPF in it, so that you can protect your skin from the sun’s harmful rays. Moisturizers without SPF will need an extra layer of sunscreen over the top, and this can make the makeup look cakey and heavy.
Use a facial mist
If you’re looking for a dewy, glowing look, then get yourself a face mist. This is super easy to spray on after application and throughout the day, and you can also before your makeup to prep your skin. It will help to moisturize your skin and keep your cheeks radiant. Pop it into your bag for a refresh later on.
Skip the primer
Unless you’re doing a full face look, you don’t need to use primer before tinted moisturizer. In case you want to use it, make sure you put it before the tinted moisturizer, but after moisturizer.
With these tips under your belt, you’ll be able to get radiant skin and a flawless finish with just one product!
Final Thoughts
The beauty of tinted facial moisturizer is that you have an all in one package, and don’t even need any special tools to apply it. Whether you’re a makeup artist or a complete beginner, you can give your skin a glow using tinted moisturizer. Trust me, whatever your skin tone you’re going to want to have this in your makeup bag!
If you’re looking for good hydration, moisturizer, and tint to balance your tone, as well as protection from the sun, a tinted moisturizer is all you need. It’s the best way to get sheer coverage and a smooth finish.
Which tip do you have?
Best L’Oreal Products For Men
[Review] in 2022 written by nail expert Jess RowleyCheck out the results fast - here are our review winners[dica_divi_carousel item_width_tablet="400px" item_width_phone="345px"...

Best Neutrogena Skincare Products
[Review] in 2022 written by nail expert Jess RowleyCheck out the results fast - here are our review winners[dica_divi_carousel item_width_tablet="400px" item_width_phone="345px"...
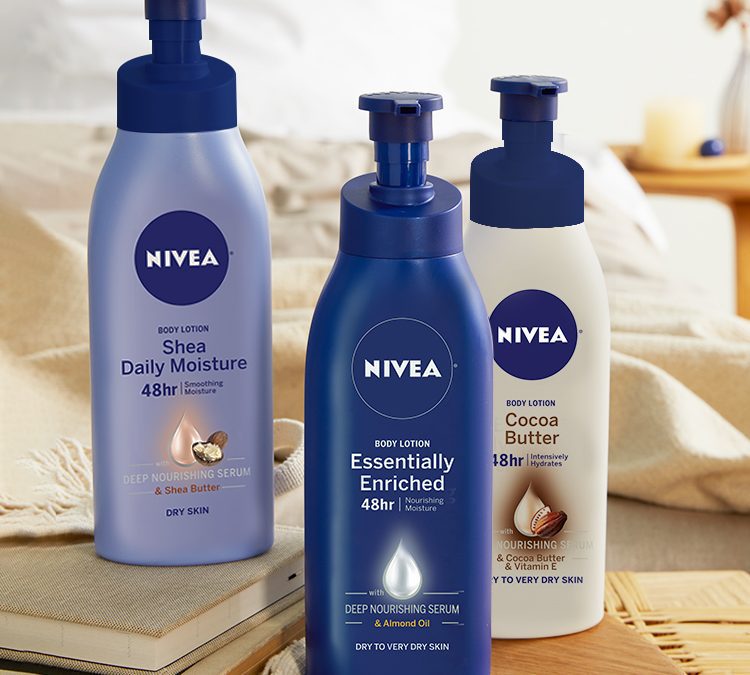
Best Nivea Products For Men
[Review] in 2022 written by nail expert Jess RowleyCheck out the results fast - here are our review winners[dica_divi_carousel item_width_tablet="400px" item_width_phone="345px"...
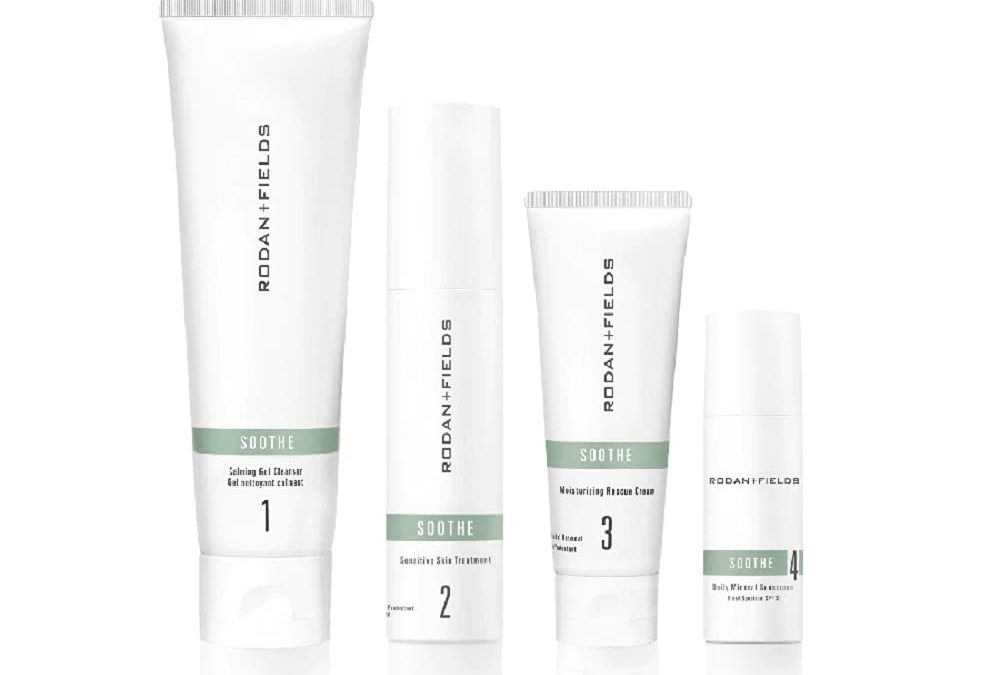
Best Rodan+ Fields Products
[Review] in 2022 written by nail expert Jess RowleyCheck out the results fast - here are our review winners[dica_divi_carousel item_width_tablet="400px" item_width_phone="345px"...
Related Post: Best Leave-in Conditioner For Curly Hair