How To Make DIY Cuticle Remover At Home

written by nail expert Jess Rowley
Topics we've covered
Here’s How To DIY Your Cuticle Remover In The Comfort Of Your Own Home:
Are you looking to up your manicure game with a fantastic ol’ DIY trick? You may have noticed your nail tech dissolving and pushing back your cuticle before your manicure but ever wondered how?
Well, I have good news; I’m here to show you how!
Tending to the cuticles is the most crucial step in your manicure’s longevity; if you dissolve and push back your cuticles correctly, you can extend the life to your manicure.
But it’s not the most straightforward task; the cuticle is often confused with the eponychium, which is the layer of skin at the bottom of your nails; you mustn’t cut this.
But don’t worry, I’m here to help!
I’m here to break down all the confusing features and supply the very best DIY cuticle removing methods to make your life easier.
So, grab a pen and paper; some of these are pretty good!
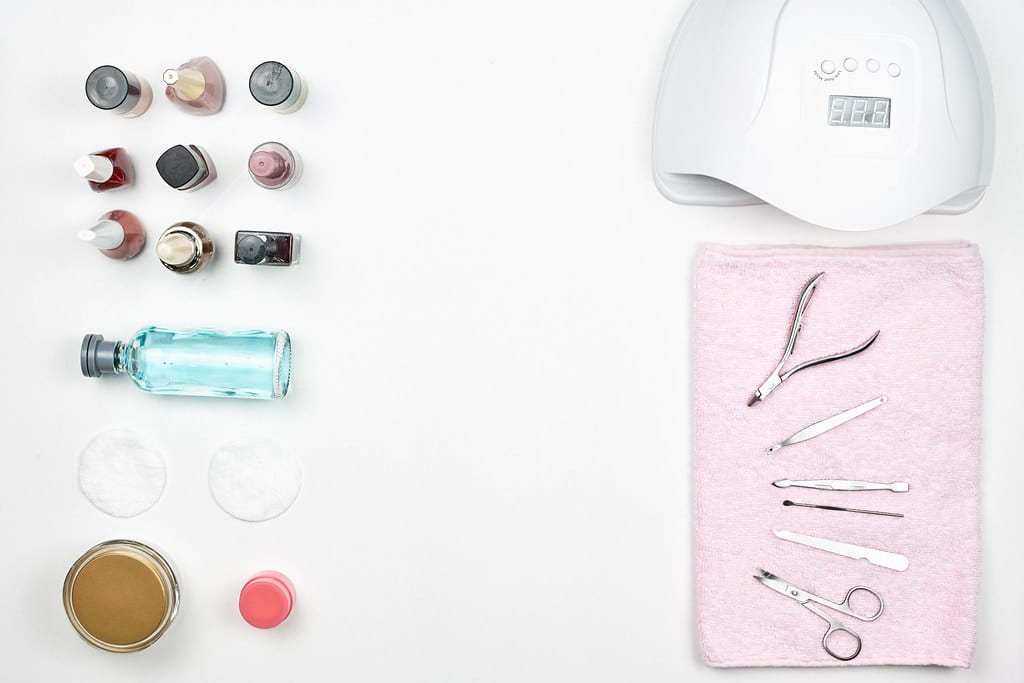
How to care for your cuticles without cutting them:
Tending to your cuticles is a crucial step in a manicure, especially if you’re an acrylic nail lover.
The eponychium (the piece of skin covering the cuticle at the bottom of the nail) is often confused with the cuticle.
One of our biggest mistakes is that we accidentally cut the eponychium instead of the cuticle, which can cause damage to the nail and make it more prone to infection as the eponychium is there to prevent bacteria or infections from getting in the nail.
One of the best way to tend to your cuticles is by using a cuticle remover to soften the cuticle and then push them back instead of cutting it. This will ensure you don’t cut the eponychium instead of the cuticle.
You can even remove all the excess transparent cuticle tissue on the nail (only remove the hanging parts, not all of it). This will make your nails look more uniform, make the manicure last longer without damaging the matrix underneath.
I have selected the best and easiest methods for safely removing the cuticle, some you can even do with household items!
Here are the best methods for removing the cuticle:
Method One: Use cuticle remover
Using cuticle remover is probably the best and most straightforward, and popular method out of them all. They are a specialized solution that breaks down and removes the cuticles when applied.
How does cuticle remover work?
Now each brand works slightly differently and uses different ingredients to remove the cuticle.
Most brands use Potassium Hydroxide or Sodium Hydroxide to dissolve the dead cuticle cells on the nail.
Cuticle removers are often harsher on your skin, but you can use ones that have moisturizing ingredients. I would recommend using a moisturizer on top to prevent drying out your nails and hands.
However, other, milder brands focus more on exfoliants to remove the cuticle rather than harshly dissolving it—these work by breaking the cuticle cells’ bonds to make them easier to break down and remove.
Here are my favorite brands to use: Blue Cross, butter LONDON, and Sally Hansen.
How to Use a Cuticle Remover:
Each brand is applied differently, so one of the best things to do is follow the instructions on how to use the specific brand.
The brand I will be breaking down is Blue Cross; I absolutely love their formula as they work effectively without damaging your nail or cuticle.
Using potassium hydroxide, Blue Cross breaks down the dead cuticle cells to make them easier to push down. It also contains a moisturizing lanolin oil to ensure your skin won’t dry out or crack due to using potassium hydroxide.
Here’s how you apply Blue Cross Cuticle Remover:
– Using the applicator, apply the lotion on and around your cuticles ( don’t let the thin consistency put you off)
– Leave the cuticle remover for less than a minute and then push the cuticle backward using a cuticle pusher.
– Once you’ve pushed back the cuticle, then remove any excess hanging cuticle. Don’t trim the whole cuticle, just the parts that have come away.
Here’s a step by step video to help if you get stuck: https://www.youtube.com/watch?v=dqjHMThI-vY
You can find Blue Cross Cuticle remover and even Walmart; it is prevalent and no wonder because the formula is excellent!
Method Two: Use Oil, Soap, and Water:
If you don’t have time to pop to the store or order a cuticle remover on Amazon, here is a DIY cuticle remover method that’s super easy and accessible.
– Firstly, you will want to wash your hands, nails, and cuticles with soap and warm water. Instead of drying your hands off, normally apply some oil to your nails.
You can use either cuticle oil or any moisturizing oil.
– Once you’ve applied the oil, you can use a cuticle pusher to push back the cuticle gently
– After you’ve pushed back the cuticle, grab yourself a nail brush or exfoliating sponge to remove all the excess, dry cuticle.
This method is super easy and affordable if you don’t want to buy a cuticle remover.
Method Three: Using baking soda and honey:
Baking soda is a super affordable natural exfoliant that can soften your cuticles, making them easier to remove.
The only issue with using baking soda on its own is that it will really dry out your cuticles however using it with honey will act as a moisturizer.
Here’s how:
– Take one tablespoon of baking soda and one tablespoon of honey and stir into a paste.
– Apply the paste to your cuticles and leave it for a minute.
– Grab a cuticle pusher to push back and shape your nails.
– If you don’t have honey, then make the paste with some water but add some cuticle oil after moisturise the nail.
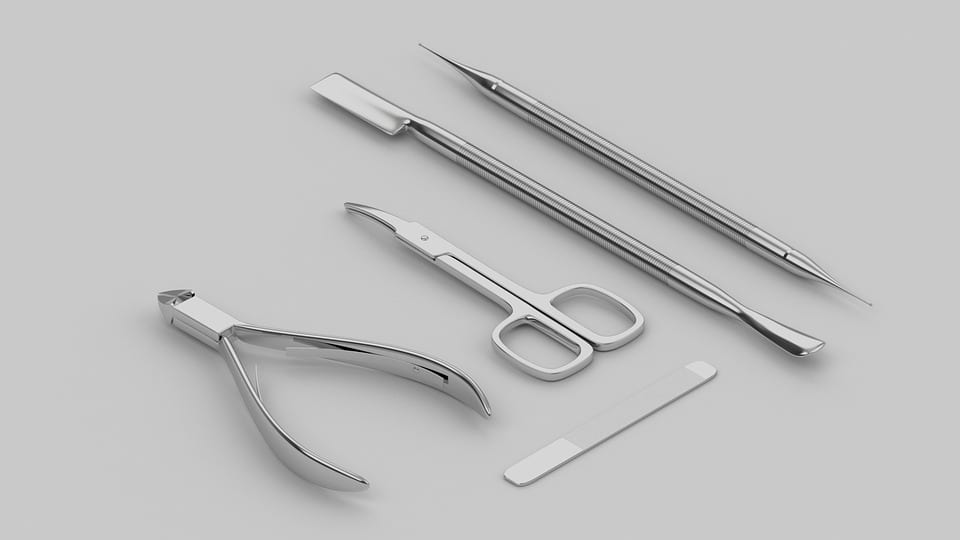
Method Four: Use apple cider vinegar to dissolve your cuticles:
Another DIY method you can use is by using apple cider vinegar. Apple cider vinegar contains acetic acid that breaks down the cuticle, making it easier to remove.
All you need to do is soak your nails in apple cider vinegar for a minute and then apply some cuticle oil or moisturizing oil to push back your cuticle gently.
Apple cider vinegar will also kill any bacteria or microbes on your cuticles to reduce the risk of infection.
Method Five: Use lemon and olive oil to dissolve your cuticles:
Just like apple cider vinegar, lemon contains citric acids that break down and weakens the cuticle.
Lemon also kills bacteria similar to apple cider vinegar, making it a great option if you don’t have apple cider vinegar.
You can either use lemon juice and olive oil or fresh lemon juice and cuticle oil.
All you need to do is soak your nails in lemon for a minute and then apply some oil, push back your cuticles using a cuticle pusher, and you’re good to go.
Method Six: Use an exfoliant like face wash, acne treatment, or other skin treatments:
Exfoliants like face washes, acne treatments, and other skin treatments contain special chemicals to remove skin cells. This will help to break down the dead cuticle and make it easier to remove.
Exfoliators contain salicylic acid or hydroxy acid, which weakens the bond binding the skin cells together, making it easier to remove.
They also use microbeads to sand off dead skin, making it a perfect match for removing cuticles.
If your exfoliant contains salicylic acid, you can soak your cuticles in it for a minute and then firmly wash your hands to break down the cuticle.
Once you’ve done that step, you can apply some oil and use your cuticle pusher to push back the cuticles and remove any excess.
This works very effectively, but you do need to wash your hands vigorously.
Method Seven: Push back the cuticle in a warm shower:
This is another brilliant method and doesn’t require any ingredients, just water, and a cuticle pusher.
We all love a hot, steamy shower from time to time, but they’re brilliant for softening skin, and the cuticle is no exception.
Once you’ve had your shower, you can push back the cuticle gently, and it should gently remove. This is an excellent method as a last resort, but I wouldn’t recommend doing this every time.
One of the best ways to keep your cuticle healthy and strong is to keep them well-nourished and hydrated using cuticle oil.
You can either buy a regular cuticle oil or a cuticle oil pen for ease of application.
Method Eight: Use coconut oil to soften the cuticle:
Instead of using cuticle oil or other moisturizing oils, you can instead use coconut oil. Coconut oil will not only help soften the cuticle massively nourish it.
All you need to do is apply for 30 minutes before doing the methods above to remove the cuticle. The coconut oil will penetrate the nail bed and act as a cuticle softener, leaving it nourished and softened.
You can even use this as a treatment after using the methods above and leave it on for longer. Some of the methods above can be quite harsh on your nails, so using coconut oil will restore the moisture and hydrate the nail.
It will even promote nail growth!
I love using coconut oil as a treatment for my nails every few weeks, especially after removing my manicure to restore the moisture in my nail.
Benefits of Using a Cuticle Remover
There are many benefits of using a cuticle remover; it will prevent you from cutting the eponychium or damaging the nail as a whole.
Here are the top benefits:
Adds longevity and uniform to your manicure:
Shaping and removing your cuticle allows an even surface for your nail polish or acrylic to go on. It also makes them look more even and uniform.
Cuticles grow at a different pace from one nail to another; they also have slightly different shapes. By dissolving and pushing them back, it makes nails have a cleaner finish.
Furthermore, adding nail polish to a cuticle that hasn’t been removed may make your nail polish bumpier and make it more prone to cracks and chips.
Even a thin layer of cuticle on your nails will hinder the base coat’s bonding process to your nail plate. This is another reason that makes it prone to chipping and reduces the lifespan of your manicure overall.
It makes nail polish look brighter:
The thin transparent cuticle can absorb the dyes in your nail polish, making the color dim.
If you remove the cuticle, it will prevent this from happening and make your manicure appear brighter.
Drawbacks of using a DIY cuticle remover:
The main drawback of using a cuticle remover is how harsh it can be on your nails, especially using DIY methods. It can weaken them and damage them further over time.
I would recommend investing in a cuticle remover with moisturizing components to strengthen the nail. I would also additionally add cuticle oil to your nail to nourish the nail bed.
Another problem with using cuticle remover is that you can remove too much and expose the inner nail matrix if you don’t do it properly. This will make the nail more prone to infections– which no one wants!
Summary:
Overall using a cuticle remover has many benefits and definitely weighs out the drawbacks if used correctly.
Using a cuticle remover or a DIY cuticle removal will massively reduce the chance of damaging your nail matrix, and if used with cuticle oil, it won’t be harsh on your nails.
Using one of these methods will transform the appearance and longevity of your nails massively. Try any of the DIY methods I have selected today, and let’s up our manicure game!

Best L’Oreal Products For Men
[Review] in 2022 written by nail expert Jess RowleyCheck out the results fast - here are our review winners[dica_divi_carousel item_width_tablet="400px" item_width_phone="345px"...

Best Neutrogena Skincare Products
[Review] in 2022 written by nail expert Jess RowleyCheck out the results fast - here are our review winners[dica_divi_carousel item_width_tablet="400px" item_width_phone="345px"...
Best Nivea Products For Men
[Review] in 2022 written by nail expert Jess RowleyCheck out the results fast - here are our review winners[dica_divi_carousel item_width_tablet="400px" item_width_phone="345px"...
Best Rodan+ Fields Products
[Review] in 2022 written by nail expert Jess RowleyCheck out the results fast - here are our review winners[dica_divi_carousel item_width_tablet="400px" item_width_phone="345px"...
Related Post: Parts Of The Cuticle & How To Care For Them


