DIY Heat Protectant: How To Make Your Own Heat Protectant

written by nail expert Jess Rowley
Topics we've covered
DIY Heat Protectant: How To Make Your Own Heat Protectant:
Everyone knows that using heat protection is an essential step when exposing your hair to heat, but did you know that some DIY heat protectants are significantly better than consumer heat protectants?
I’d struggle to believe it myself.
It can help keep hair healthy, softer, smoother, and obviously prevent your hair from damage; after trying this once, I was completely hooked.
Choosing the right ingredients, correct blend of ingredients is super easy, and it is super easy to make your own homemade heat protectant in the comfort of your own home.
You’ll be hooked too!
Knowing exactly what is going into your heat protectant means you can control what you use and add specific ingredients that will suit your hair type.
The ingredients are super easy to get hold of; you probably already have them sitting around your house. I’m here to show you some easy recipes to hydrate, refresh and protect your hair.
Let’s jump in!

How Does Heat Protectant Work?
Before we delve into the best homemade recipes, we need to understand how heat protectants work and how it protects our hair from damage.
Your hair strand has two layers, the cortex, and the cuticle. The cortex is the hair follicle’s inner layer, which contains water molecules and amino acid proteins like keratin.
The outer layer is called the cuticle, where water, moisture, and nutrients pass in and out. When your hair is exposed to heat, the water molecules in the cortex evaporate.
If the water evaporates from the cortex, this can break down the hydrogens in the hair, changing the shape and structure of the hair, leading to brittle ends and breakage.
Heat also breaks down the keratin inside the cortex; keratin is a crucial amino acid that builds the bonds in the hair; without it, hair will break and look lifeless and full.
Since the heat can damage the inner cortex of the hair follicle, this also means it will damage the outer layer too; this will cause the cuticle of the hair to split and crack, leaving ends looking brittle.
A heat protectant is used to prevent this by providing a barrier between your hair strand and the styling. It creates a coating that acts as a shield against heat.
This coating also locks in moisture and leaves the hair strand looking hydrated and refreshed, and rehydrating the cuticle can help repair brittle ends and repair the bonds within your hair strand.
It is crucial to use a heat protectant, whether it’s store-bought or homemade.

Why is Homemade Heat Protectant Better Than Store-Bought?
You can either buy a heat protectant online or in-store or make your own, but which one is better?
In my unbiased opinion, I would say that homemade heat protectants are better than store-bought ones because there are no harsh chemicals in homemade heat protectants.
While store-bought heat protectants may be slightly stronger, homemade ingredients can really nourish and hydrate the hair.
Here are some other benefits of a DIY heat protectant:
More Versatile:
DIY heat protectants are much more versatile than ready-made heat protectants as you can choose what you put in the ingredients, you have complete control, and can cater the ingredients to your hair’s needs.
This means you can completely customize your heat protectant based on your hair type. Such as if you have dehydrated hair, you can use moisturizing and conditioning oils to nourish the hair strands.
Or, if your hair is particularly brittle or damaged, you can try including strengthening oils and proteins like keratin to help rebuild the hair bonds.
You can add ingredients as you go; you can choose to have it fragrance-free or with fragrance; the world is your oyster when it comes to versatility.
Natural ingredients:
Unlike readymade heat protectants, there are no harsh chemicals when you make the heat protectant yourself. They only include natural ingredients like natural oils.
Since they are free of artificial chemicals, they are suitable for those with sensitive scalps and skin; you choose the ingredients.
So if you suffer from an allergy, you can cater your heat protectant to avoid that ingredient.
More affordable:
Homemade heat protectants tend to be cheaper than commercial heat protectants, sometimes even a quarter of the cost.
There is much more value for money using a homemade heat protectant; you can buy the ingredients yourself in bulk and use them over a period of time.
None of the ingredients will be wasted either, as you can specifically pick and choose the ingredients you’d like to include based on your hair type and hair needs.

DIY Heat Protectant Recipes:
There are plenty of different ways to make heat protectants at home, whether in a spray, cream, or oil form.
The most simple homemade recipes are a mix of water and natural oil in a 5:1 ratio (water: oil). If you have particularly dry hair, this ratio will do nicely, but you can do slightly less oil if you have oily hair.
The ratio will also depend on the type of oil you’re using and the consistency of the oil. Coconut oil is much heavier and thicker than argan oil, requiring a lower ratio of oil.
Since oil and water tend to separate, you’ll want to ensure that you shake your heat protectant well before use and continue to shake during use to ensure it is well mixed.
Here are some of my top favorite recipes using oils:
Coconut Oil:
Coconut oil is a brilliant hydrating, and moisturizing oil known to protect and nourish hair for millenniums. It is a brilliant moisturizing and conditioning agent.
It is brilliant at nourishing hair and boosting hair growth; it repairs damaged cuticles, has anti-inflammatory agents, and can help problematic hair like dandruff or flaky scalp.
These hydrating ingredients also add shine and luster to your hair, leaving it looking and feeling soft and silky. It will also soothe irritated scalps.
Before you use coconut oil in your homemade DIY heat protectant recipe, you’ll need to melt it; it will be solid at room temperature. Ensure you don’t saturate your hair in coconut oil, as it can really weigh down your hair if used in large amounts.
This is the reason coconut oil is so brilliant for those with thick, coarse, dry hair or coily curls rather than those with fine, oily hair, as otherwise, it will leave hair looking greasy.
That being said, if you have quite thick, coarse hair, coconut oil may not be a sufficient heat protectant as it won’t protect up to the temperature you’ll need.
Instead of using it as a heat protectant, I would recommend applying it to the ends of your hair as a treatment before you wash your hair.
Argan oil:
Argan oil is also referred to as ‘liquid gold’ thanks to the benefits this oil has for your hair and skin. It is a Moroccan oil that has gone back to ancient times.
Like coconut oil, argan oil is a brilliant moisturizing and conditioning agent; it helps tame frizz and add shine to hair while nourishing the cuticle.
It is rich in antioxidants, vitamins, and minerals; it can eliminate dry scalp and help heal flaky scalp and dandruff.
It is known to leave hair looking shiny and vibrant. It is known and often found in leave-in conditioners thanks to its high moisturizing qualities.
If you use this, you cannot use too much as it is still quite a heavy oil and will weigh down your hair.
Almond oil:
Almond oil is another brilliant essential oil that can nourish brittle, damaged, or overprocessed hair. It is super lightweight and absorbs into the hair easily without it leaving a greasy residue.
However, if you have a nut allergy, it is not recommended that you use almond oil in your DIY heat protectant, but it is a great option if you are not allergic.
Not only does it fill in and repair gaps in the hair structure to strengthen the hair bond, but it also helps repair split ends and soften hair.
It has deep conditioning properties, which leaves the hair looking shiny. It can even help with dandruff and problematic hair.
Grapeseed oil:
Grapeseed oil is one of the best oils to use in homemade heat protectant recipes because it is suitable for hair types.
It can also help repair weak, brittle hair and help nourish thick, coarse, and curly hair. It is a brilliant moisturizer and has some deep conditioning features.
It also has a very high smoke point, making it ideal for high temperatures of heat. It additionally contains vitamin E and linoleic acid, making it ideal for combatting dermatitis and dandruff.
You most likely have it at home already! If not, it will only be a dollar or two at Walmart, making it super accessible and affordable.
Shea butter:
Shea butter is like gold when it comes to moisturizing your hair and body, making it the ideal candidate in your DIY heat protectant recipe.
Since shea butter is solid and not liquid, it can be used as a heat protectant cream rather than a heat protectant spray.
That doesn’t mean you can’t turn it into a spray; all you need to do is mix it with some coconut oil or argan oil (which will give it even more benefits for your hair health).
The best thing about shea butter is that it is a humectant, an occlusive, and an emollient, making it the perfect heat protectant.
Humectants help retain moisture; occlusive ingredients create a barrier to prevent water loss while emollients smooth the cuticle by filling in the gaps in the hair strand.
Shea butter is all things, so it is the perfect protective ingredient, moisturizer, and conditioner. It also strengthens hair which encourages hair growth.
To top it all off, it has a high smoke point.
Avocado Oil:
Avocado oil is ideal for those with thick, curly hair as it is the highest smoke point of all the other oils. It is also extremely lightweight. It is a great natural heat protectant for curly hair!
It has enriching qualities that can penetrate deeply into the hair shaft, making it ideal for those with an extra-dry scalp or brittle ends.
It even protects hair from UV rays, making it the perfect heat protectant for styling your hair and if you’re planning on going out and spending the day in the sun.
It is one of the best essential oils you can use in your heat protectant.

DIY Heat Protectant Spray Recipe With Avocado Oil:
Avocado oil is all you’ll really need for this recipe as avocado oil alone has many protective benefits along with many moisturizing agents; this is how you do it:
What you’ll need:
- – Spray bottle (6-7 ounces)
- – 1-2 ounces drops of avocado oil
- – 5-6 ounces of distilled or filtered water
- – Essential oils (optional)
Firstly, fill up your spray bottle with 5-6 ounces of water. I prefer to either use distilled or filtered water in some states can be quite hard and chemically.
Add 1-2 ounces of avocado oil into the water– add one ounce if your hair is slightly oil and two if your hair is dry and coarse.
You can also add five drops of any essential oil to give it fragrance and added benefits; I personally love adding peppermint oil to give my hair a fresh smell.
Make sure you shake the bottle well before and after every use to keep ingredients mixed.

DIY Heat Protectant Spray Recipe Using Aloe Vera
Aloe vera is the key sealing ingredient often found in heat protectants. It helps form a smooth barrier between heating tools and prevents direct contact.
It helps keep hair moist and soft, along with adding a protective layer on the hair. Aloe vera gel also has deep conditioning qualities.
There are some insane benefits of aloe vera for curly hair especially when protecting hair from heat damage and UV damage.
Raw aloe vera is extremely beneficial for hair, but it can be quite sticky, but all you need to do to form it into a gel is scoop it straight from the plant and blend it.
This will leave the aloe vera much more manageable and easier to use as a heat protectant.
What you’ll need:
- – Glass spray bottle or container (6-7 ounces)
- – Aloe vera gel (1.5 ounces)
- – Coconut oil or sweet almond oil (0.2 ounces)
- – 3 ounces of water
What you’ll want to do is warm 3 ounces of water, do not boil it. You’ll then want to drop the aloe vera gel into the warm water and stir thoroughly until the aloe vera gel is mixed.
If your hair is quite dry, mix almond oil into the mixture, and if it is fairly normal, you can use coconut oil. Once everything is well mixed, you can then pour it into a spray bottle.
Remember to shake the bottle thoroughly before and after use.

DIY Heat Protectant Recipe Using Shea Butter:
Shea is an excellent DIY heat protectant on its own; it is arguably one of the best thanks to it being a humectant, emollient and occlusive.
The only oils you should really add to shea butter are suitable for your hair type; avocado oil is the most popular as it is suitable for all hair types.
Plus, it has some major benefits that go hand in hand with the shea butter.
What you’ll need:
You’ll first want to start by warming the shea butter, you won’t want to melt it completely, but just to the point where it is more malleable–, it should be semi solid.
Using a whisk or fork, whip the shea butter until it is light and fluffy (you can also blend it); then, once it is light and fluffy, you can mix in the avocado oil and the essential oils.
Once everything is well mixed, add it into a jar and refrigerate it until it is back to room temperature. This will be a heat protectant cream that you can apply to the ends of your hair.
Summary
There you have some quick and easy DIY heat protectant spray and cream recipes for you to try. I personally love using a natural heat protectant as I can control the ingredients and benefits.
Before you style your hair using either a flat iron, blow dryer, or curling iron, make sure you apply these heat protectants to your damp hair.
You’ll be shocked by the condition of your hair after trying these recipes out. Your strand will feel revived, nourished, hydrated, and shiny.
Give them a go!
Best L’Oreal Products For Men
[Review] in 2022 written by nail expert Jess RowleyCheck out the results fast - here are our review winners[dica_divi_carousel item_width_tablet="400px" item_width_phone="345px"...

Best Neutrogena Skincare Products
[Review] in 2022 written by nail expert Jess RowleyCheck out the results fast - here are our review winners[dica_divi_carousel item_width_tablet="400px" item_width_phone="345px"...
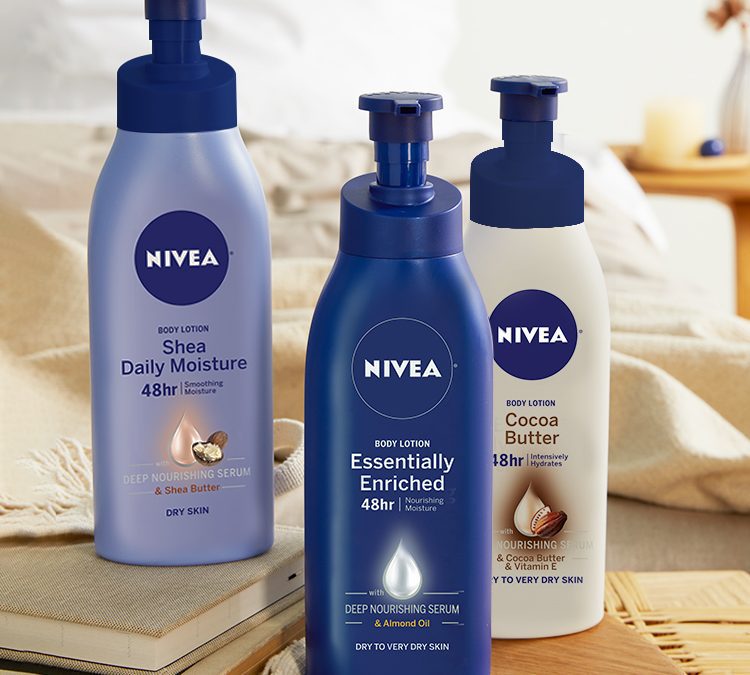
Best Nivea Products For Men
[Review] in 2022 written by nail expert Jess RowleyCheck out the results fast - here are our review winners[dica_divi_carousel item_width_tablet="400px" item_width_phone="345px"...
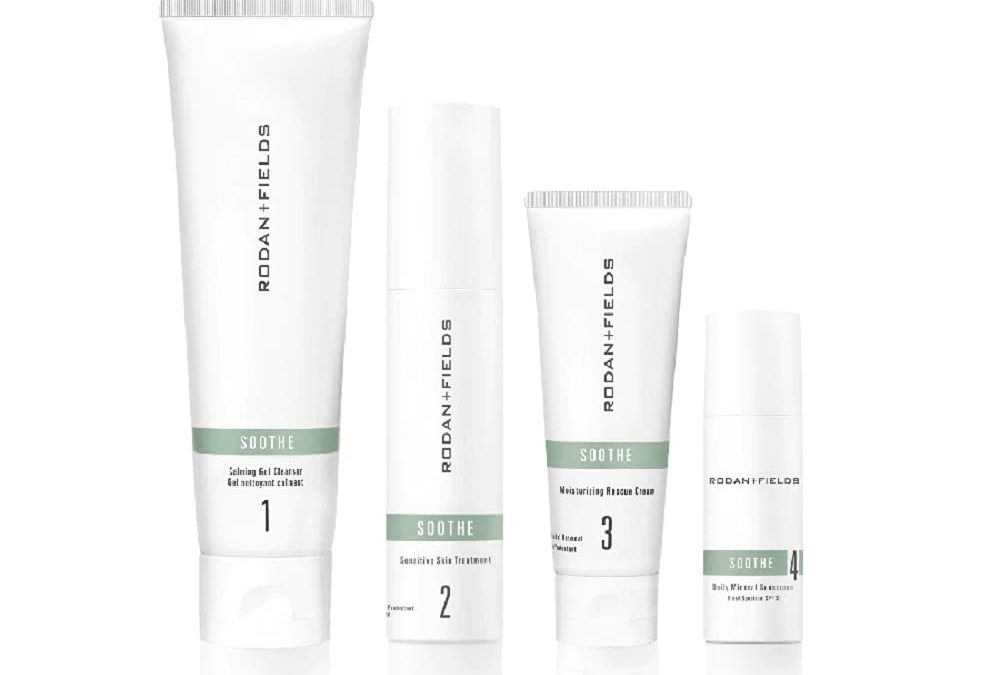
Best Rodan+ Fields Products
[Review] in 2022 written by nail expert Jess RowleyCheck out the results fast - here are our review winners[dica_divi_carousel item_width_tablet="400px" item_width_phone="345px"...
Related Post: Best Heat Protectants For Your Hair