Different Types Of Makeup Brushes And How To Use Them

written by nail expert Jess Rowley
Topics we've covered
Different Types Of Makeup Brushes And How To Use Them:
Now every beauty enthusiast has more brushes than they can count, with arrays of sets with a wide range of brushes to choose from, but do you ever wonder what makeup brushes are used for what?
Trust me; you aren’t the only one.
The extensive selection can be quite confusing and slightly intimidating. No need to panic though, I will guide you through the most important and commonly used brushes. We will know your belt in no time.
Nowadays, with so many beauty manufacturers creating new brushes for a wide range of uses, it’s hardly surprising that none of us knows much more than the basic brushes in a set we bought years ago.
But wait, let me tell you something.
To make things easier for you, I have researched the full rundown, factoring in all the confusing features, putting together a full guide as to which brush does what and whether it’s important in your daily makeup routine.
Here’s a tip: if you can’t remember the last time you used a brush in your kit, it’s probably not too important and not worth your time.
Stay tuned for the full breakdown– you won’t want to miss it.
What Are The Different Types Of Makeup Brushes?
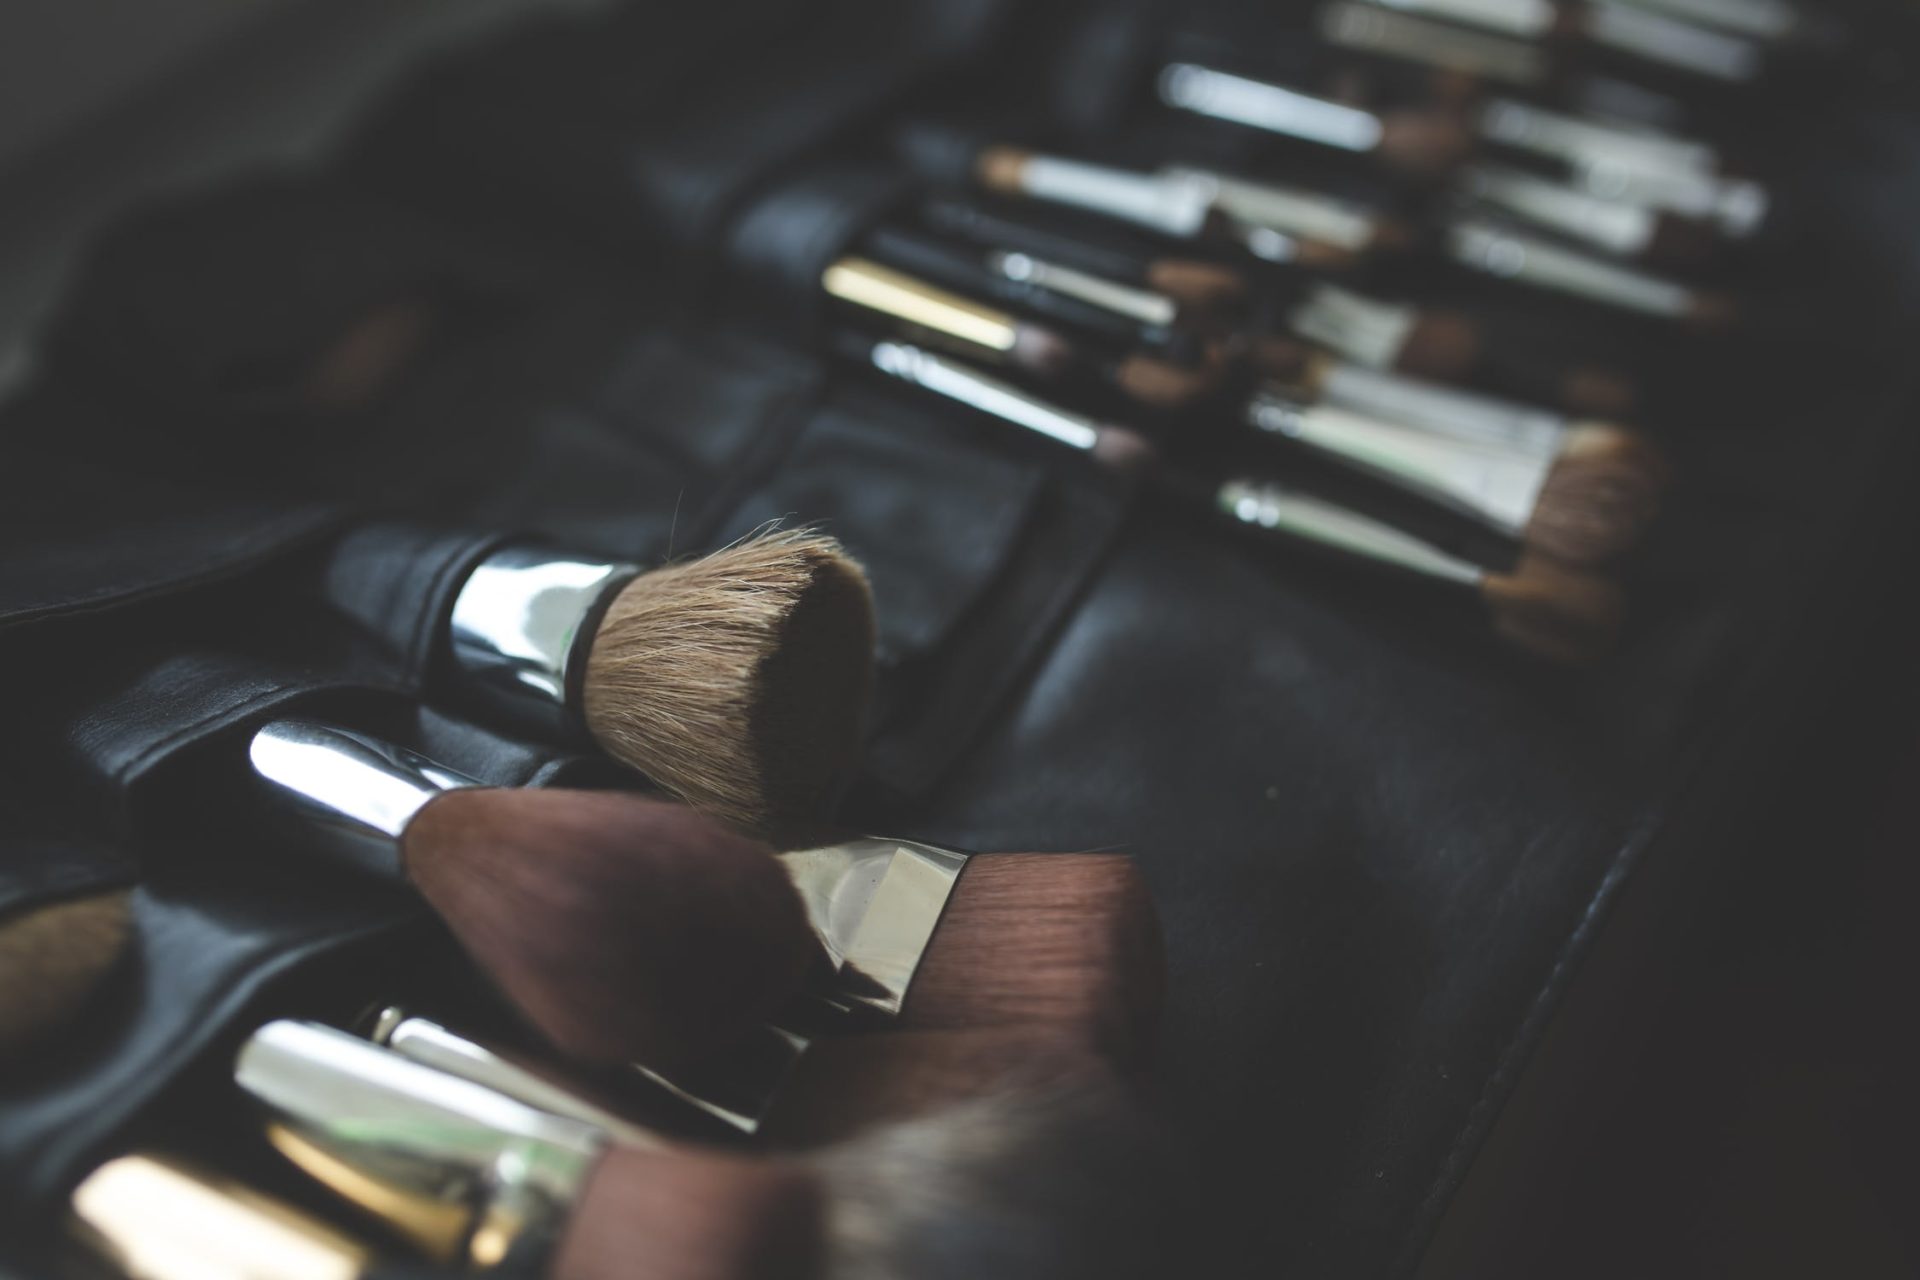
Let’s get down to business and start with what each brush is used for so you know exactly what makeup brushes are used for what.
Before we jump in, bear in mind that there is a wide range of different variants of the same brush, for example, there are five different tools to apply foundation.
Don’t look at that and panic though, with my breakdown you’ll know exactly which brush you need for the look you’re looking for.
Let’s start by breaking down the basics and what better way to start than with the base– foundation.
Now there are many ways to blend in your foundation whether you use a brush or sponge or even your fingers (we all have different ways of applying foundation).
There is actually a wide range of foundation brushes to use so here’s the breakdown:
The Kabuki Brush:
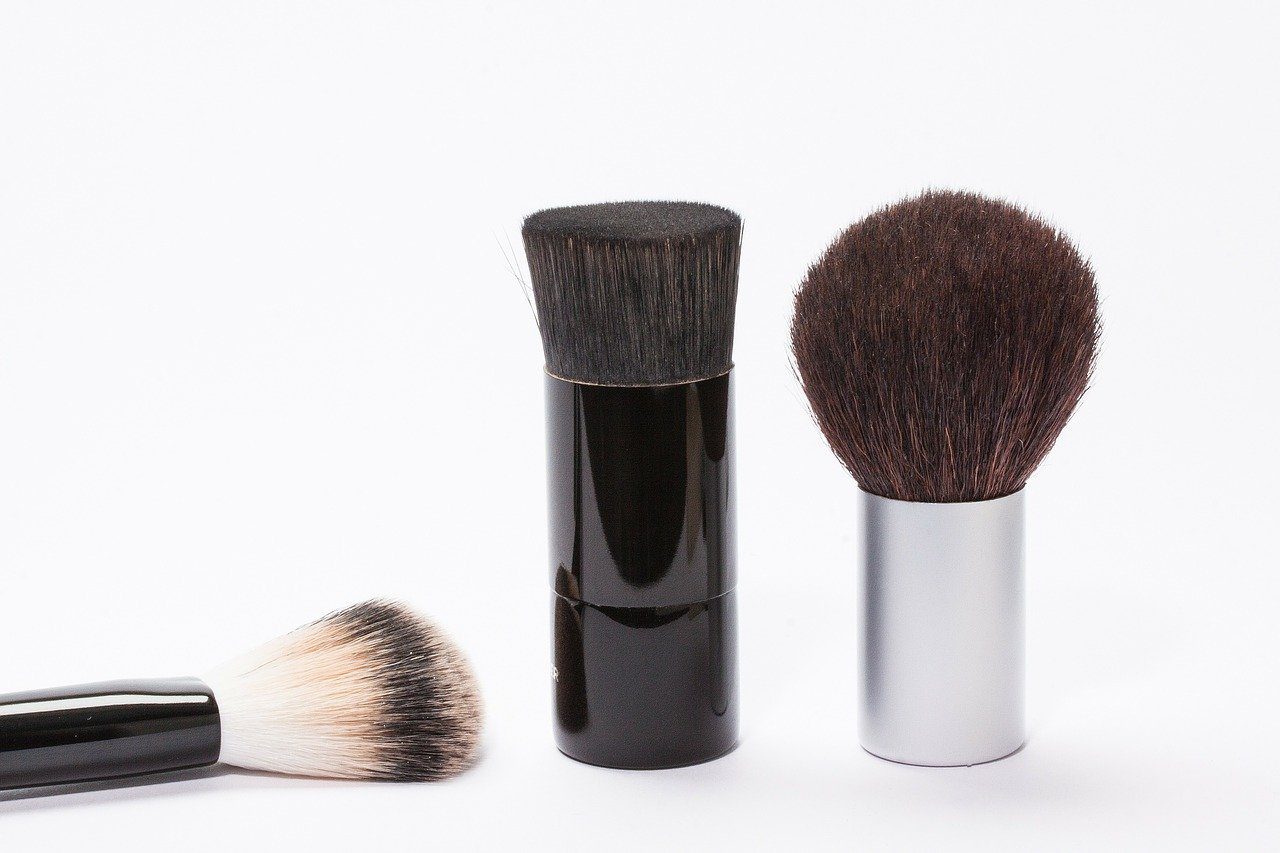
If you’ve been doing makeup for a while, you would definitely recognize the name of this brush; it’s well known for its short handle and extremely dense, flat, or even dome-shaped bristles.
It is commonly used to apply and blend liquid foundation; it is brilliant for giving an even finish because of the finely packed bristles blend foundation by evenly working and distributing the product across your face.
Its dense and firm bristles are brilliant when used in a circular motion, and the results from using the brush are phenomenal.
The stippling brush:
If you’re looking for a softer, more natural look, then the stippling will be your best friend. It is very different from the kabuki brush as it has much more delicate bristles at the top, with a firmer bottom for blending– also known as duo-fibers.
If you’re looking for a finish that gives an airbrushed effect, then the stipple brush is up for the job. It can be also be used for highlight without messing up the makeup underneath.
Just apply dots of your desired product closely around your face (try to do this without a heavy hand), and then once you’re happy to start to blend in the dots– the closer the dots, the better the coverage.
I love using my stippling brush for the days I want a natural look; whether you’re running to the shop or just chilling with friends, this brush is brilliant.
The basic foundation brush:
While applying foundation with a foundation brush is down to preference, I definitely prefer using a brush before blending out my foundation. It helps reduce the chance of harsh lines or patches I may have missed.
The foundation is usually fairly dense and flat (you can sometimes confuse them with a paintbrush) or like a dome. You can either find they’ll be natural or synthetic brushes– personally, I feel synthetic are easier to clean.
Now:
Before I use my foundation brush, I usually dip it in water, so it doesn’t suck up all the product before it reaches my face (it also helps to give an even layer of coverage on your face).
All you need to do is apply the product and work it to the edges of your face in smooth, even strokes. If you’re using a mineral foundation, you can use the powder foundation in circular motions while buffing the product into your skin.
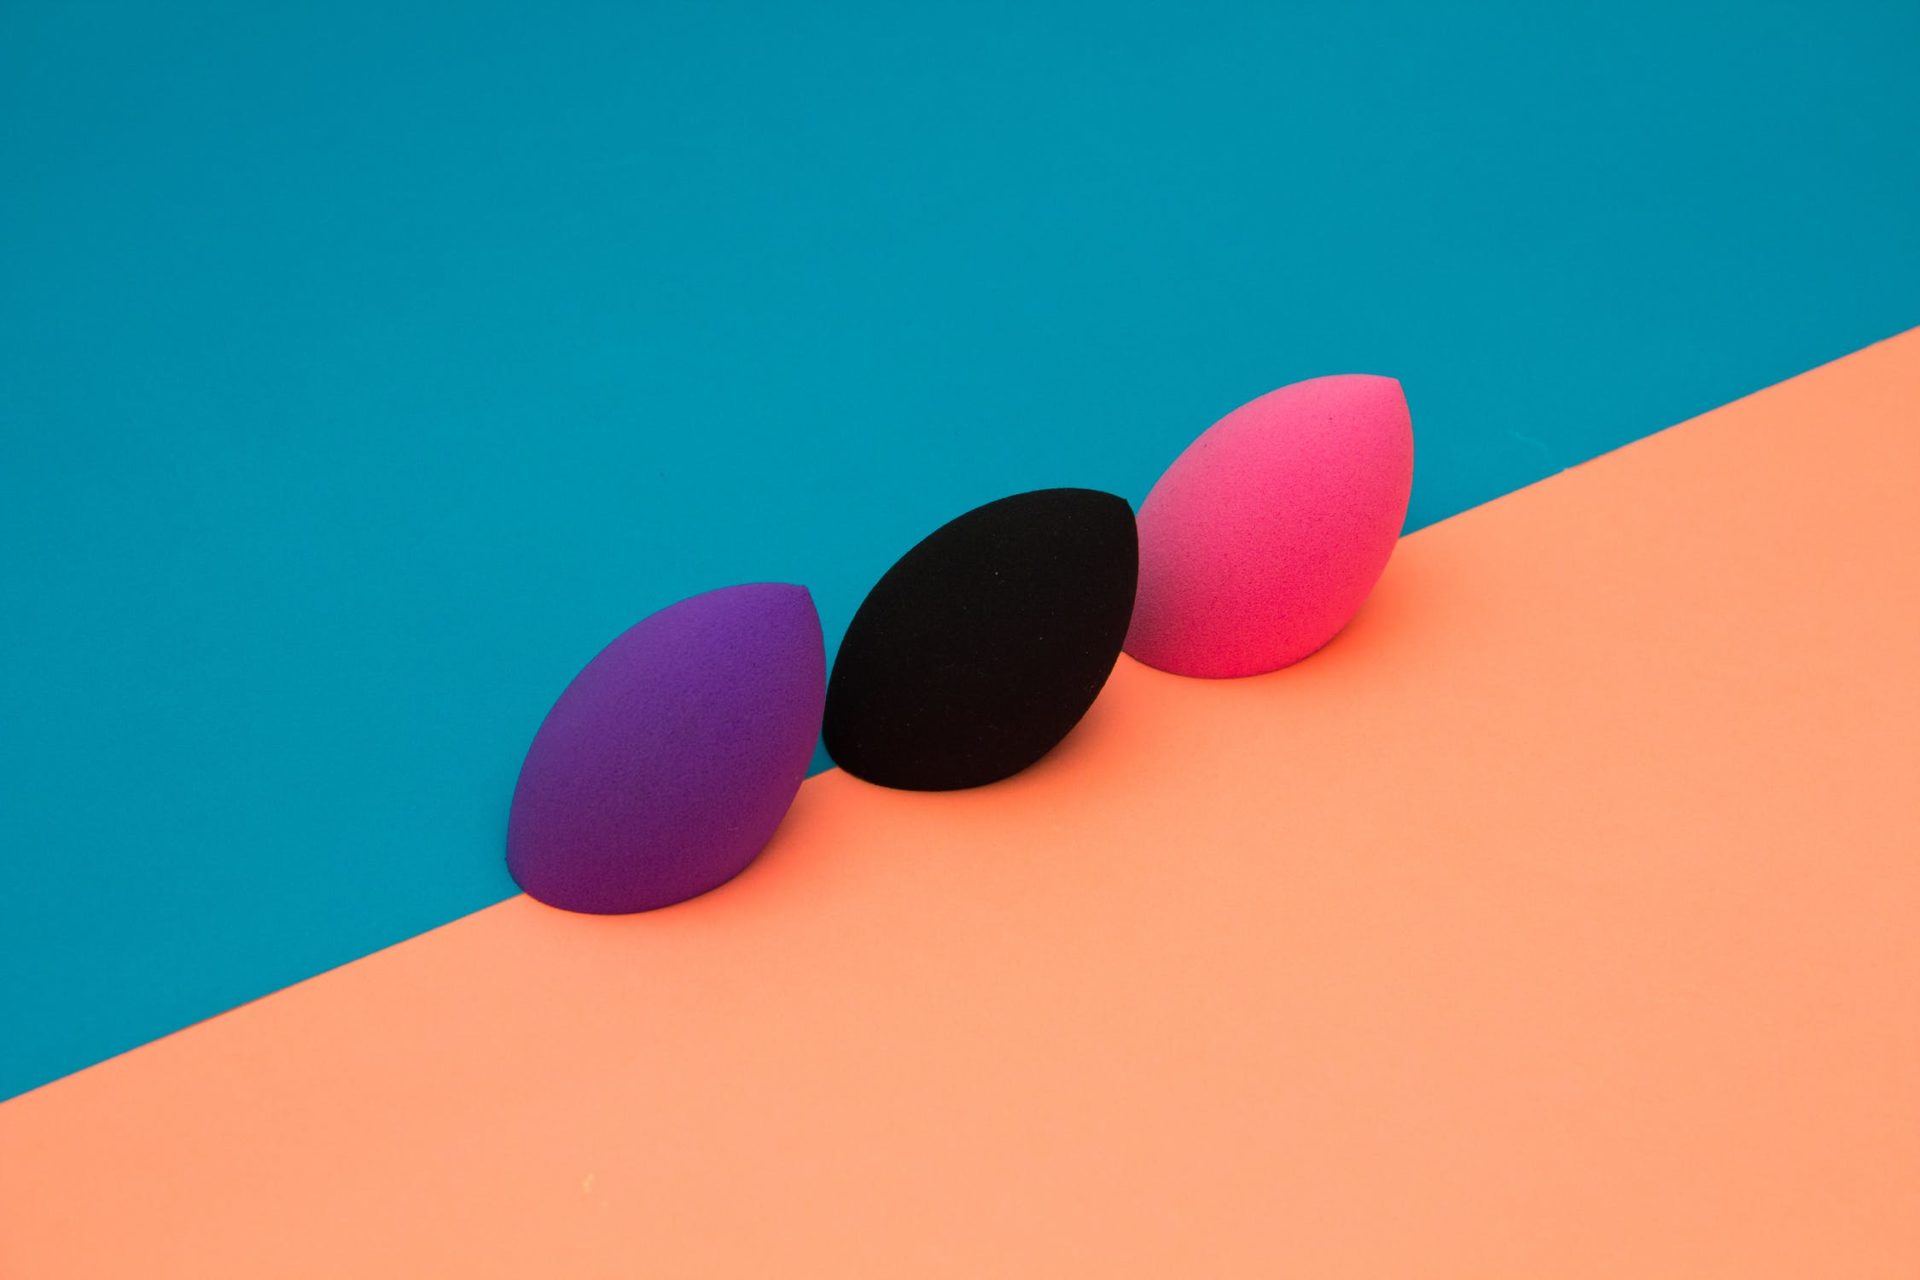
Blending sponge or beauty blender:
A beauty blender has definitely been a prominent part of my kit for some time now; I always make sure I use my beauty blender in my daily makeup routine.
A beauty blender is perfect for giving you even coverage while giving a smooth, airbrushed finish. It won’t leave behind any awkward or weird lines that brushes have caused.
The best way to use a beauty blender is to soak under the tap for about 30 secs, squeezing out any excess.
This will help prevent the blender from absorbing all the product before using it (it is a sponge, after all).
It will also blend your foundation evenly and smoothly across your face.
The blending sponge tip can also be used for smaller areas of your face or even for liquid highlight on the cupid’s bow of your face.
Sometimes I even use a beauty blender paired with a trusty makeup brush to ensure I have the most even finish (without the patches).
Silicone Blender
Silicone blenders are very similar to the sponge ones; however, they’re made of silicone and designed not to soak up any products (yay, you save more product).
They are often flat and teardrop-shaped; all you need to do to use is dab foundation and blend into all parts of the face, including your neck. Dabbing motions allow you to build up the foundation to your desired finish.
Some prefer this method to the sponge beauty blender because it doesn’t use up or waste products, but it isn’t my favorite method.
Concealer brush:
After I’ve finished my foundation base, I then go in for the concealer; it allows me to cover up any imperfections like acne, acne scars, dark lines, etc.
Concealer is just a smaller foundation brush, really; it can be used to get into the small spaces and cover up any impurities that the foundation brush may have missed. They’re brilliant for reaching these small, specific areas.
It is much more hygienic than using the brush that comes with the concealer– think about it. After you’ve used it, you just stick it back in the tube, let’s face it, we hardly ever clean them or at all, really.
Just dab the brush in your trusty concealer and dab on the area you’re looking to cover, be careful when blending that you don’t take away the concealer. This brush can also be used when sharpening your brows (much loved for soap brows)
It can basically be used to sort out any lines or mess-ups as well as concealing specific areas.
Powder brush:
A powder brush is mainly used to set the foundation and concealer you just applied; setting powder is your best friend.
The soft bristles help softly set the foundation underneath; you can also use it to balance out the colorg on your face– if you’re pale like me.
Use the fluffy bristles with some powder, dusting it over your T-zones, under your eyes, or anywhere that needs setting. You can also use it with setting powder to ‘bake’ your face.
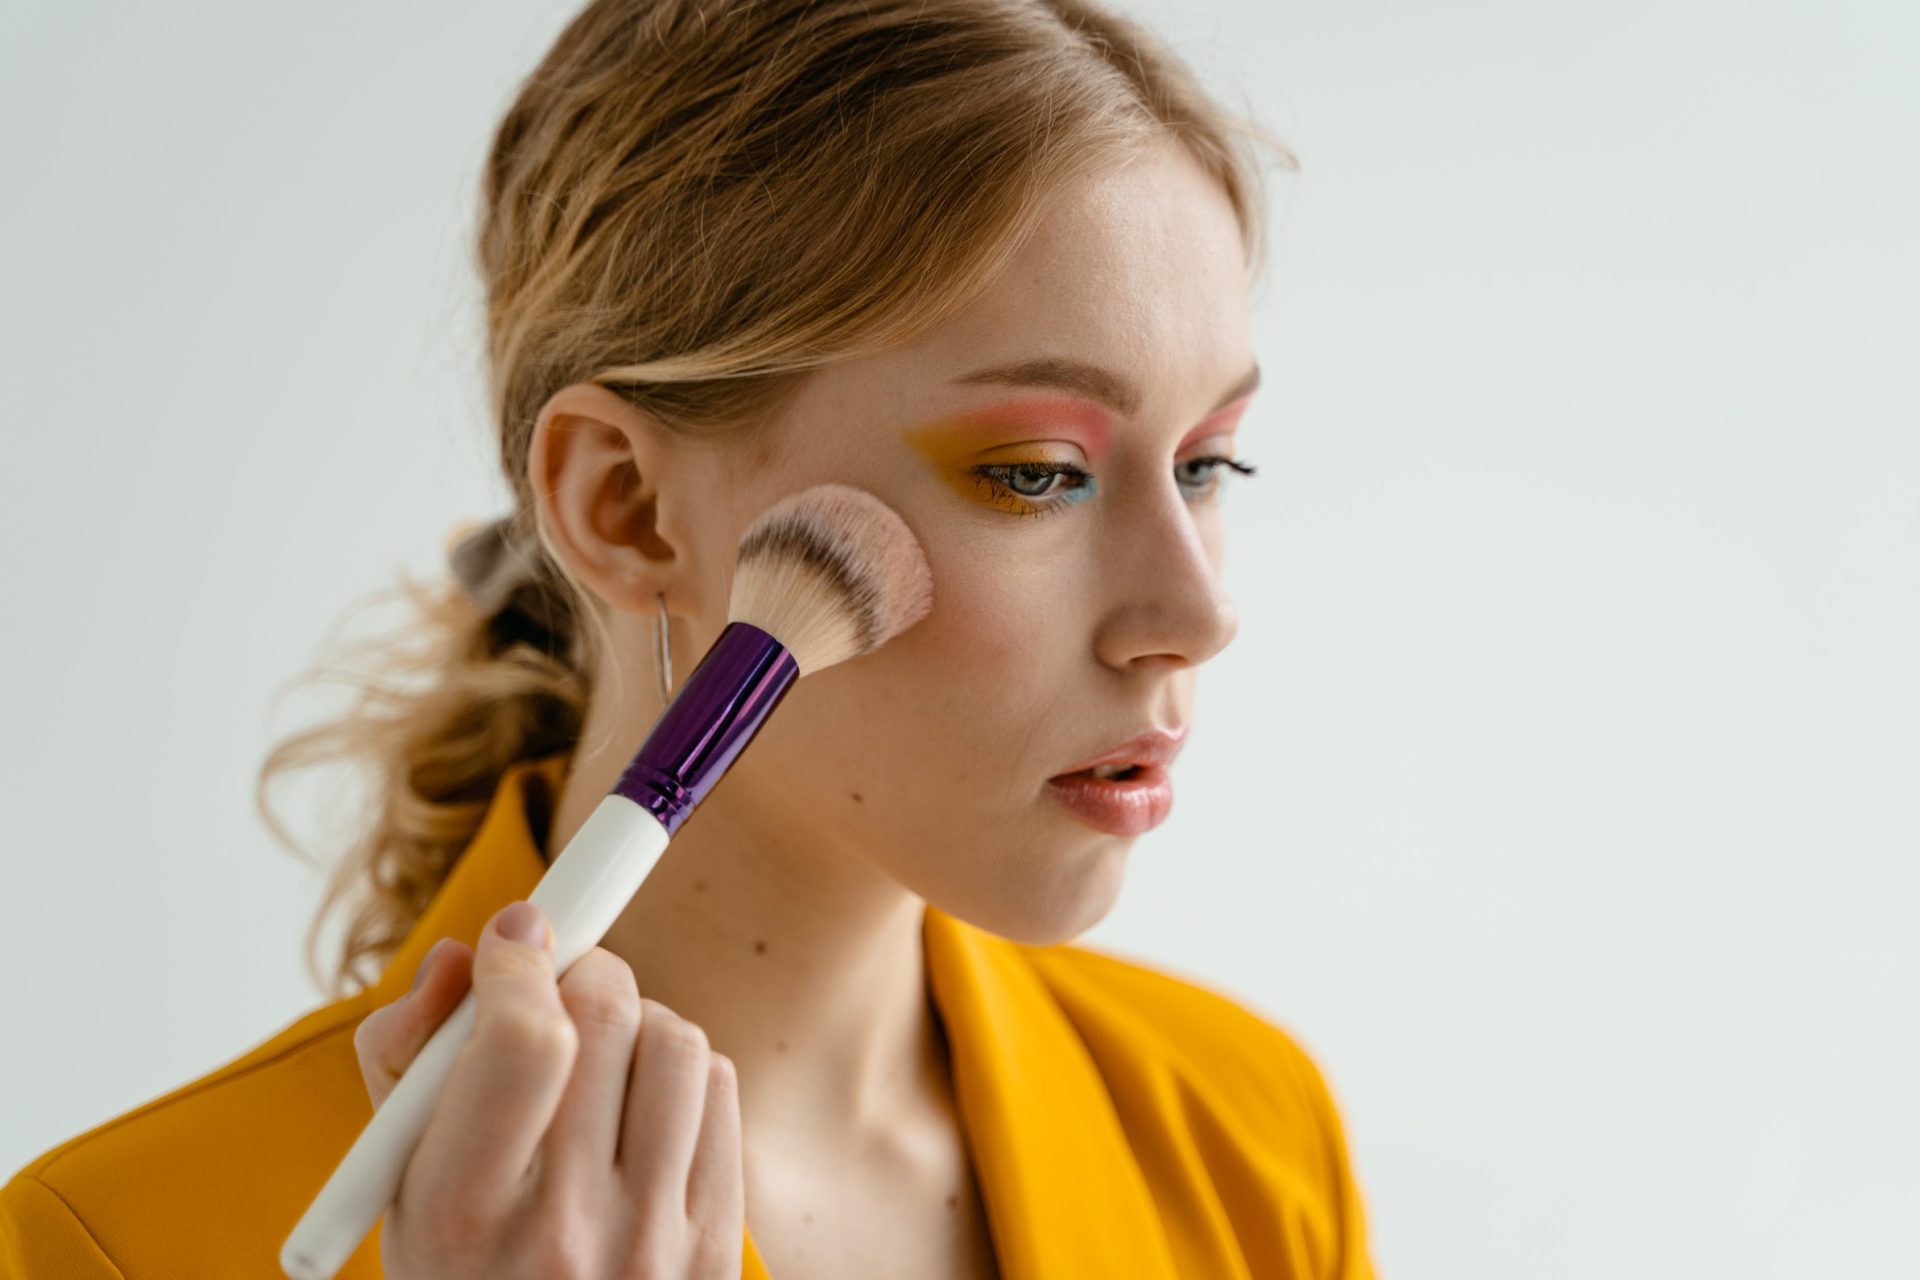
Bronzer or blush brush:
A bronzer or blusher brush is very similar to a regular powder brush but often slightly smaller as they are usually used to focus on the cheekbones.
They usually have long, fluffy bristles that are used to distribute bronzer or blush onto your face evenly– giving you a lightweight finish.
To apply bronzer, delicately sweep the brush in a number 3 pattern, from the forehead to the cheekbones, then moving out again for the jawline. To apply blusher, swirl the product on the apples of your cheeks and blend.
To prevent a dollish look, use lightly with powder and build up the color (it’s much easier than trying to blend out very pink cheeks).
Contour brush:
We’ve all seen the scene of someone when they first discover contouring, streaky orange lines galore (not a good look) but finding a good contour brush will actually be your best friend if you know how to use it properly.
It’s always important that you don’t go too dark, especially if you’re fair; it can be more tricky to blend out, and in the end, it will always leave a patchy line.
You’ll notice that a contour brush has much sharper bristles for a more angled finish.
To apply your contour with your new brush, firstly trace the line of your cheekbone, make a pout and follow this line underneath your cheekbones, jawline, and forehead.
Blend out all the harsh lines as much as possible, use a trusty buffing brush to help with the job until your face looks toned but not patchy.
Contouring is brilliant for natural and fuller makeup looks; it’s just about getting the right blend.
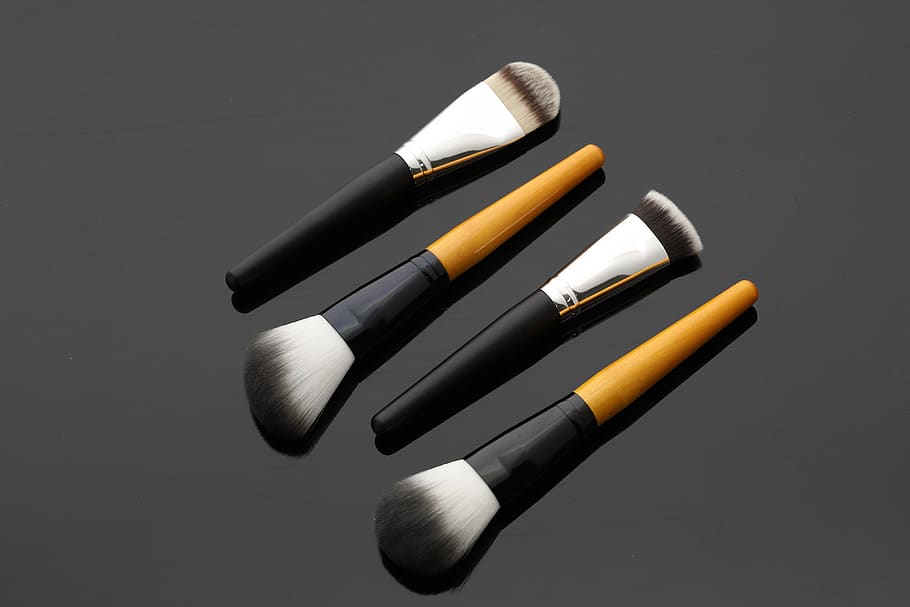
Highlighter brush:
What better way to finish a look than with a dewy highlight to highlight your cheekbones? It’s a must-have in your makeup routine.
Highlighter brushes are usually small with long, delicate bristles that can be used to build up the highlight to your desired effect.
All you need to do is sweep this brush over your powder, making your way across your brow and cheekbones– it will give you a glowing finish that looks great in golden-hour photos and all-natural light.
Fan brush:
This brush is true to its name, the bristles are fanned out and flat to give a very distinguished contour. It is very similar to a powder brush but it is in a fan shape.
You can get these brushes in a large, fuller size or just a small one with thinner bristles depending on the desired finish.
You can use this brush in a sweeping motion for highlighter or even for some contour finishes. I absolutely love the smaller fan brush for a more natural highlight finish.
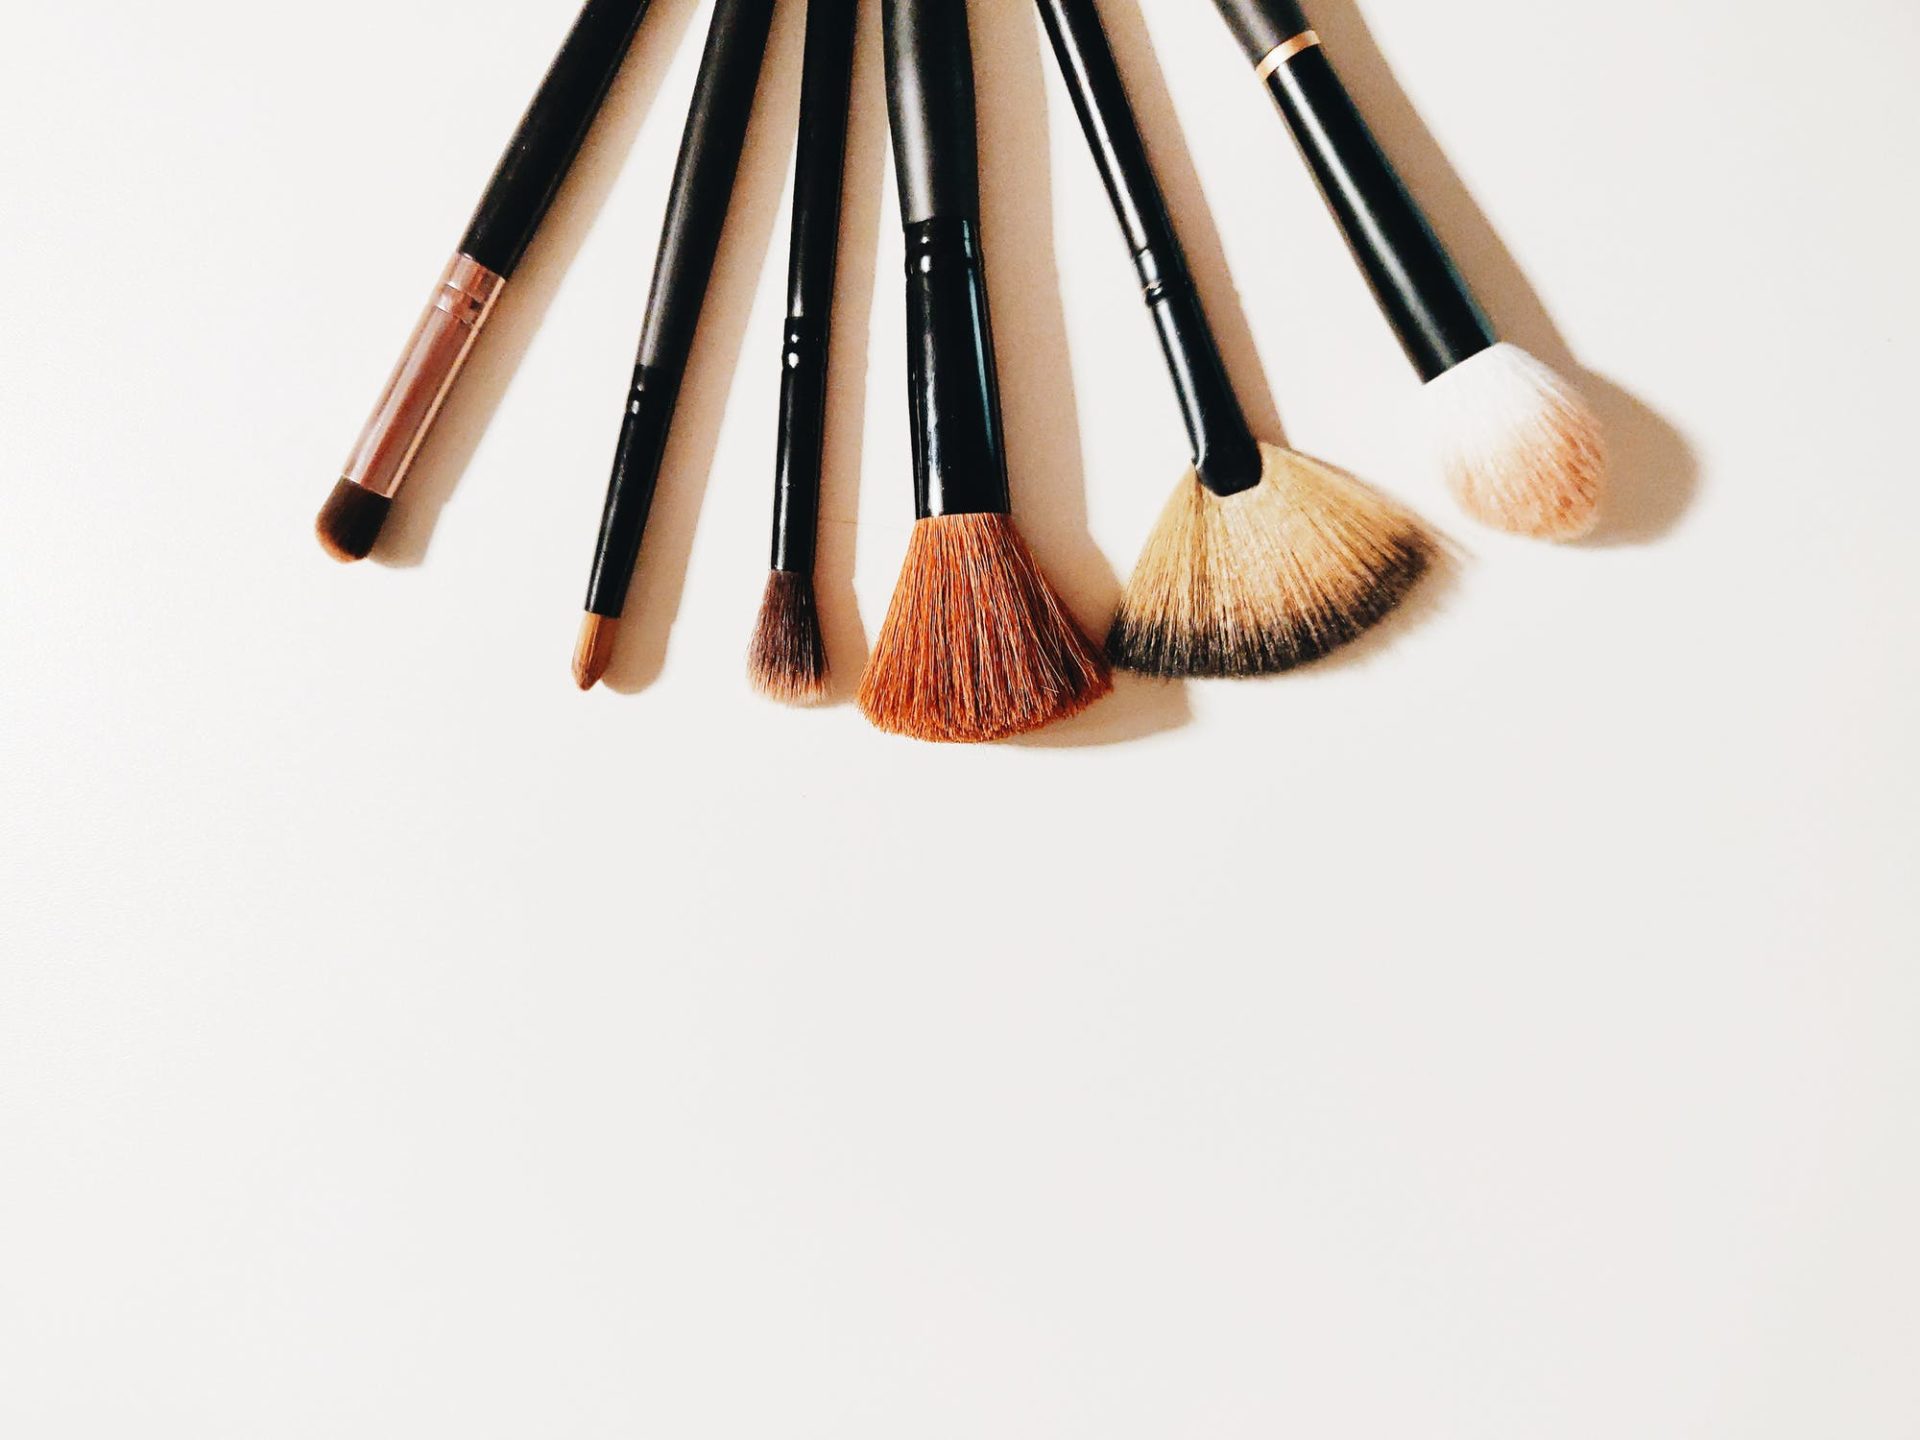
Eyeshadow shader brush:
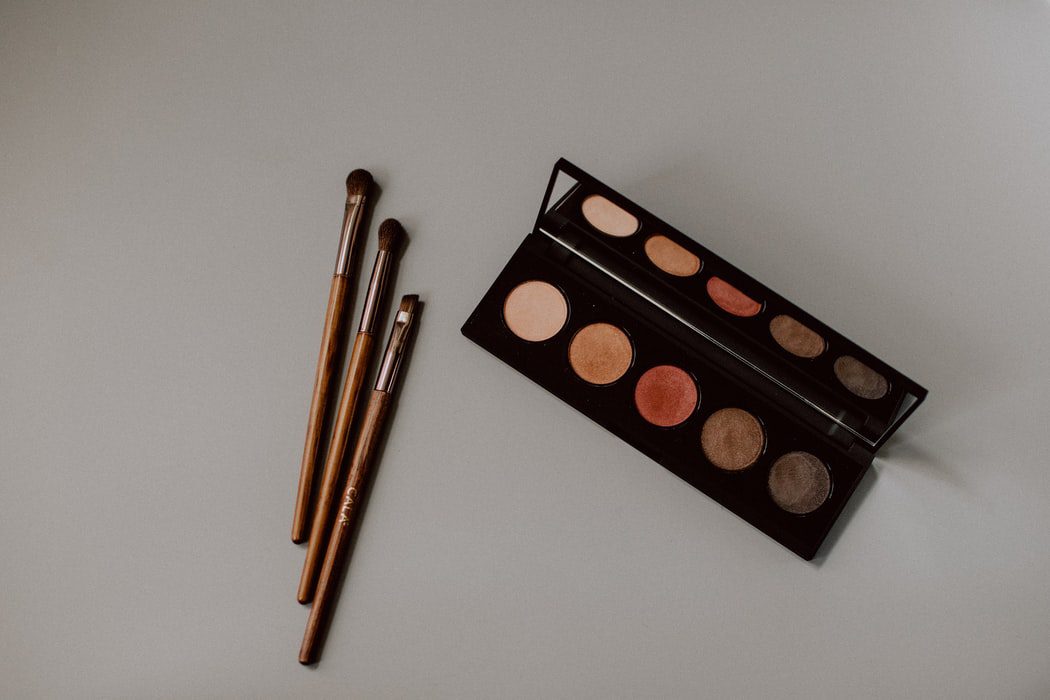
Now onto the eyes: the first brush to use is the eyeshadow shader brush; it is crucial for an opaque, evenly covered layer of eyeshadow.
You will find that a shader brush will usually be flat, found at the tip, and often dense. This is so that you can get maximum eyeshadow coverage in specific areas of the eyelid.
Using your desired eyeshadow, use this brush in a circular motion from the inner corner and work your way out. You can also pair this brush with a setting spray, brilliant for glitter pigments or a brighter finish.
Eyeshadow blending brush:
There’s nothing better than a well-blended eyeshadow look– you’ll be staring at your eyes in every mirror all day. These brushes are often tapered and soft, so you can gently blend out your lids.
While the shader brush packs on the pigment, the blending brush is used to blend it out, so you have an evenly distributed, flawless finish.
It can be used for a natural finish, or if you’d like to take it one step further, you can use it for smokey eyes or a gradually darker edge.
Just blend with the fluffy bristles into the creases in a sweeping motion, or use a circular motion to blend in darker colors in the outer edge of your crease. It can also be used to add a bit of highlight to the inner crease.
Pencil Brush
If you love a smokey eyeshadow finish and love to blend your eyeliner in with your eyeshadow, you absolutely need this brush. It will soften harsh eyeliner and give you a more flattering finish.
This brush is usually tiny and shaped like a pencil tip; it can reach the specific parts of your eyeshadow. It can even push the eyeshadow straight into your lash line.
Once you’ve applied your eyeliner, use this brush to smudge the eyeliner out gently or smoke out the bottom of your lashes. You can also use this brush to add a little extra pigment or highlight to the inner corner of your eyelid.
Eyeliner Brush
Now eyeliner has changed so much over the years, and so have the brushes, from cat-eye to a glamorous, more sophisticated look; eyeliner tops it all off.
With eyeliner, practice makes perfect– you may see influencers showing you how they do their eyeliner in one fast sweep, but it’s not always that easy.
Using an eyeliner brush will help with the precision and gradually help improve your eyeliner finish overall ( I find it easier to take a selfie after checking the finish).
Just dip this brush in your eyeliner and work your way out; take your time, so you don’t rush the flick at the end of your eye. You can even use tape to help achieve that precise flick.
Eyebrow brush:
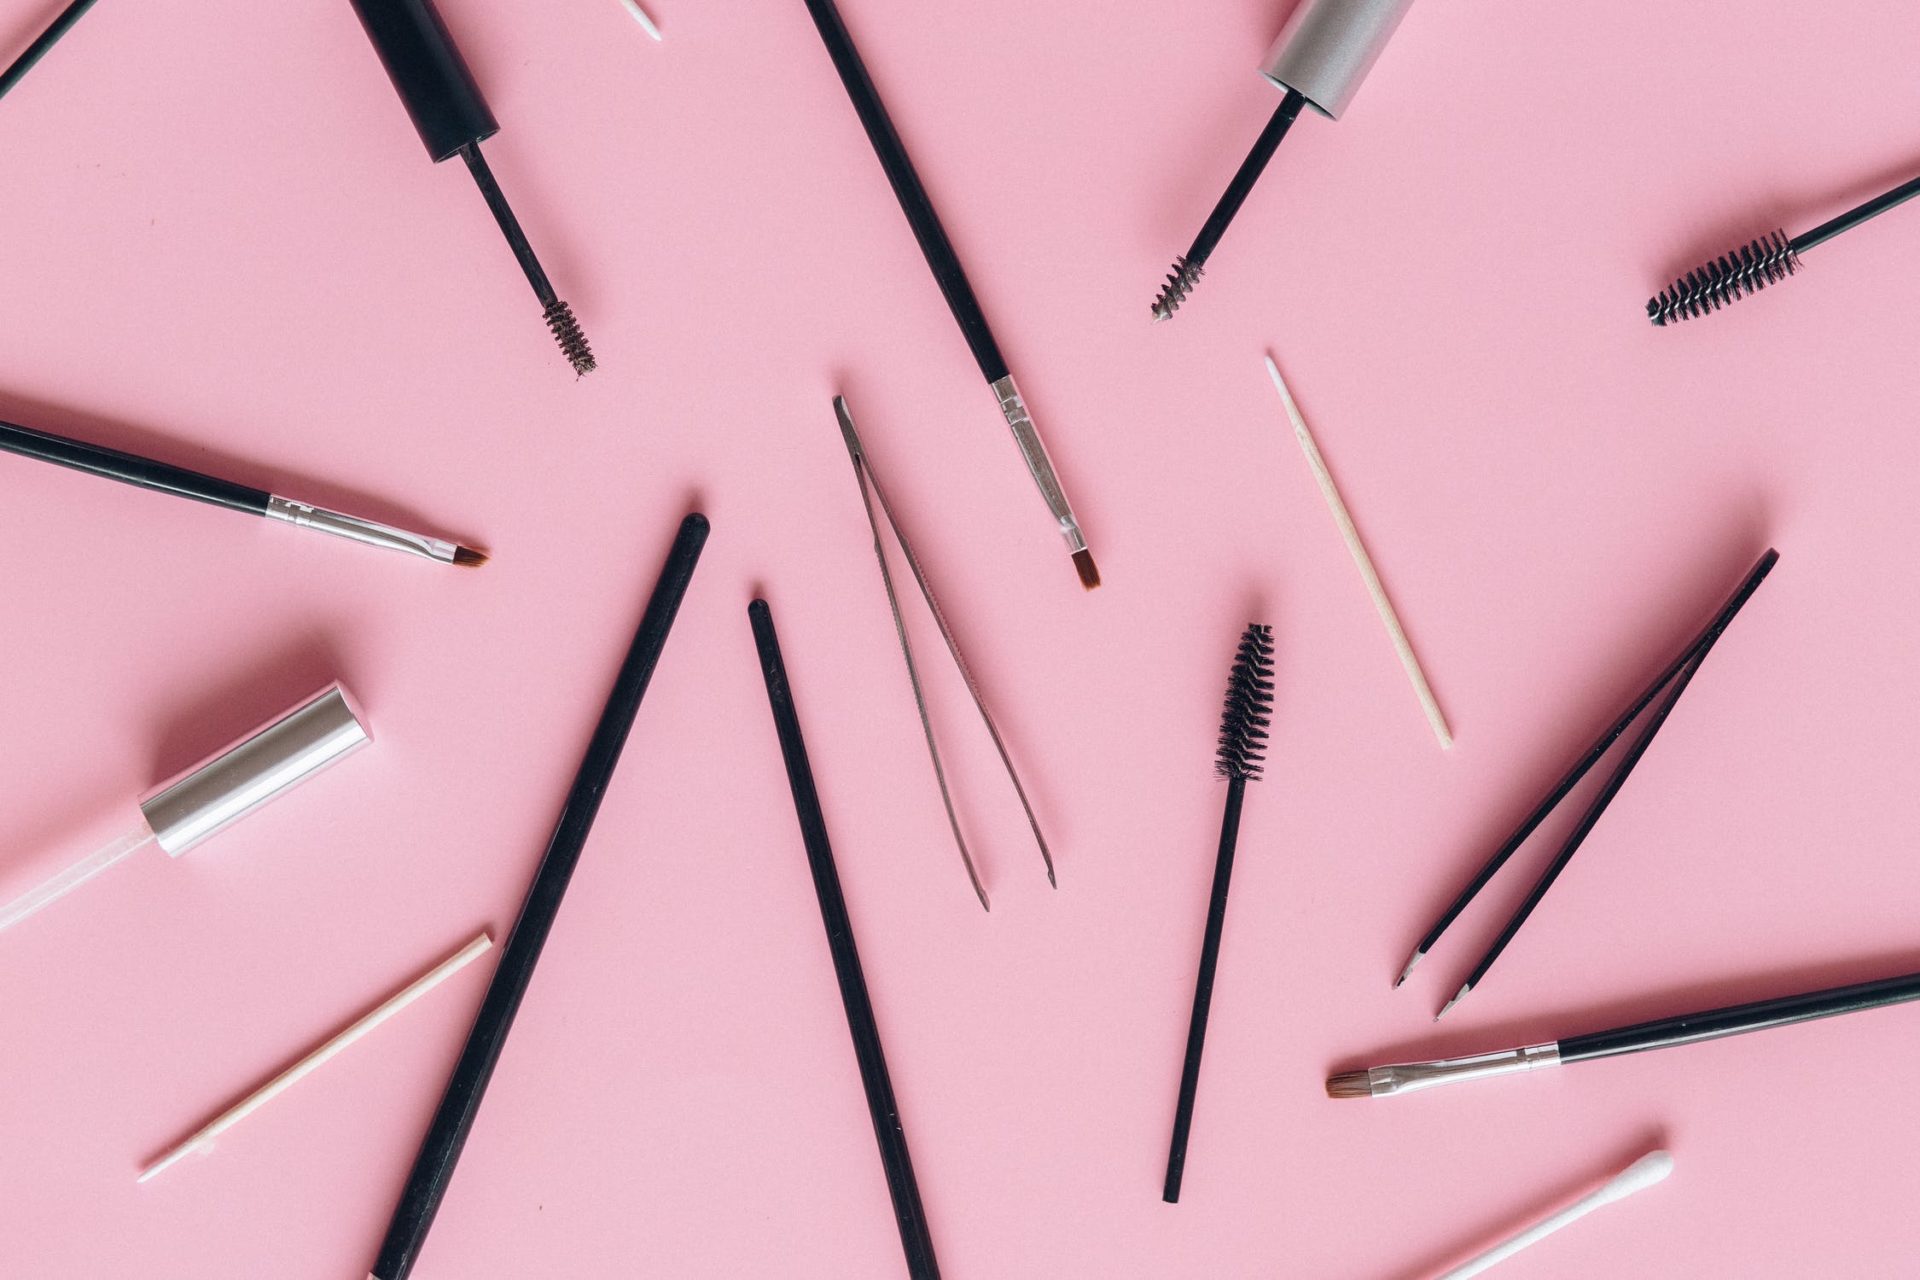
An eyebrow brush with a sharply tapered brush on one end and a spoolie to blend on the other side is always handy. They are often used to firstly brush your brows out, then apply your brow product, then blend out to finish.
It is brilliant for brow powder or gel; some even use it to achieve a fluffy soap brow finish.
Firstly use the spoolie side to brush your brows to shape them, switch to the other side and fill in the parts of your brow where the hair is quite sparse for an even finish. Once you’ve filled them in, I go in with the spoolie brush to blend the color in the rest of the brows.
Mascara Wand or Spoolie
A mascara wand is used to apply your mascara evenly for a clump-free finish; they help apply the mascara while separating the lashes to prevent clumping.
You can pair this with an eyelash curler for a more dramatic, longer lash look.
A spoolie can also be used to separate and style your wild brows; whether you want a fluffy brow look or to tame them, a spoolie is an important tool to have in your kit.
You can also keep the mascara wand after you’ve finished the mascara if you love the way it separates your lashes or styles your brows.
Lip brush:
A lip brush is best used and kept in your bag for daily touch-ups; it can be used to blend out harsh lines and blend in your lip liner to your lipstick or gloss.
All you need to do is trace your lips with your lip liner and use the brush to blend it into the lips, either before or after you’ve applied lipstick. It can also be used to blend in ombre lips, so you’re not left with a harsh line.
Why do we use makeup brushes?
To put things simply, we use them to make our makeup application much easier. There are two different ways to apply makeup: with your fingers or with a super old brush (which is well overdue for a clean, may I add)
While makeup brushes make our life much easier, they also mean the difference between a clumpy, patchy finish and a dewy, smooth, airbrushed, and even finish.
So what makeup brushes do I actually need?
It all depends on what makeup finish you’re looking to achieve:
I would pair two of the foundation brushes together with a trusty powder or blush brush for a natural look. I would recommend the blender brush to blend out the color evenly into your eyelids for a natural eyeshadow. You can also add an eyebrow brush if you’re looking to do your eyebrows.
However, if you’re looking for full glam or full-face look, I would include all the brushes you will usually need in your makeup look from this list.
If you’re a beginner, I would recommend not buying many more than the basics: a flat eyeshadow brush, crease brush, foundation brush, and powder brush, and that’s it!
Tips for when you buy your brushes:
When you’re buying yourself brushes, buy the best ones that you can afford, don’t waste money on cheap, poor-quality ones. The same goes for over-expensive brushes; they don’t mean quality; there’s plenty of affordable brushes that will give you a much better finish than the more expensive ones.
Also, never use the little applicators that come with eyeshadow or eyebrow products; they are useless! Brushes have come a long way in recent years, so treat yourself to a good one (trust me, they’re cheaper than you may think)
Replace them when they begin to wear and tear, one by one, however with regular cleaning and TLC, you can make these bad boys last a long time.
Cleaning:
When it comes to cleaning, this is a step we often forget about or skip in general as its long-winded, but it’s so crucial when it comes to prolonging your brushes (plus for general hygiene)
Think about the number of times you use that particular brush a lot. Not to mention the bacteria built up, it can actually cause you the breakout. Experts say you should clean your brushes every few months to keep up the hygiene of your brushes.
I find that embedding this job into your routine, like the same date every month or two, really helps.
Check out my guide as to how to clean your makeup brushes for the full rundown.
Summary:
So there you have, all the different types of makeup brushes and their purposes; who knew there were so many different types?
Whether you’re new to makeup and looking to broaden your knowledge of the tools you’re using, this guide should really help.
Let’s upgrade our makeup game!
Best L’Oreal Products For Men
[Review] in 2022 written by nail expert Jess RowleyCheck out the results fast - here are our review winners[dica_divi_carousel item_width_tablet="400px" item_width_phone="345px"...

Best Neutrogena Skincare Products
[Review] in 2022 written by nail expert Jess RowleyCheck out the results fast - here are our review winners[dica_divi_carousel item_width_tablet="400px" item_width_phone="345px"...
Best Nivea Products For Men
[Review] in 2022 written by nail expert Jess RowleyCheck out the results fast - here are our review winners[dica_divi_carousel item_width_tablet="400px" item_width_phone="345px"...
Best Rodan+ Fields Products
[Review] in 2022 written by nail expert Jess RowleyCheck out the results fast - here are our review winners[dica_divi_carousel item_width_tablet="400px" item_width_phone="345px"...
Related Post: Best Heat Protectants For Your Hair
